New ATXRaspi reboot function

ATXRaspi will start to ship with a new reboot function in addition to the shutdown function it had since inception. This was implemented because it was a cool feature to have and also suggested by several ATXRaspi users. See video above for a full overview and setup guide for ATXRaspi.

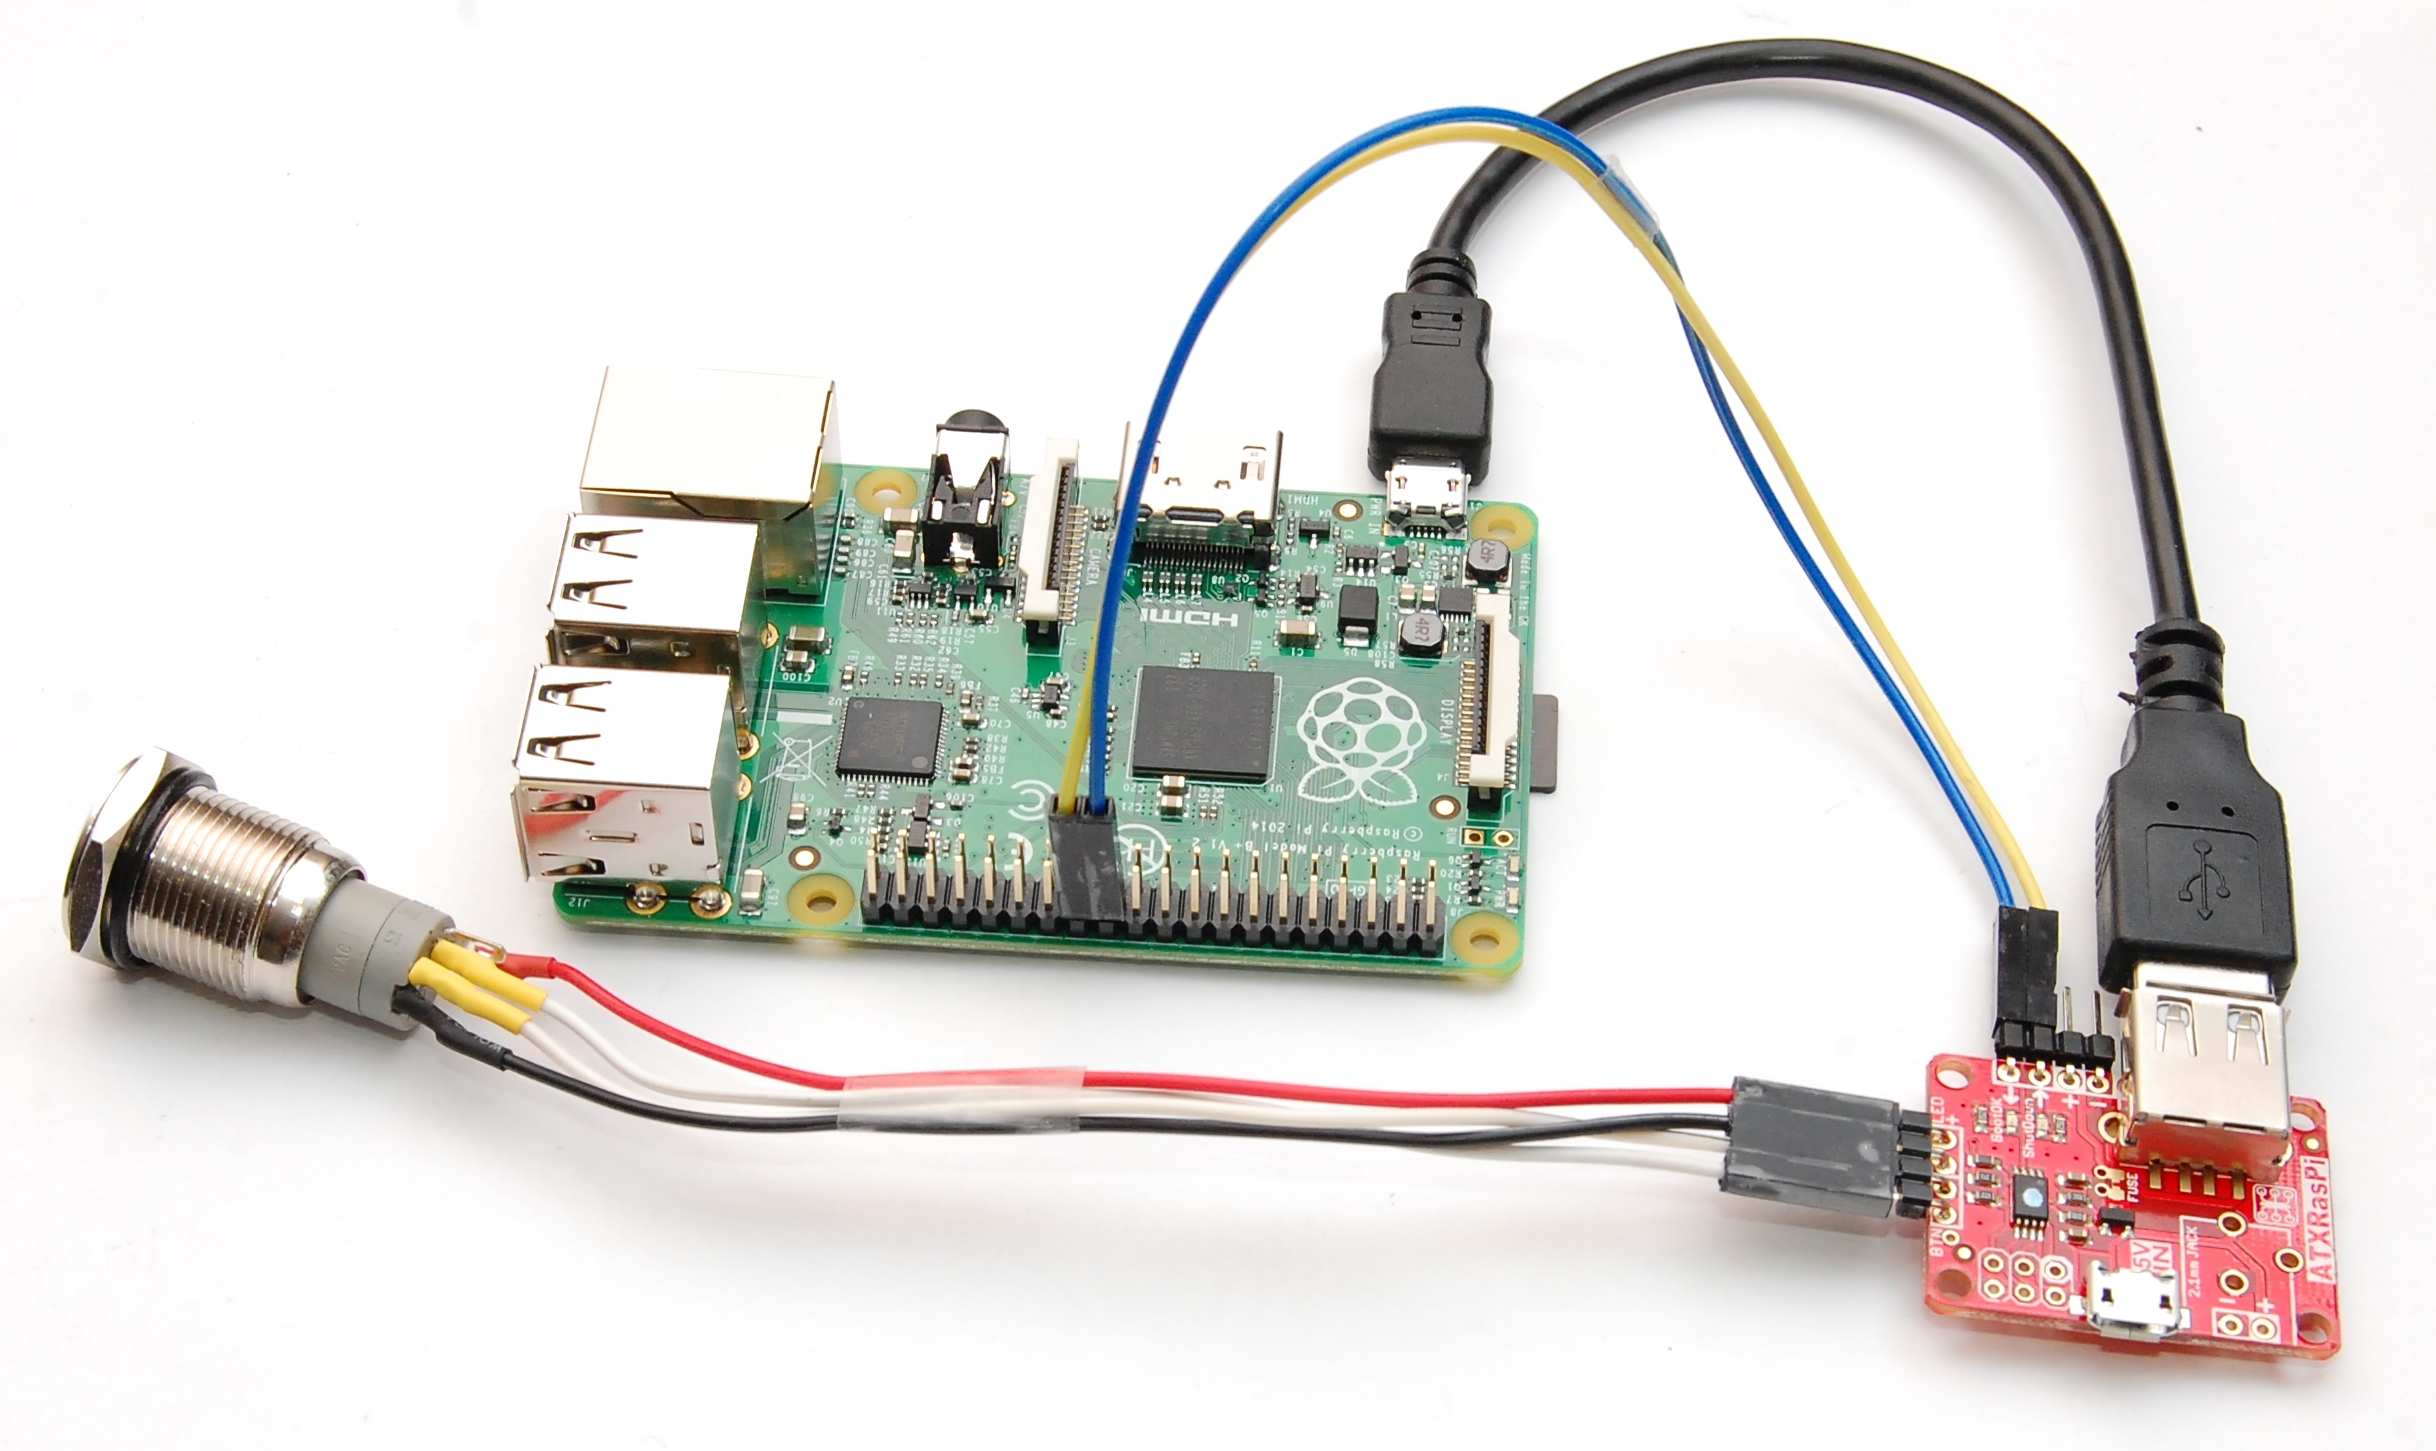
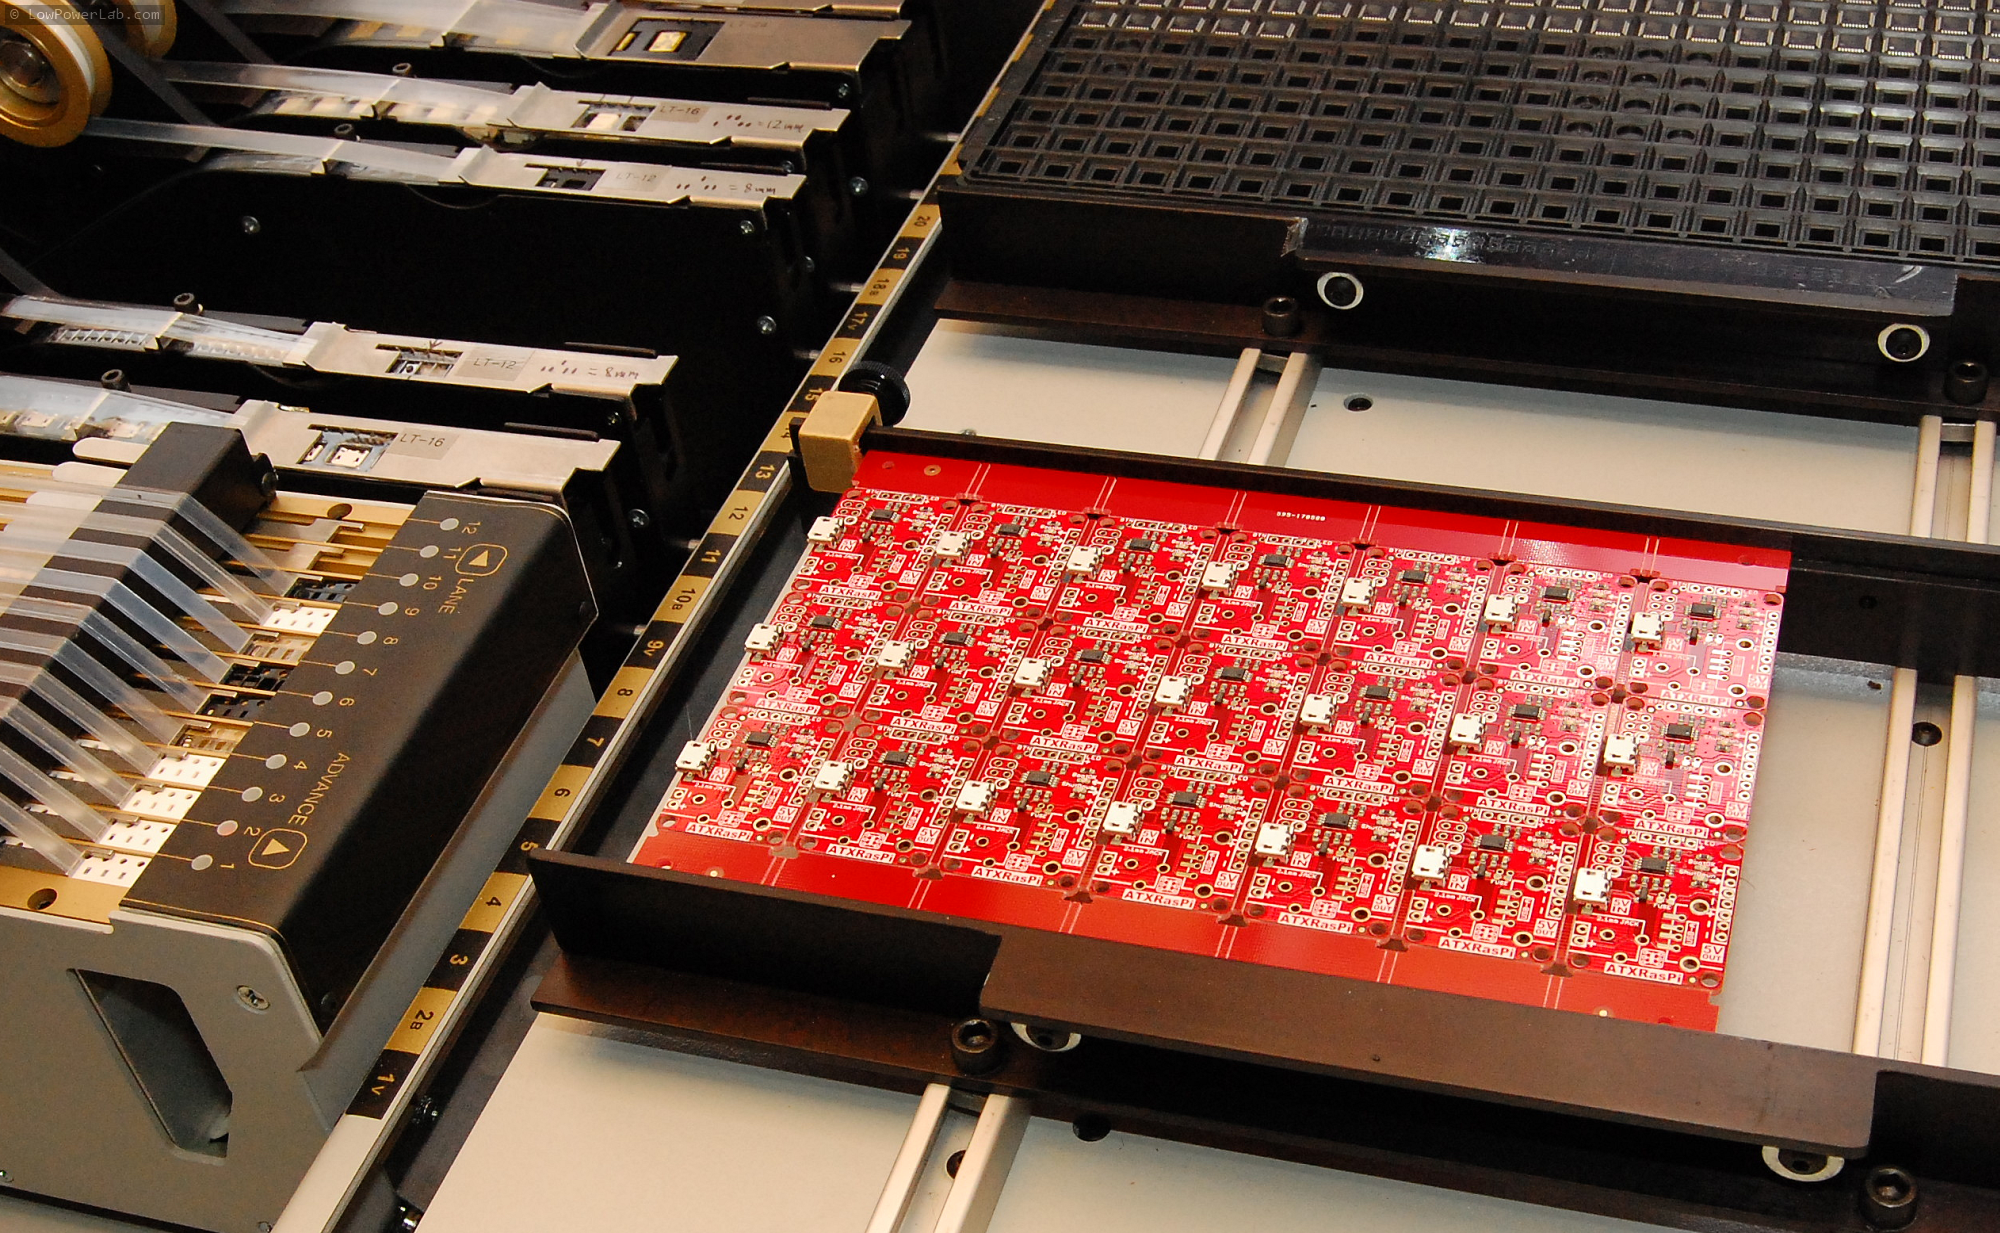
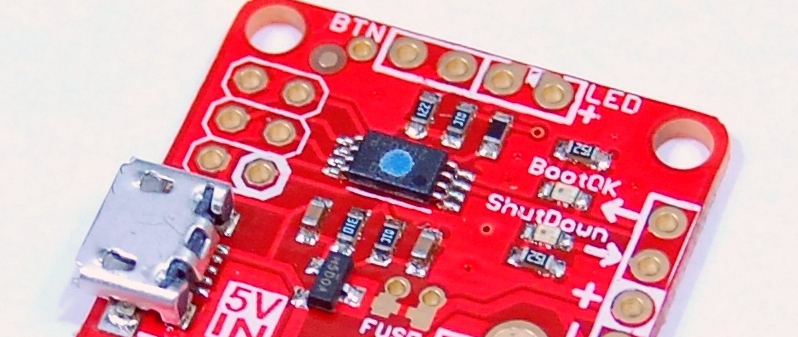
This will be in revision R2.6 boards but until that is released, revision 2.5 boards that have the reboot function will have a blue dot on the main chip (see photo above). The differences are the following:

  • to reboot: hold the button pressed for at least 0.5s and and less than 2s. The button backlight will dim once the reset threshold is met. Release the button and ATXRaspi will emit a 500ms HIGH pulse on the SHUTDOWN signal pin. It will then blink the button backlight for up to 1 minute while waiting for the Pi to reboot and the BOOTOK signal to be restored by the shutdowncheck script (to become HIGH again).
  • to shutdown – nothing changes: hold the button at least 2s. As before, the button backlight pulses slowly while the Pi shuts down. Once the shutdown is complete and BOOTOK signal goes LOW, ATXRaspi waits a few more seconds and cuts power off to the Pi.

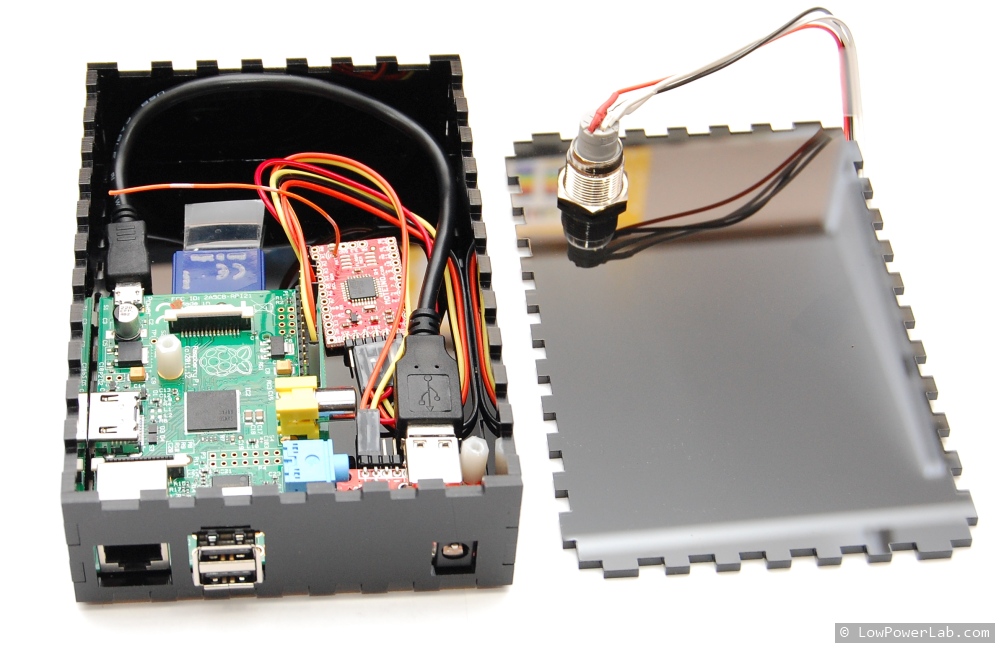
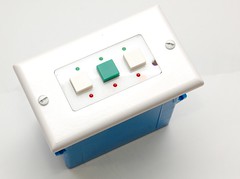
The shutdownchecksetup.sh install script was updated to support the reboot function and is backward compatible with all previous ATXRaspi revisions. Here’s a photo of the required wiring to the GPIO and an example wiring of the chrome button offered at the LowPowerLab shop:

Limited SonarMote and PiGateway offering

I worked on a project for inventory control and the hardware left over from that project is now available for sale for those interested to save time on assembly. There are a handful of assembled SonarMotes and a PiGatewayThese limited LowPowerLab artisan electronic creations are available in the webshop (all SOLD).

SonarMote is a project I worked on for some time last year for private projects, but was never released to the public mostly because of the economics of manufacturing it and the end cost of the whole kit. But otherwise they are great for distance measurement, sump pump or liquid level monitoring, parking sensors, and general purpose distance sensors, battery operated and wireless via onboard Moteinos, and easy drop-ins into your Moteino framework. For instance, I am using one of these to monitor my sump pump. Now the rest of the few assembled units can be all yours. They run on LiPo batteries (1500mAh included in case) and are rechargeable and programmable via USB port just like the MotionMote. Note all are RFM69 868-915mhz. The rest of the specs are posted on the product page.

The PiGateway is a unique build that includes an ATXRaspi and LED Switch, Moteino with RFM69HW 868-915mhz, 4GB SDcard with Raspbian and Nginx-node webstack, 2.1mm jack power adapter and slick black translucent acrylic case.

New SwitchMotes available

I’ve released some new SwitchMote kits after some requests by different users of SwitchMote. All SwitchMotes are wireless AC actuators, some designed to replace conventional light switches for the purpose of automating household light switching. Specifically there is a new dual 10A relay SwitchMote (and PSU):

There is a new assembly guide for this specific variant posted here. Here are some photos if it assembled and compared to the original SwitchMote:

Also there is a new single 30A relay SwitchMote PSU for heavy AC loads. The PCB for this particular one has double copper thickness to support the loads (2oz copper). Note that the relay has parallel posts at the top for heavy duty connectors as an option.

The demonstration of this PSU has already been posted in a video a few days ago:

The demo in the video uses the TxRxBlinky sketch. All of these are available at the Low Power Lab webStore. The SwitchMote guide page has been updated to include these new variants and the SwitchMote sketch was updated to support the new dual relay SwitchMote 2x10A.

Moteino R5-USB & FTDIAdapter R2

There is now a new revision of Moteino USB (R5). It has 27ohm resistors on the D+/D- lines and pulled up the RST line on the FT231XS chip which should help with any upload issues, see this forum post for more details.

Also the new FTDI Adapter (R2) fixes the same issue and also switches from FT232RL to FT231XS. The reason being the economics of using a chip that is not only cheaper while doing the same function, but also the one and only USB-serial converter I now use.

I assemble all these boards on a pick and place machine and having a reduced and more efficient BOM makes a big difference. The FT232RL came in a wide 24mm tape which occupied a separate 24mm feeder. Buying a full reel of those parts is an impossibility given the price, and partial reels require a leader to load into the feeder, an extra fee every time you buy anything less than a full reel. Plus, some of the leader tapes I buy from Digikey break off pretty easily and so it’s a pain to work with individual feeders and I’m trying to avoid leader tape whenever I can. The FT231XS come in tubes which makes it much easier to work with using the vibe feeder. The only downside is that I have to reload them more often (58 parts per tube).

WeatherShield is here!

I kept mentioning this in the forum from time to time and I’m happy to release the first batch of WeatherShields which is now available in the shop. These are highly accurate I2C temperature/humidity (Si7021) and atmospheric pressure (BMP180) sensors. Credit goes where it’s due – this was inspired by this forum post and its author mr. A, but it’s somewhat different than the one presented there. There is a sample sketch to read the data from this shield, schematics is at the end of this post.

Some of the features:

  • –40°C to +85 °C temperature range (Si7021)
  • ± 3% RH (max) 0–80% RH humidity range (Si7021)
  • Best of all these sensors are very low power!
    • The Si7021 has an active conversion consumption of 150uA and standby of 60nA, and BMP180 ranges between 3-12uA in active mode and 0.1uA in standby.
  • Very Fast sample times, far superior to sensors like DS18B20 which require a long ridiculous sample reading time of up to 1s. By comparison Si7021 requires about 4-10ms sample conversion time depending on reading resolution (8-14bit)
  • The shield can be stacked on/under a Moteino (not a MoteinoMEGA)
  • Small prototyping area where you can add a little circuit, connect it to the Moteino pins through thin hookup wire
  • The BMP180 sensor also gives temperature readings that are pretty good but it is primarily an atmospheric pressure sensor, and Si7021 has a magnitude better accuracy for temperature
  • Onboard P-mosfet driven VIN/battery monitor. This is a VIN-4.7k+10K-GND voltage divider that can be enabled by setting A3 to OUTPUT LOW and reading the VIN voltage on A7, then disabling it to save power by setting A3 to INPUT (HighZ which disconnects any battery drain through this circuit).

These are much different than popular hobby sensors like DS18B20 or DHT11/DHT22 which are in a different price range and much more limited, so they are not meant to be general purpose sensors. These boards come at a price and instead they are precision sensors for serious weather monitoring enthusiasts and offer a set of features which makes them very battery/remote monitoring friendly and along with Moteino they can make a very small battery operated node. There is a battery friendly sketch available.

Comparing readings between 2 units:

This is how they look fresh out the reflow conveyor:

GarageMote R2 released

Happy new year folks!
The blog has been silent for a good while. For now I will just announce the new R2 revision of GarageMote and hope to catch up later. Here’s what this new revision consists of, and a few photos to show it assembled/installed:

It is mostly the same as before, but it includes the following new or changed features:

  • R2 kit comes with new unipolar hall effect magnetic sensors; the pinout is the same but these sensors can detect both north/south poles of a magnet, hence easier to install without having to orient the magnet a certain way for detection.
  • R2 kit includes magnets (rectangular ); these are better than round magnets that I’ve personally used before. My opener belt stopping point is a little variable so the length of the magnet helps keep the fixed sensor “in range” to avoid the sensor missing the magnet and trigger an UNKNOWN status.
  • R2 kit includes a 1×8 screw terminal for easy mating with the provided cat5 cable
  • R2 kit includes a momentary button between GND and D3 – no code released for this (yet) but this can  be used to add a function to your GarageMote – like SYNC-ing with a SwitchMote so you can open/close your garage from a SwitchMote button, how cool is that!
  • new 2.1 barrel jack for optionally powering the unit from an external 2.1mm jack power supply, commonly available on ebay or at major online electronics retailers

You can find the new kit in the online webshop. The assembly/programming/usage is published here.

Motion-OLED-Mote kit released

I am pleased to announce the release of the Motion-OLED Mote Kit. It is now available in the webshop. This kit can serve as a wireless motion sensor, mailbox notifier, display monitor for your wireless network. It’s extremely convenient when you just want to see if there is motion somewhere in your house, or if you just want to check your snail mail, without the need of a gateway or anything else – just build a MotionMote and an OLEDMote, keep one where motion needs to be detected and watch the messages coming on the display on the other unit. The onboard buzzer and LED give additional options to indicate visual and audio alerts when an event happens.

The kit contains most of the following components, depending on whether you order a Motion or OLED version. For more details about the assembly, programming, and usage you can visit this dedicated page.

This kit will build either one of these two display or motion-sensor units:

October 2014 updates

Maybe not really obvious but a lot of stuff is going on at the humble Low Power Lab. Let me just throw in some announcements and updates:

  • Moteino R4s, MoteinoMEGAs and ATXRaspis are now coming in ENIG gold finish. This is to move towards more professional looking PCBs and to meet RoHs lead-free status. This costs a bunch more to make but instead of raising prices I actually discounted the Moteino options and will do my best to lower prices even more. I am trying hard to keep Moteino a high quality product at an affordable price for makers and businesses alike.
  • I’ve been busy putting together the requirements for my THP entry. The top 5 finalists will be announced around October 13. If Moteino Framework makes it in the finals that would be quite cool, but would put more stress on me to meet the extra criteria required by end of October.

  • One of the things I’m working on is getting a Motion-OLED shield for Moteino ready for production. Here’s a peek of it:
  • I’ve been having a blast with my new pick and place. I am transitioning all my designs to panels and adding fiducials for vision correction. I can’t help but mention that there’s a world of difference between professional machines and “DIY Open Source” type of machine that are just toys. Before getting my assembly equipment, I was doing manual assembly with a $20 modified aquarium pump and reflowing in a slightly enhanced toaster oven. Other than me physically being there I still think my previous methods were better and more productive than a lot of these makeshift pick’n’places.

    Something tells me that people are fascinated with “DIY open source pick and place machines and 3D printers” and other not really “connected” devices which was the main point of the Hackaday Prize contest. I know exactly why we’ve not seen even one such successful Pick’n’Place project, not even close, and my prediction is we will not see one too soon either based on my experience with a real one. I will expand on that more extensively in a future Pick and Place article.

  • There is a new revision of PowerShield, mostly PCB changes and making stuff more obvious to understand and use:

MoteinoMEGA available now!


UPDATE: Library/Eagle files/MEGA Arduino Core/Example update notes are here.


It’s alive and it’s BLUE!

After long PCB manufacturing delays and a lot of headaches, the PCBs finally arrived, and I assembled the first batch of MoteinoMEGAs today and they are available in the shop.

Other news:

  • MoteinoUSB is also back in stock now.
  • Worth noting that all Moteinos have started to ship with MCP1703 regulator which allows up to 16V input.
  • MightyBoost is being worked on and should become available in a few days if all is well.
  • There is a major release of patches coming to the RFM69 library, wireless programming library, SPIFlash library, along with the new MoteinoMEGA arduino core that will be released soon.
  • DualOptiboot is will also be upgraded to V5 and is compatible with Moteino, MoteinoUSB and MoteinoMEGA. All these boards are wirelessly programmable via DualOptiboot and the FLASH chip. The MEGA board will have a limit of 64kb wireless image upload even though the total flash available is 127/128KB (DualOptiboot takes 1K).

Documentation and product pages are being worked on, so stay tuned for all these releases. Here is the pinout diagram for MoteinoMEGA: