
This post will walk you through a dimmer enhanced laminator mod that allows an alternative method to transfer toner to PCBs or metal stencils.
The clothing iron transfer method works pretty well to make metal stencils. But for larger stencils it might not be so feasible, and a lot of people reported that they could not get a consistent transfer with their irons, maybe because not all behave the same. I have to say there can be lots of potential points of failure in this process. It’s a lot of trial and error, and my stencil tutorial was meant to help with eliminating some of those failures that I’ve gone through. I decided to try the laminator mod to see how that works compared to the iron.
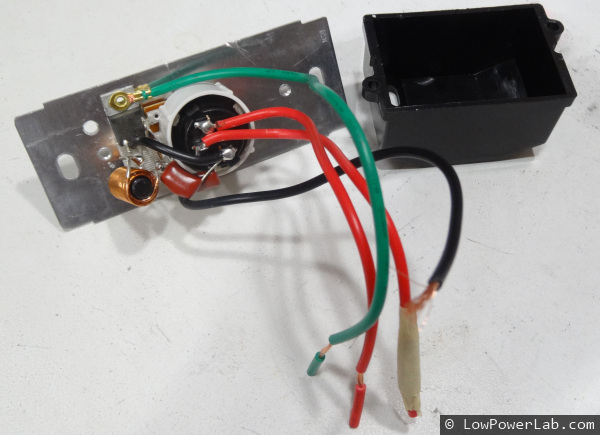
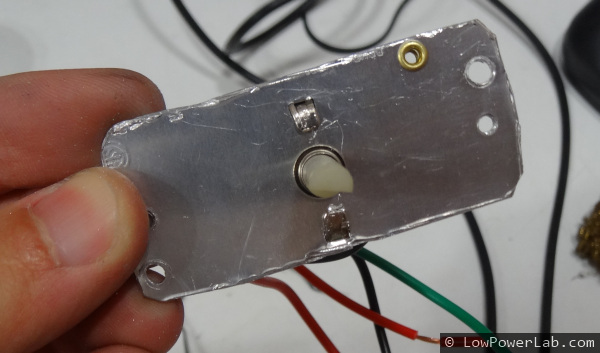
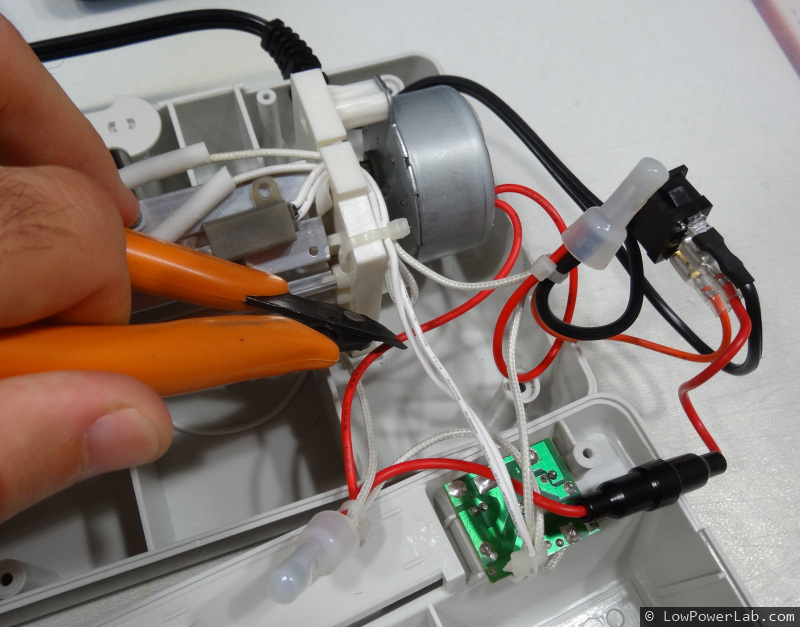
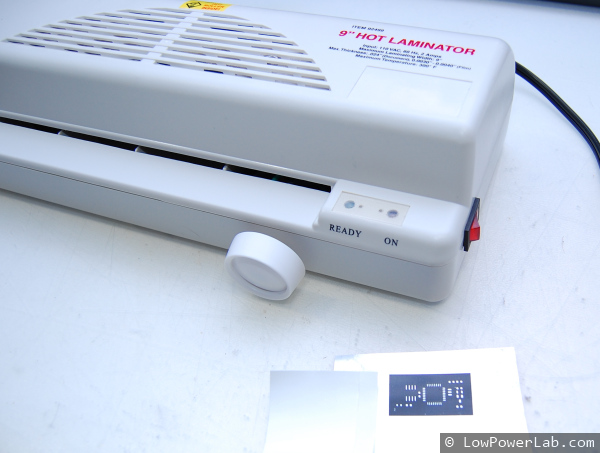
Jared has left a comment suggesting a laminator from Harbor Freight that got him a perfect transfer, after headaches with an iron. He added a dimmer to it to slow down the motor. So I the other day I stopped by my local Harbor Freight and Home Depot and picked up the laminator and the cheapest pot dimmer I could find. The dimmer was too wide and didn’t fit in the laminator, I had to tear it down and trim the front aluminum plate and plastic backing. That was pretty time consuming, I tried a few different tools including a dremel which worked well for plastic but not for the aluminum, the one tool that worked well was a sharp edge pair of pliers which could clip off through the metal piece by piece pretty quick. I saved the rivets that held the plastic backing and a little epoxy can then go a long way to hold everything together.
 |  |  |
 |  |  |
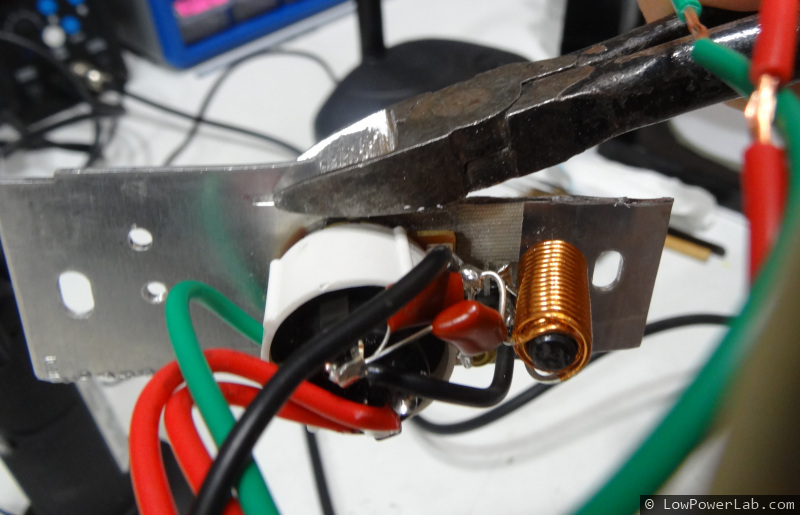
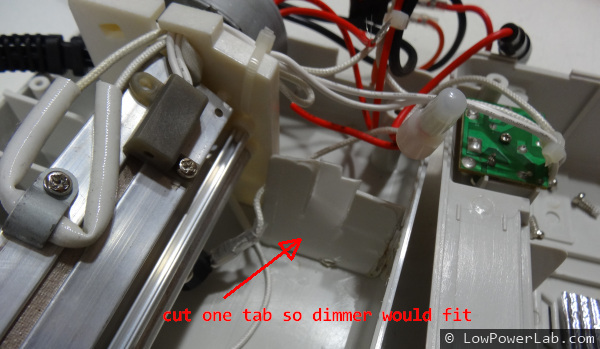
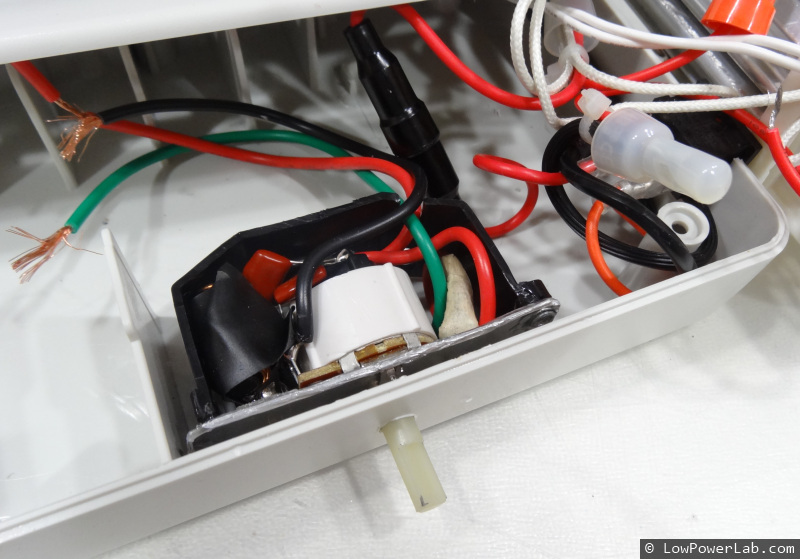
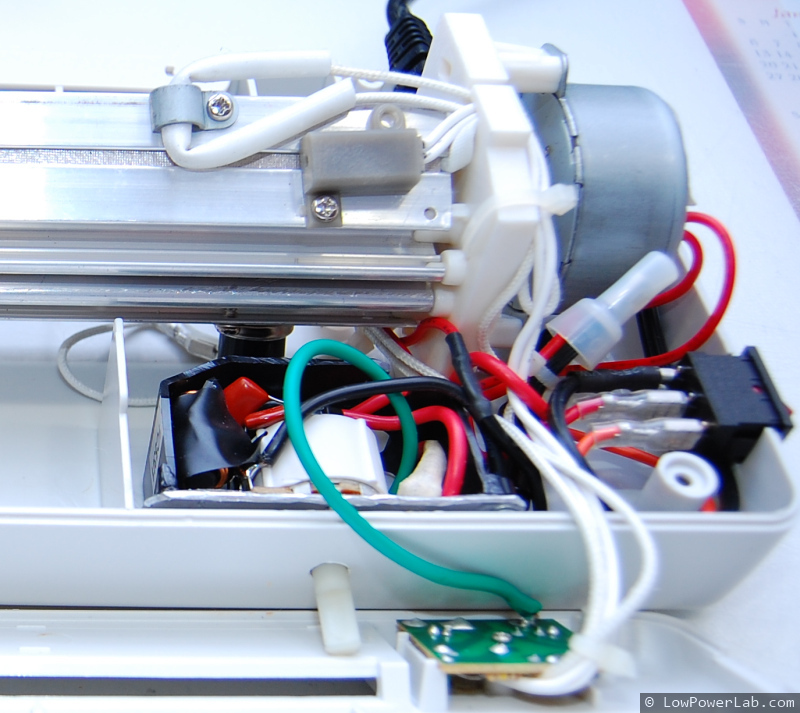
Next up I had to cut one of the plastic tabs to make space for the dimmer. Then I cut the HOT wire that powers the motor (which runs on 110V), the dimmer would be inserted between the cut wires. The dimmer has 4 wires: one unused for 3-way lights (red), 1 ground (green), one HOT input (black) and one HOT output from the dimmer (the other red). So black goes to the mains HOT, red goes to the input of the motor. It’s a simple hack but it was time consuming mostly because I had to trim down the dimmer to make it fit in the laminator, and then wait for the epoxy to cure.
 |  |  |
 |  |  |
I have different dimmers in my house and this dimmer has a dual function pot (turn and switch) so at first I didn’t realize it was off and on first power up of the modified laminator the motor did not turn at all and I thought I wired something wrong or the dimmer is bad but in fact it was switched off.
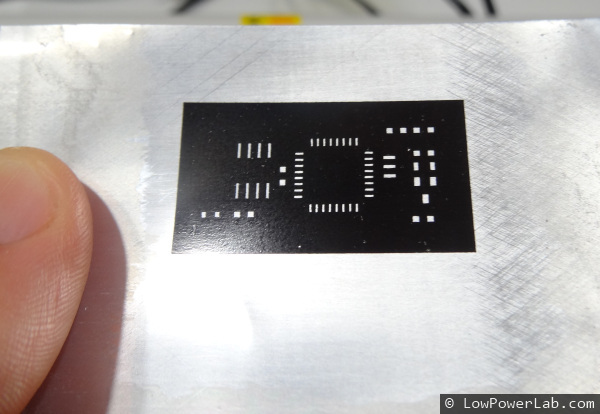
The first try didn’t go so well (see video), I didn’t slow down the motor enough. The second try was flawless, perfect toner transfer, exactly what I wanted. I have to say you have to slow it down as much as possible for a perfect transfer. It will take a while and that’s a downside compared to the iron method, but it won’t require manual assistance, and it makes it possible to make much larger stencils.
So overall it was a nice mod that proved useful, I love hacking things so I don’t mind the $30 and 2 hours I spent on this. Use some sharp pliers to rip away the aluminum and plastic casing of the dimmer, works better than a dremel (very messy and eats up your blades fast) or a coping saw.
I saw other laminator hacks, typically the mod involves exchanging the gears between the rotors and the motor to slow down the rotors, but that’s a fixed speed and when I tried finding on of those laminators that would allow that it was very hard to find on ebay and/or expensive. I even tried a ~$100 laminator from the office store but the gears could not be swapped, so I returned it and gave up in favor of the iron at that time.
Do try this at home, but only if you know what you’re doing, bad mains wiring can do a lot of damage or it can kill. Be safe, and use a GFCI outlet when you’re done hacking.