RaspberryPi home automation gateway – Intro

The title is actually incomplete but didn’t want to make it too long. What I’m about to describe is an initiative on how to put together an encrypted, authenticated, realtime, RaspberryPi powered home automation gateway. It will be a few separate posts that will go from concept to implementation, using a real world example of how to control something in the house. I’ll break it down and explain the big picture and each part that needs to be addressed. But first, a little more background and reasoning behind this effort.
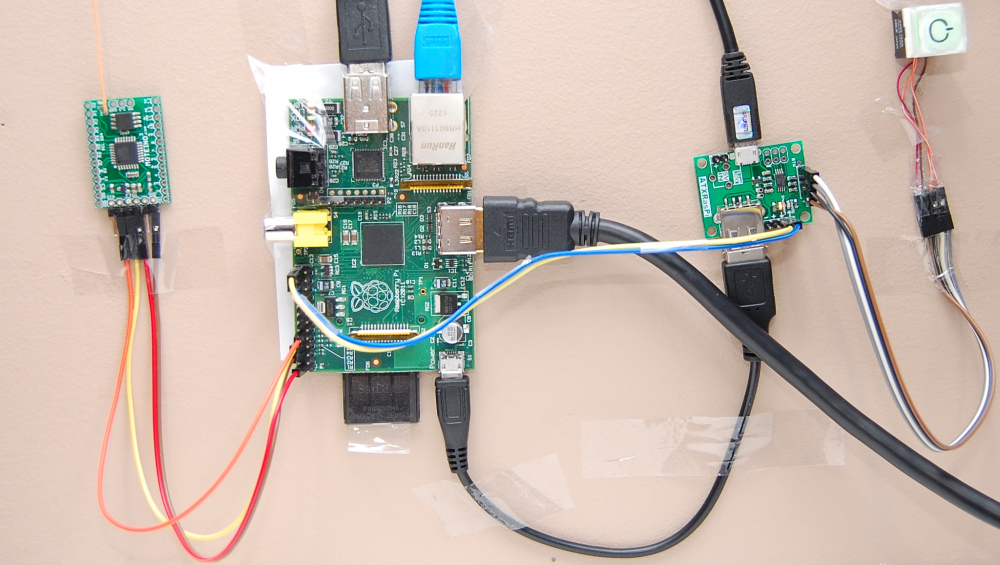
My makeshift home automation gateway

Above you can see my temporary gateway setup. It’s very simple – I have a RaspberryPi powered through an ATXRaspi, and a Moteino which acts as the gateway to my wirelessly controlled house. It’s hard wired to my home router because the wireless adapters are simply junk, not reliable. Also hooked up to a monitor and keyboard.

I’ve seen tons of blogging and articles on how to make something blink, turn a servo or LED on, even do more real things like turn ON lights, change the thermostat or control some household appliance, from your smart phone. All cool and dandy. But almost everyone seems to completely skip security. The blog posts end when the LED or light turns on, and everyone seems to be super excited about the cool thing they just did. But I’m left there with a raised eyebrow wondering if those people know what they are doing. Security is of major concern to me because if I hook up my garage doors, lights and perhaps other appliances to the interwebs, I don’t want unauthorized access. Is that a nobrainer or am I paranoid? Continue reading →
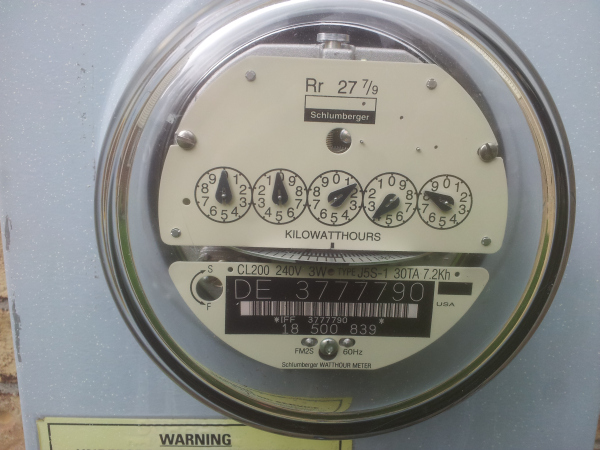
Smart meters installed in my neighborhood

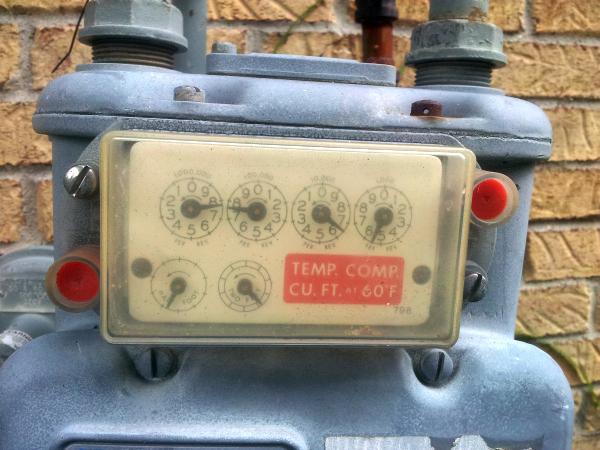
About a month ago I got a notice in the mail from DTE saying they will begin installing smart meters in my area. I didn’t expect that to happen soon since the last time I talked to them on the phone they said it was not being planned at that moment. To my surprise both the electric and gas meters were replaced/updated last week. So things can happen fast. Here are the good old meters:

I was home on both occasions and the old electric meter was removed and replaced with a brand new Itron/Centron smart meter. Power went out for about 30 seconds. The gas meter was installed on a different day and I was happy to be able to snap some pictures. Continue reading →

Laminator dimmer hack for PCB or stencil toner transfer

This post will walk you through a dimmer enhanced laminator mod that allows an alternative method to transfer toner to PCBs or metal stencils.

The clothing iron transfer method works pretty well to make metal stencils. But for larger stencils it might not be so feasible, and a lot of people reported that they could not get a consistent transfer with their irons, maybe because not all behave the same. I have to say there can be lots of potential points of failure in this process. It’s a lot of trial and error, and my stencil tutorial was meant to help with eliminating some of those failures that I’ve gone through. I decided to try the laminator mod to see how that works compared to the iron. Continue reading →

Reflow oven insulation

My reflow oven is very low tech. I haven’t modified it at all and even so I’ve been using it to reflow thousands of PCBs ever since LowPowerLab started.

It has top and bottom elements, but the heat does not distribute evenly, understandably so – you can see through it. Sometimes PCBs that were on the inside edge would take longer to reflow. Air escapes in several different places all over the oven enclosure, especially on the bottom front and back:

It’s time for a small improvement, adding some basic insulation in an attempt to stop air flow, keep the heat in and hopefully make it more evenly distributed. Continue reading →

Temperature and RC-Calibration for RFM69

I added two new functions to the RFM69 library: readTemperature() and rcCalibration(). Thanks to John for contributing.

  • readTemperature() function reads the internal CMOS 8bit temperature value, it’s fairly useful for situations where temperature varies a lot and RC calibration would be needed.
    The Gateway example has been updated to reflect its usage.
  • rcCalibration() will trigger a calibration of the internal RC oscillator. This is automatically performed at power-up according to the Semtech SX1231 datasheet section 4.3.5. But it can be triggered with this new function, as John has mentioned in the forum that when temperature changes, the RC oscillator will be affected, and a dramatic temperature shift will result in a frequency shift as well, causing a link to possibly be broken (for instance when your receiver is inside your house at room temperature and the transmitter is outside in bitter cold winter).

With the combination of these two functions, you can now recalibrate the RC based on temperature change, and also report a rough ballpark of what the temperature is. If you need more accuracy, a separate temperature sensor like the DS18B20 should be used.


Mailbox notifier project upgrade

Time for an upgrade to my mailbox notifier. I long wanted to give it an upgrade and folks kept asking. Here are the things I wanted to change/add:

  • the transistor was a rather unnecessary complication and it made assembly more difficult. The hall sensor could simply be powered from a Moteino pin
  • a more weather proof enclosure would be nice
  • use more velcro to keep the thing from falling off (happened a few times when the mailman was more violent with my mailbox door).
  • how about battery voltage reading too!
  • upgrade code to use structs since all I’m sending is a bunch of integers
  • I wanted a standalone receiving unit with a LCD screen which I could operate from another 9V battery or just plug into an FTDI for quick reading. The other receiver on the RaspberryPi could still receive the same packets and still send an SMS

Clipboard01

Continue reading →

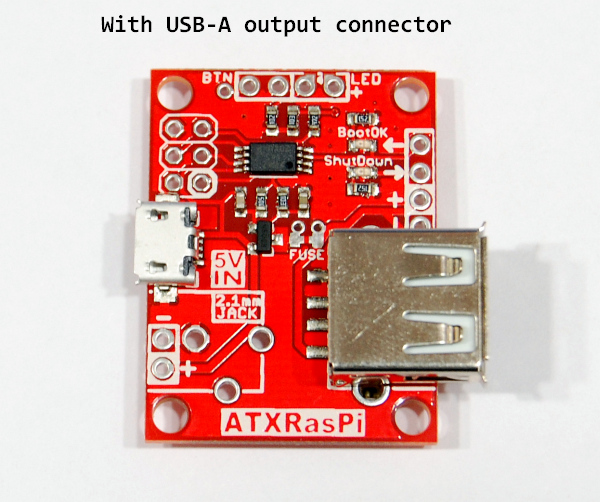
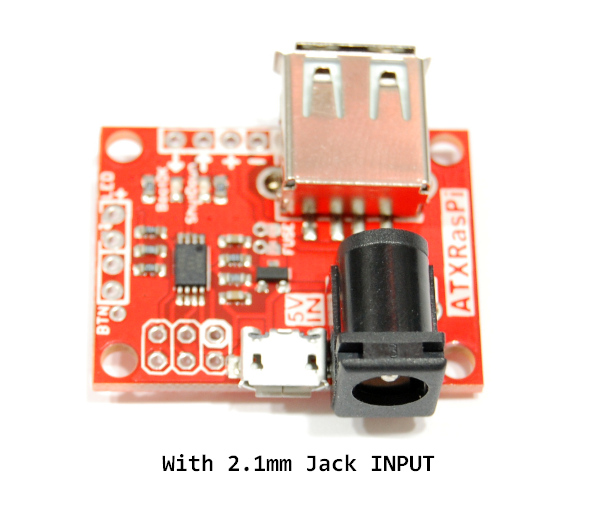
ATXRaspi 2.1 released

ATXRaspi now comes in red soldermask!
Other than that a few things were moved around a little to make more space for the 2.1mm barrel input jack which previously could only be soldered without the uUSB connector.
The LEDs have been rearranged to match the “BootOK” and “Shutdown” silkscreen markings – each is now next to the relevant LED for less confusion.
Also the button is now taking only about 3 seconds to hold until a shutdown is triggered, and a total of about 7 seconds for an unconditional power cutoff.


Update & RFM69 lib bug fixes

For those wondering what’s going on with the silence, I have been quite busy but I am continuing to work on improving Moteino and the libraries behind it. I hope to release news on what I’m up to in a few weeks.

The forums are now picking up activity and they are a good place to check out for various support questions that have already been answered and also to see what others are saying/sharing about Moteino.

I encourage you to keep an eye on the library source code on github for bug fixes. I am working to extend the RFM69 library and occasionally I find code that I can improve and even bug fixes. For instance right now I patched a fix for the setPowerLevel(byte level) function which was declared incorrectly as protected and also had a bug. This bug fix is especially important for those that have Moteinos with RFM69HW radios. Overall my feeling as I develop with the RFM69 library is that it’s becoming a more and more stable piece of code. I do rely partially on others to provide feedback and I appreciate those who can participate and submit suggestions.

Illustrated guide to making a simple solder paste application jig

DSC_0962_wFor a few months I used to tape scrap PCBs on my work desk and apply solder paste there. It was the quick no-brainer solution, but the more designs I had to assemble the more issues I started having with this method:

  • I could not accomodate more than 3-4 stencils at one time
  • it was pretty annoying to keep exchanging the stencils and rearrange the outer PCBs
  • it was taking a lot of space on my work desk even for only a few small stencils
  • Since everything was taped down, I would always have to be careful not to work in that area and bend/damage the stencils

So it was time to step up a little. I had some left over MDF material from making the workbench top plate, perfect for what I had in mind. I like quick solutions that return a lot on the little investment I make. Continue reading →

RFM69HW transceiver now available

Finally it’s here, the high power version of the RFM69W FSK transceiver is now available in the store!

This is a relatively new transceiver from HopeRF, suggested replacement for RFM12B, RFM22B going forward. Some rumors have gone around that those transceivers might be phased out, but HopeRF has told me there are no such plans, however they do “recommend the RFM69 in place of RFM12B/RFM22B for new designs”.

Based on my range tests, and on some feedback, these might be an ideal RF platform for RC controlled drones, even the RFM69W should give you a pretty long range, especially in open air.

RFM69HW

The RFM69HW is a 20dBm output power transceiver. In my open-air range tests I ran out of space at around 370m with this one. So potentially these will go significantly farther. The tests were done with my Gateway/Node example sketches, at 55.5kbps air bitrate, 50khz frequency deviation. If someone has better results with other settings please let me know.

They are powerful but will need more current to work, 130mA in transmit mode (for a short few milliseconds while the packet is modulated/transmitted), and the same 16mA in receive mode. So far the Moteinos in their current configuration seem to handle the high current spikes just fine.

HopeRF has suggested that 868Mhz units can be replaced with 915Mhz units that are loaded with 868Mhz settings. I have verified this myself with range tests and I don’t see any significant difference when using 915Mhz units at 868Mhz. Hence if you need 868Mhz units please get 915Mhz units and initialize them with settings for 868Mhz.