Radio Thermostat CT-50 Review and install

I mentioned before that there’s added support for HTTP requests in the gateway interface. That allows using things like wi-fi thermostats, and this story is a review of how I did just that.

I wanted to integrate the home thermostat into the Moteino IOT Framework Gateway and be able to control the thermostat remotely without hacking into it, building my own thermostat which would not look as good as a commercial one. I also want to avoid using the default cloud interface that comes with these thermostats. I don’t want the company to know my habits and datamine and profit from that, and also I want the thermostat to be integrated with my existing automation interface without having yet another app on my phone just for the thermostat.

I researched for an open API WiFi thermostat and I found very few and they are typically expensive, except the RadioThermostat CT50 which was around $100 including shipping. Here’s another example of a Venstar alleged open API thermostat but price is prohibitive and I could not find API documentation. If you know of a good one post your comment below!

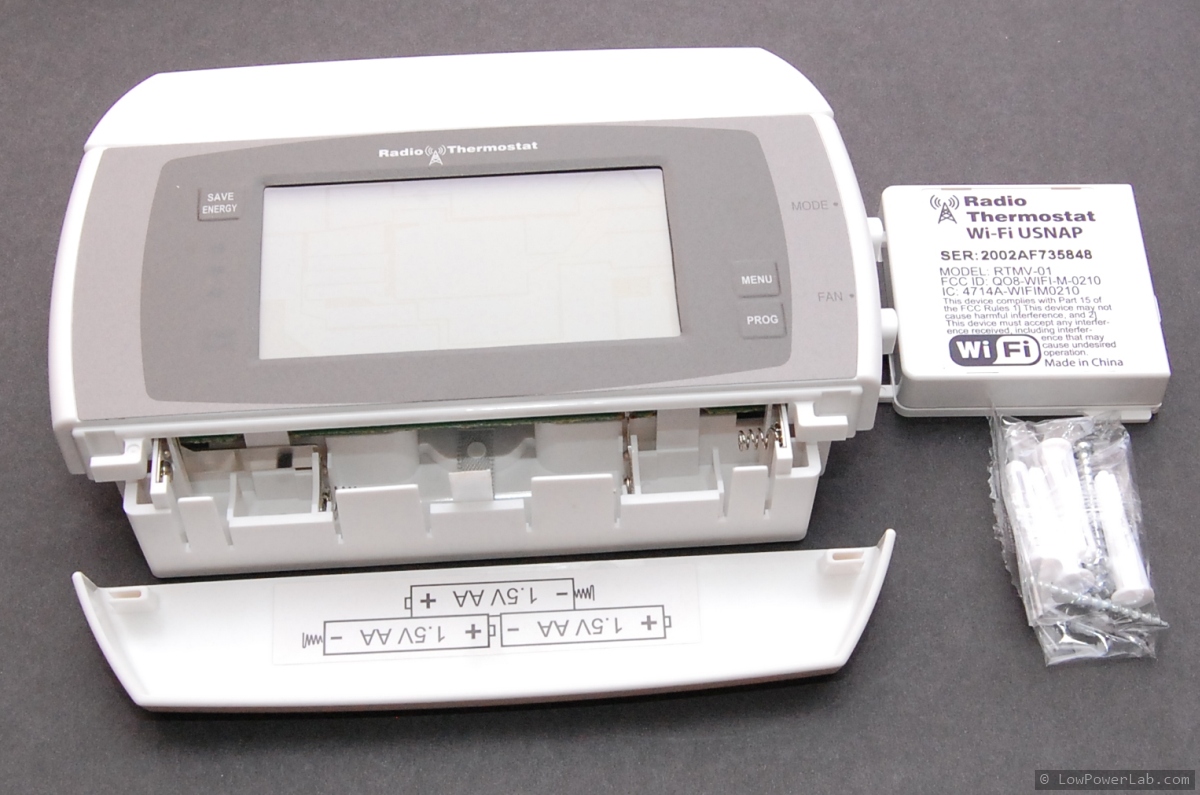
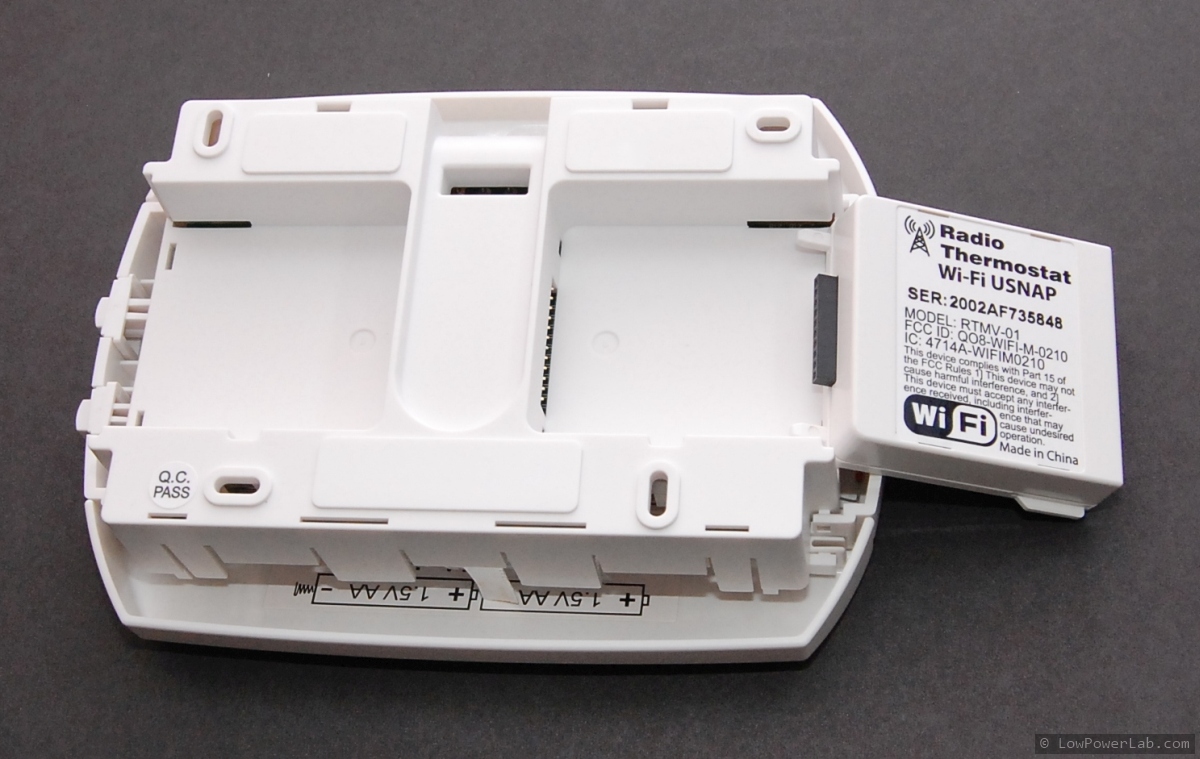
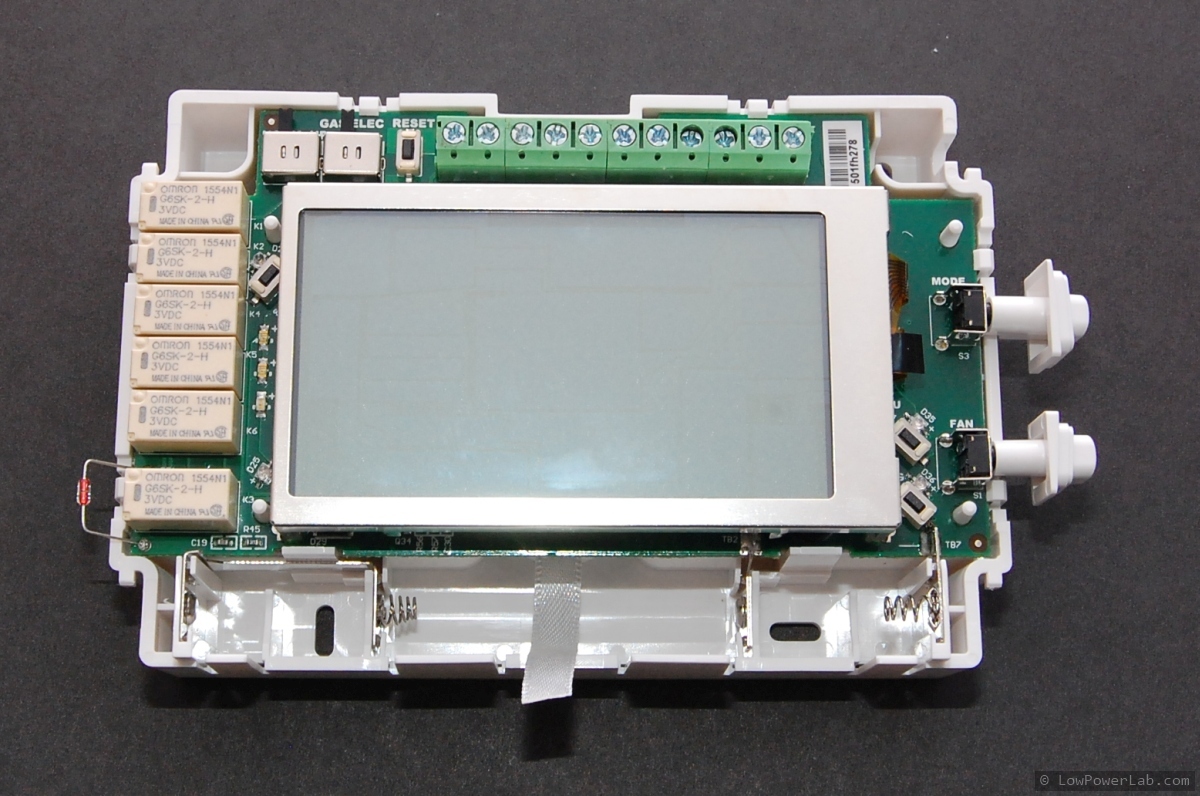
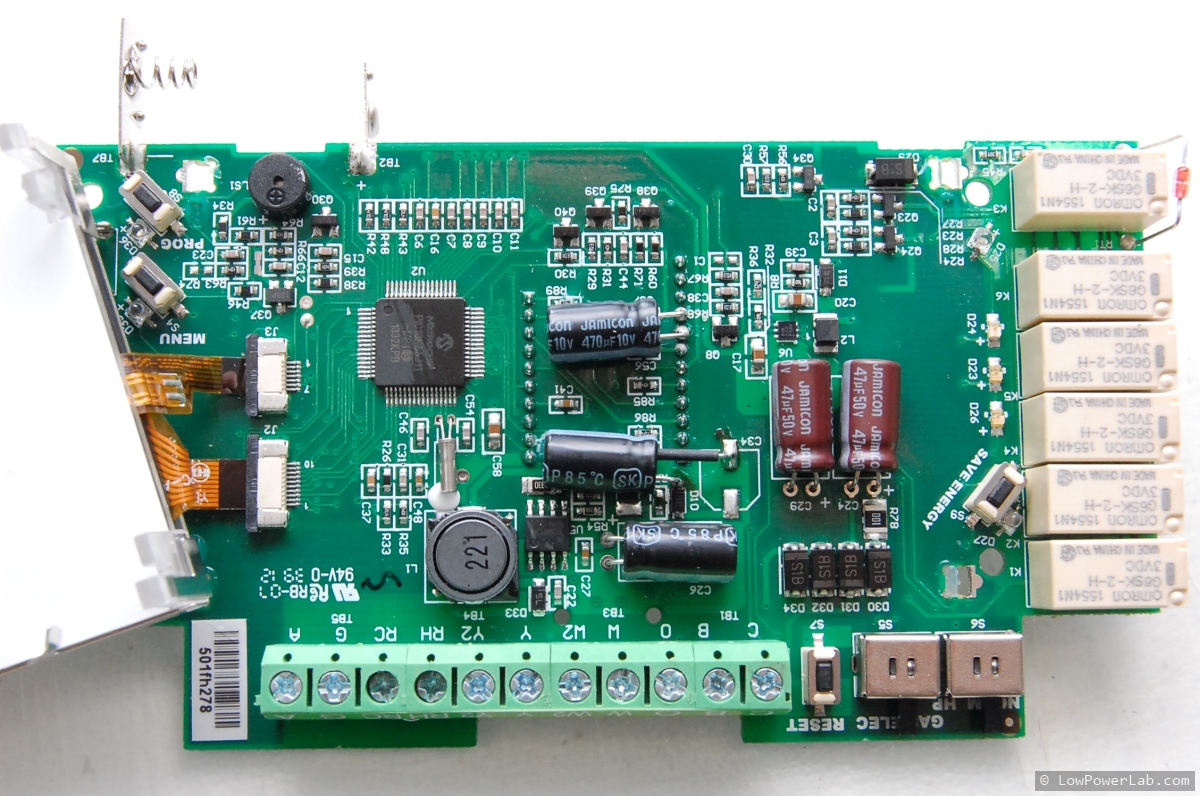
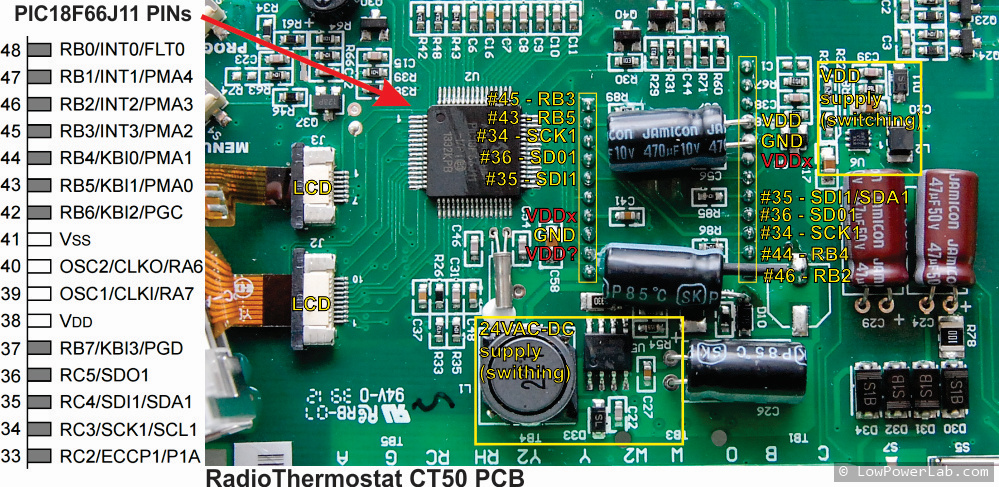
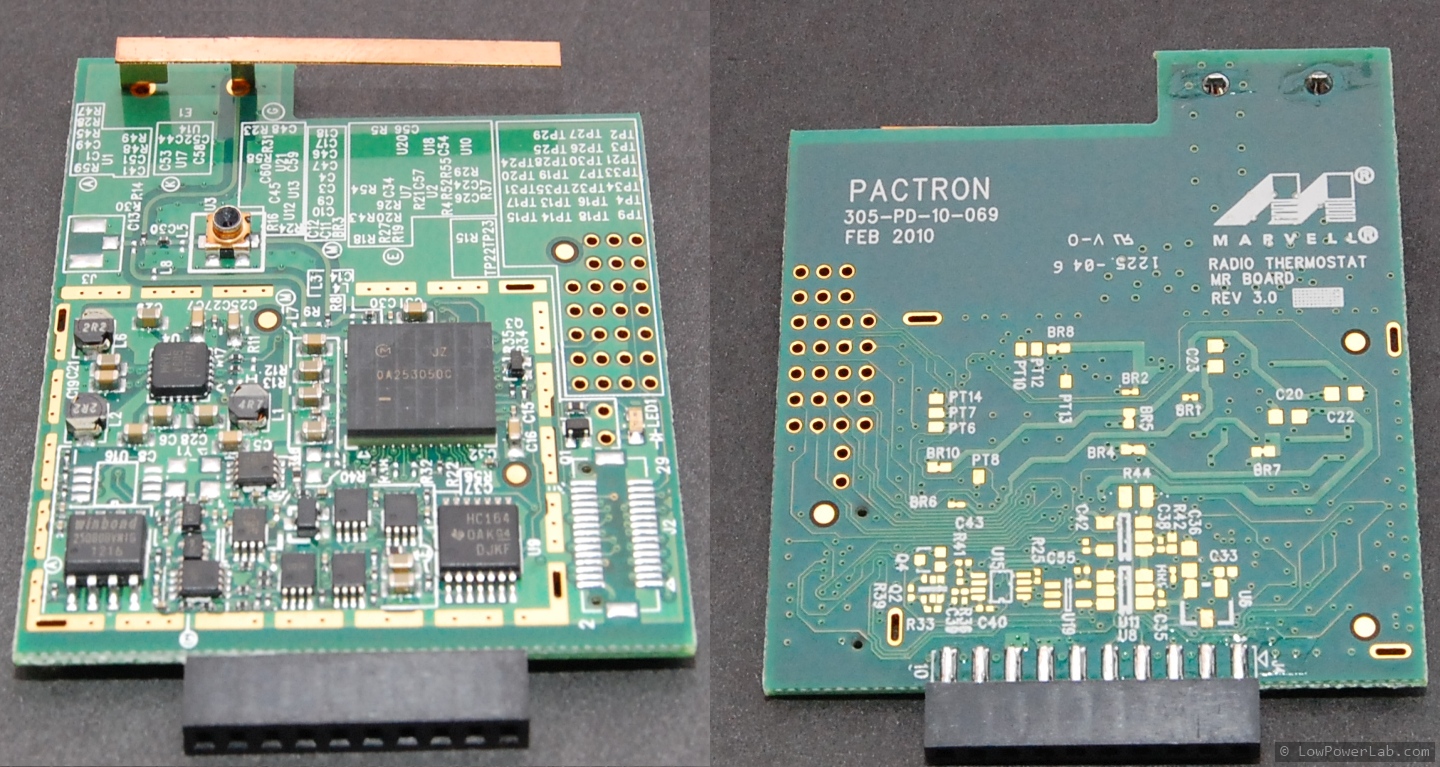
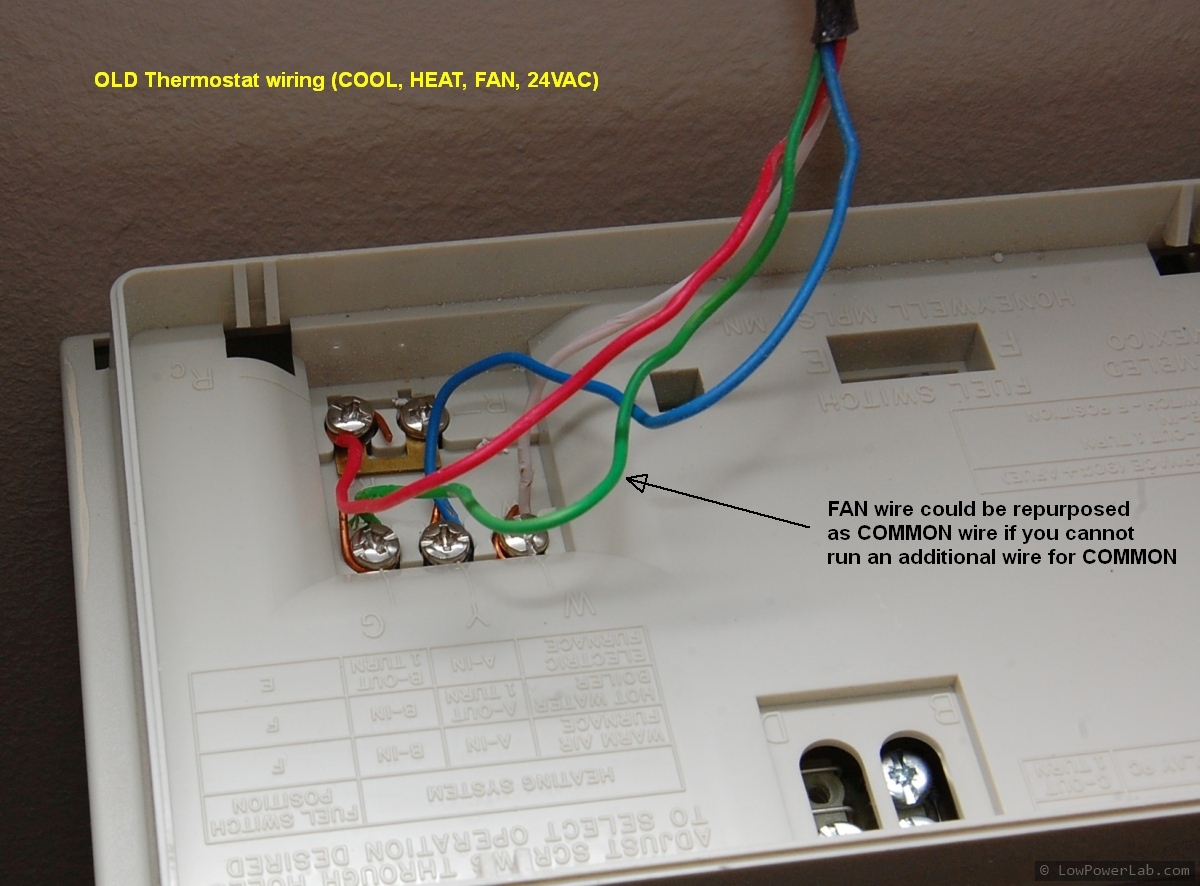
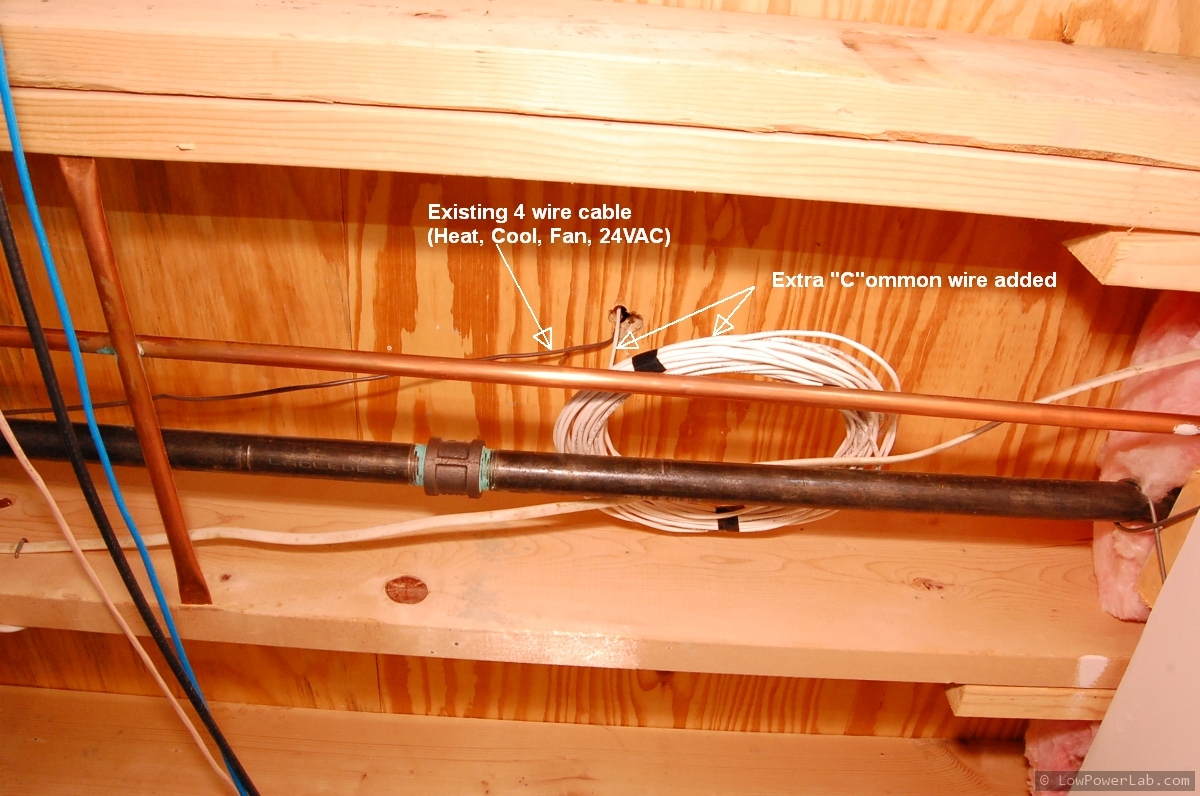
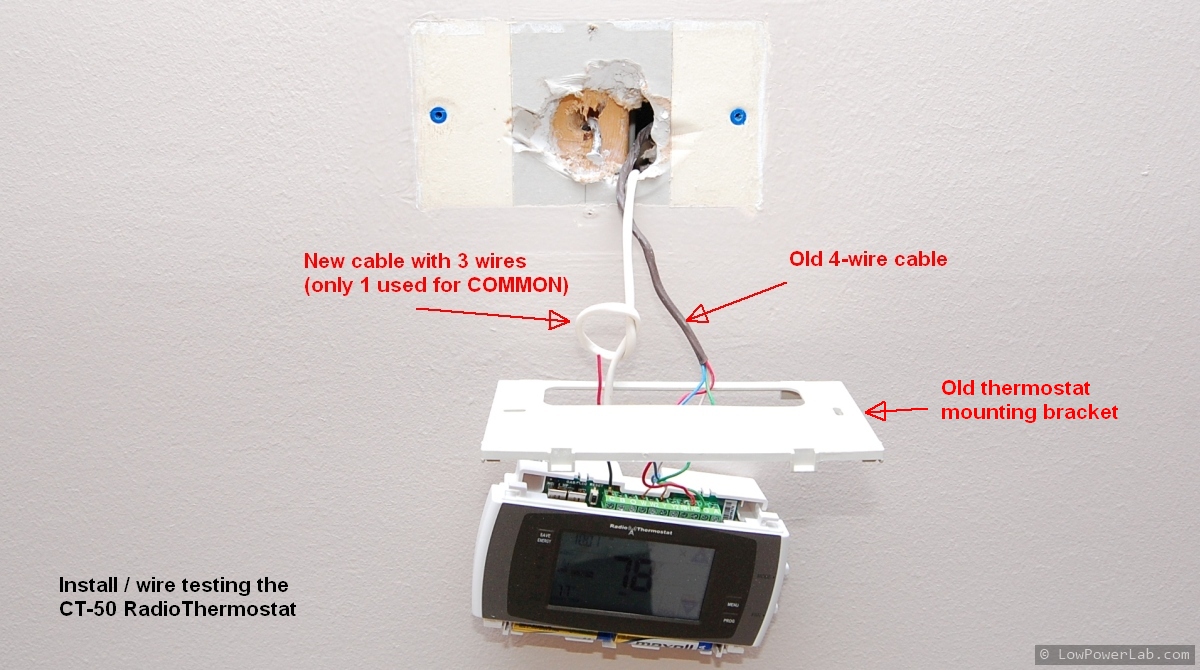
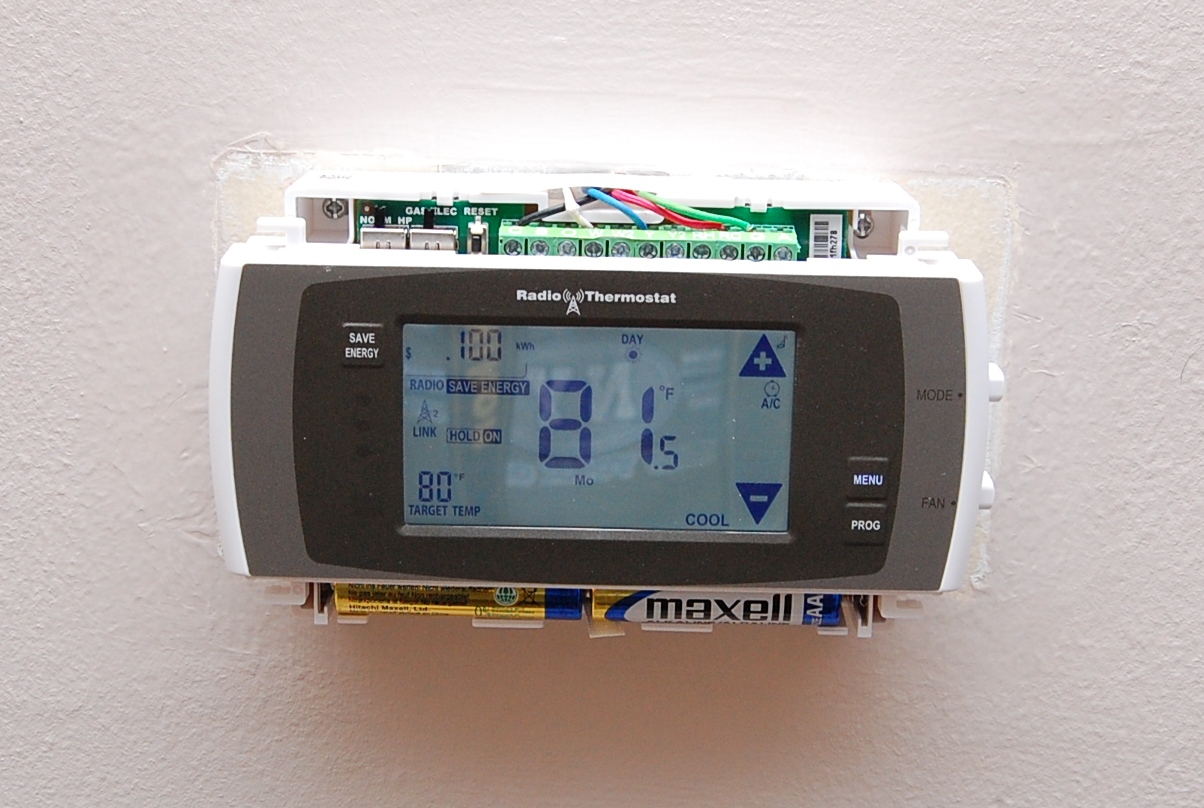
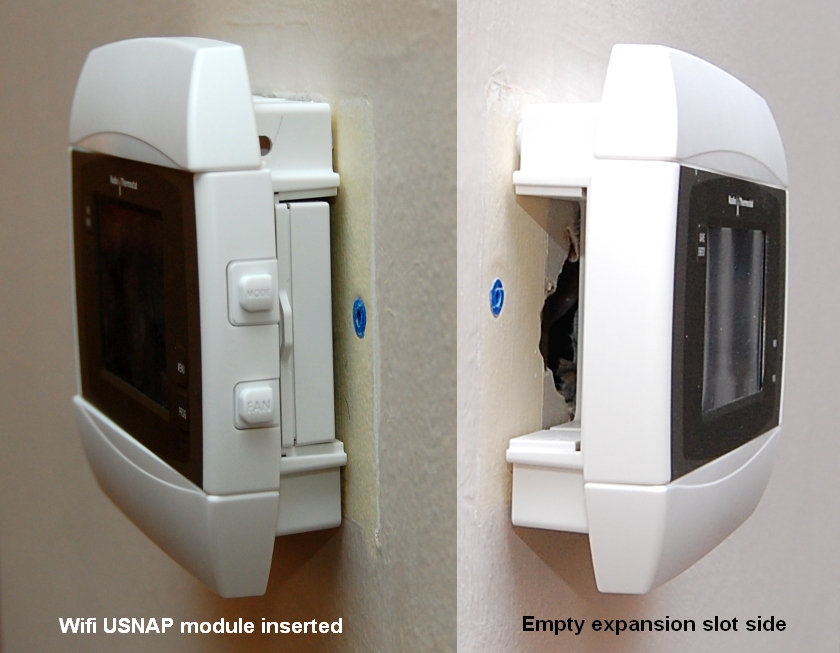
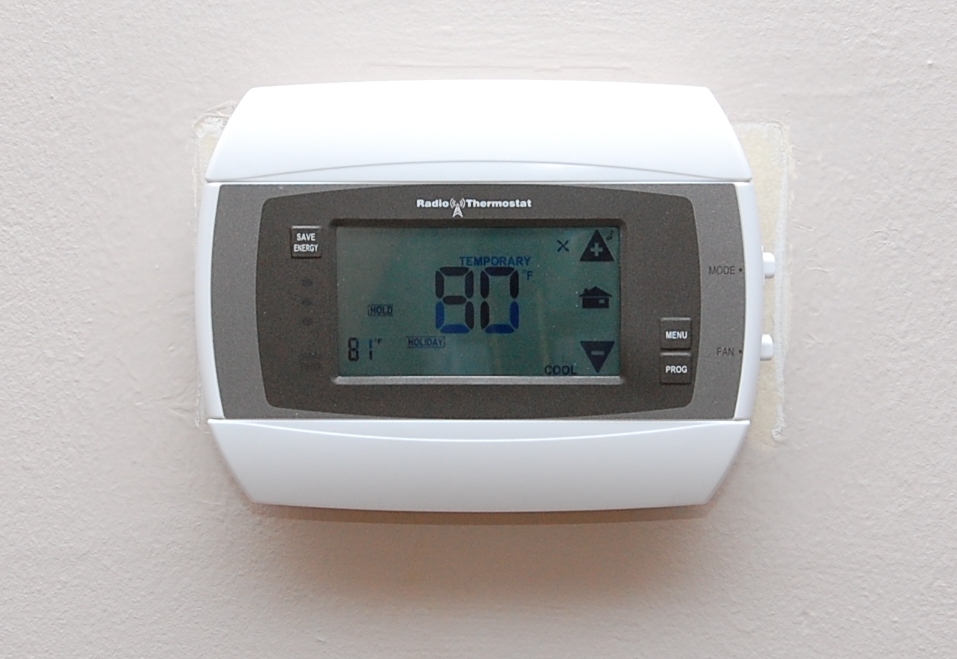
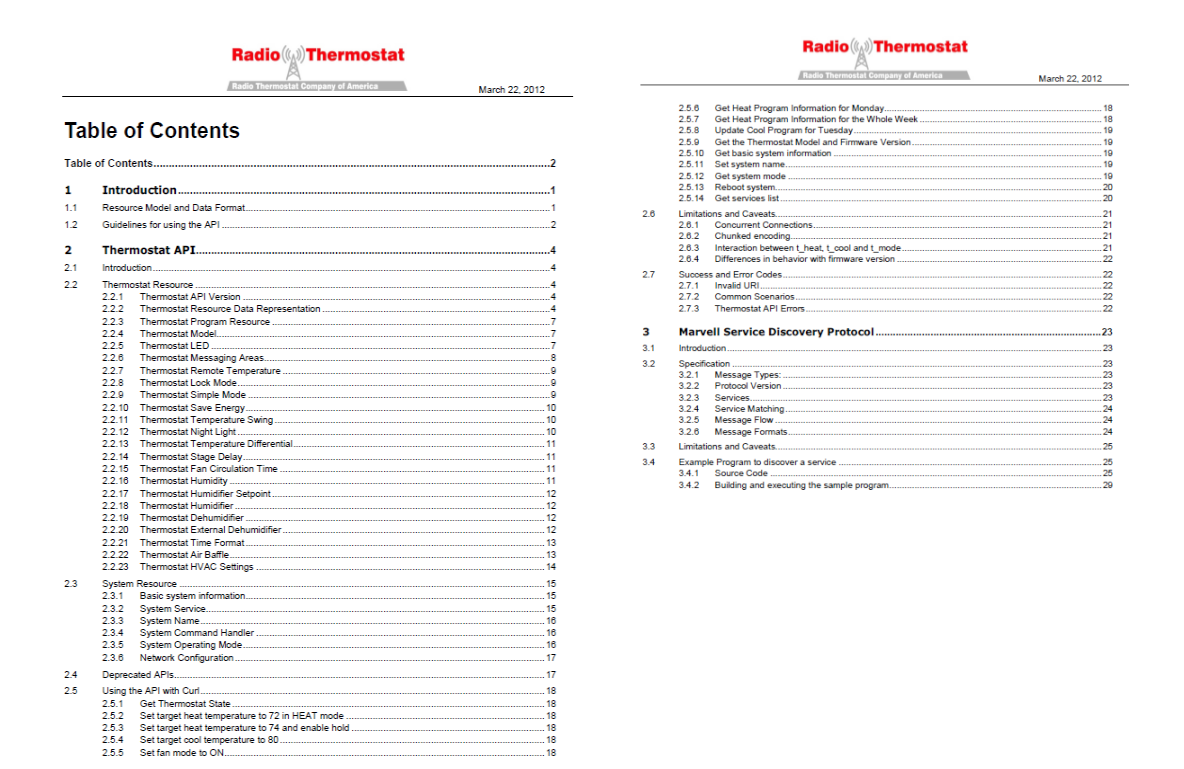
For a review of the features and install explanation please see the video above. I will only include the teardown and install photos in the video for reference and I think the overlay comments are self explanatory. The one challenge I had was to add an extra C “Common” wire for the new thermostat which requires a lot more power than my old basic thermostat, the photos below should tell the story, also explained in the video. Here’s a link to the latest API documentation I found, I saved a copy for my readers in case it goes away.

To integrate such a wi-fi device in the gateway interface, you will need to add a dummy node that will become your thermostat node. Adding (injecting) a non-moteino node to the gateway nodes collection can now be done as easily as this (in the terminal screen, type a new node ID and “NEW” in the msg box, click SEND):

Gateway_NodeInject

Then you choose the “Wifi Thermostat” as type, and once you pair it with your home wifi, specify the local IP address of the thermostat in settings.js.

I hope this inspires others to do something similar. Happy automating!

New products!

I am quite happy to announce a few new products (or new revisions), some of which people have been asking for a long time, now finally available at the shop!
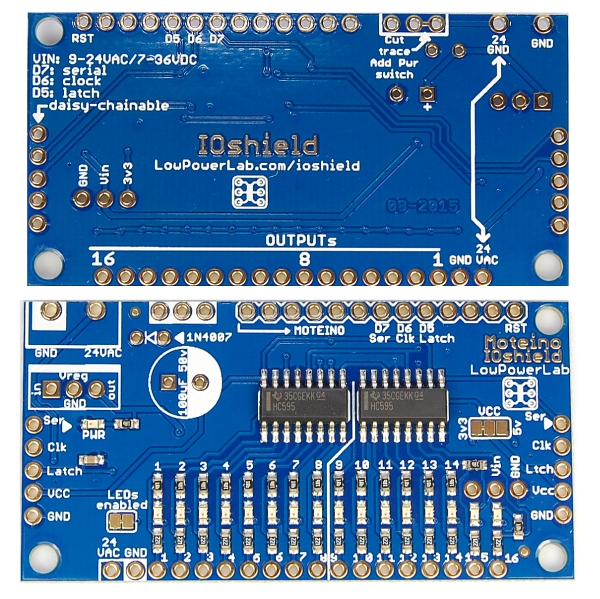
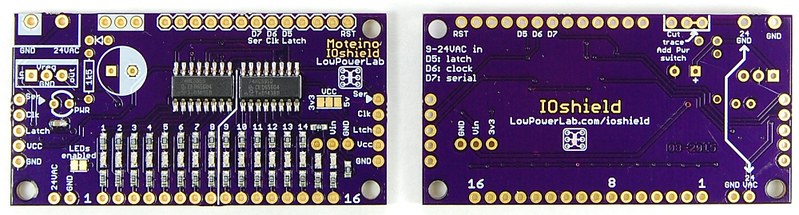
First there is the IOShield which is now available as an assembled PCB with optional “24VAC input package” which allows you to place it in places where you have 24VAC input, like I did in the wireless sprinkler controller project.

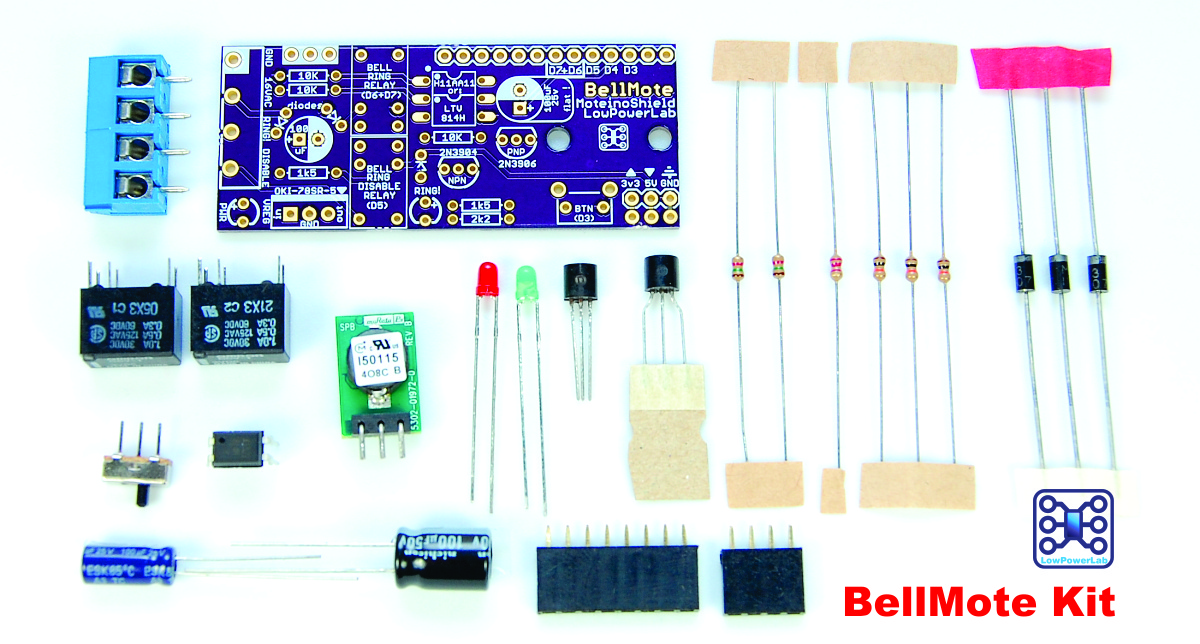
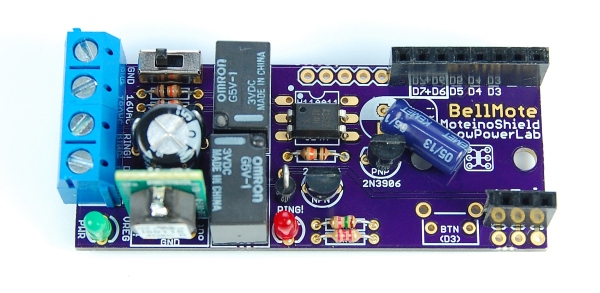
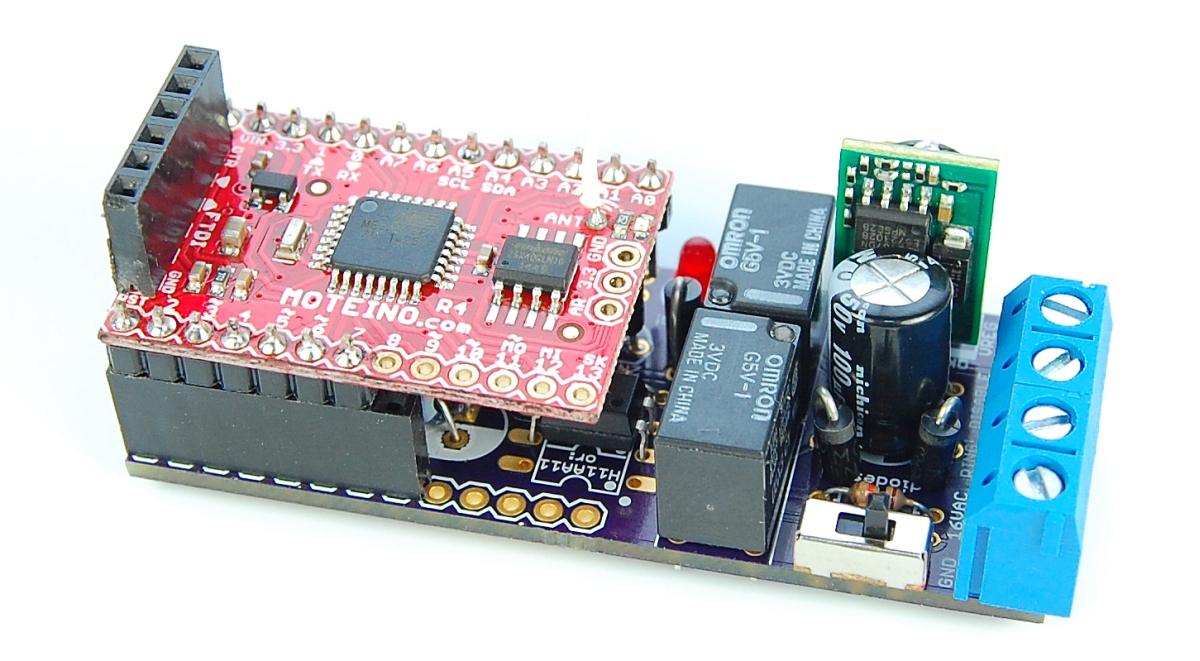
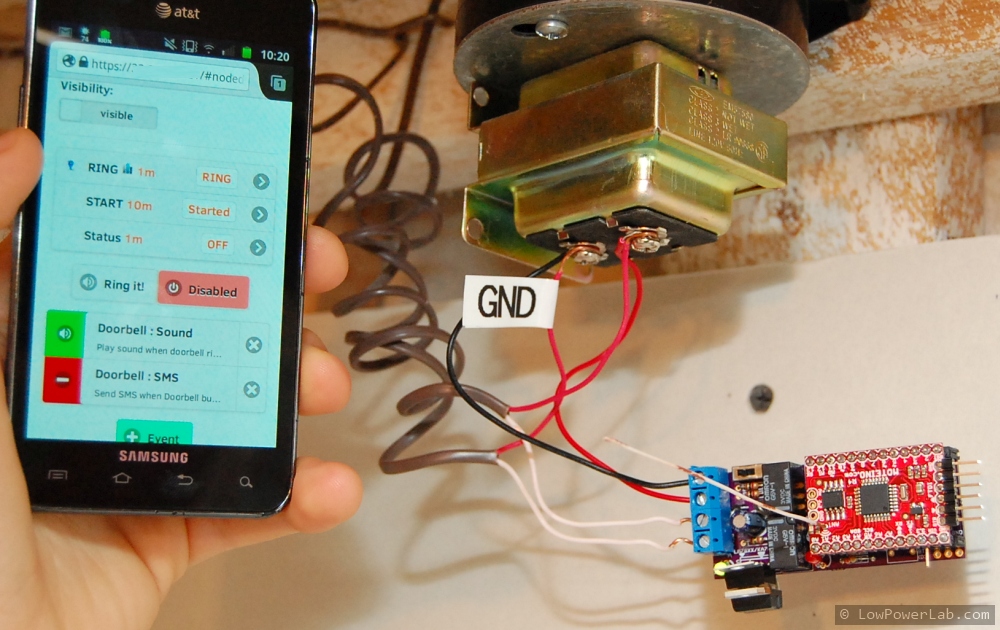
Then there is a small BellMote run with OSHPark purple PCBs. Completely automate your doorbell with this kit which allows you to detect, trigger, and disable your doorbell, all wirelessly via Moteino gateway.

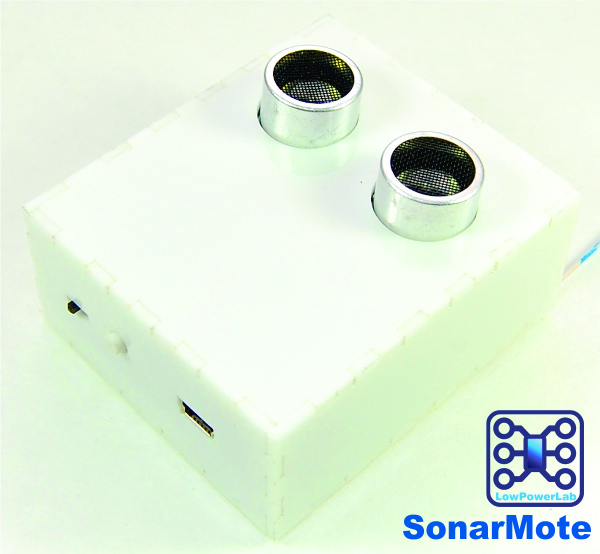
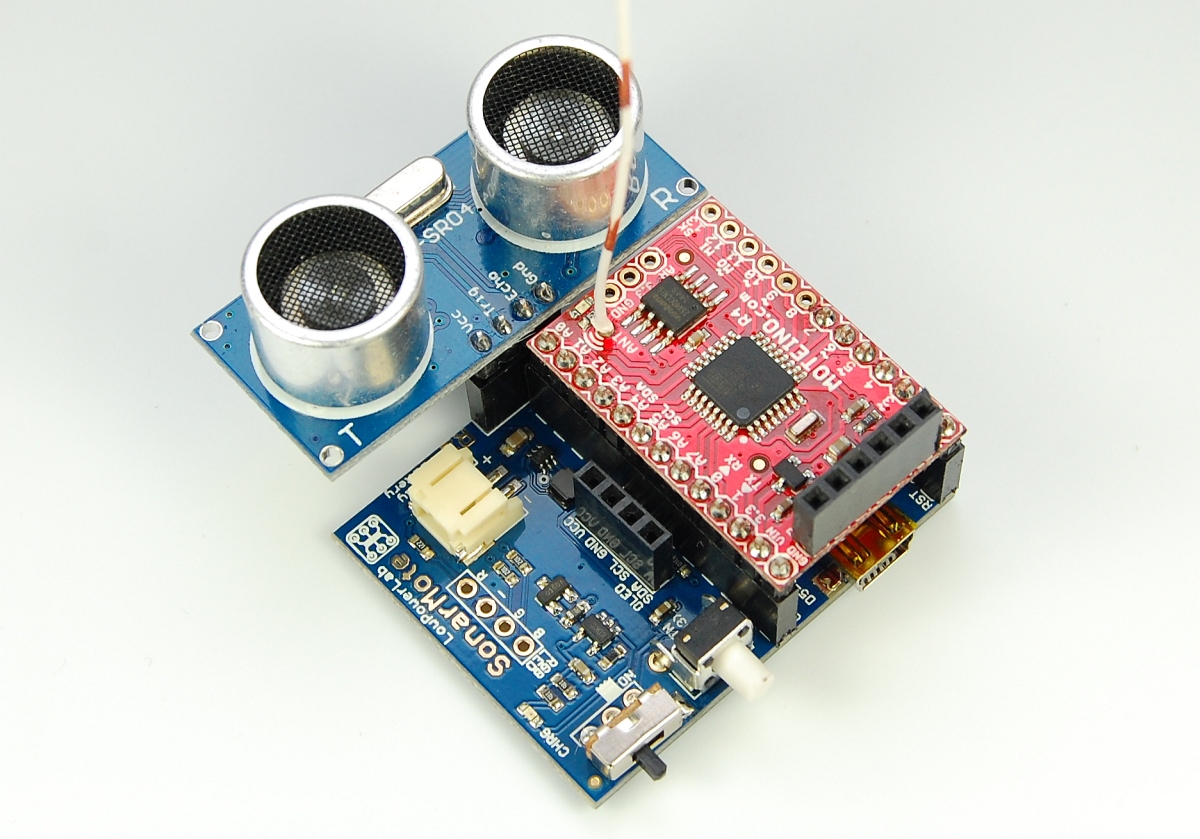
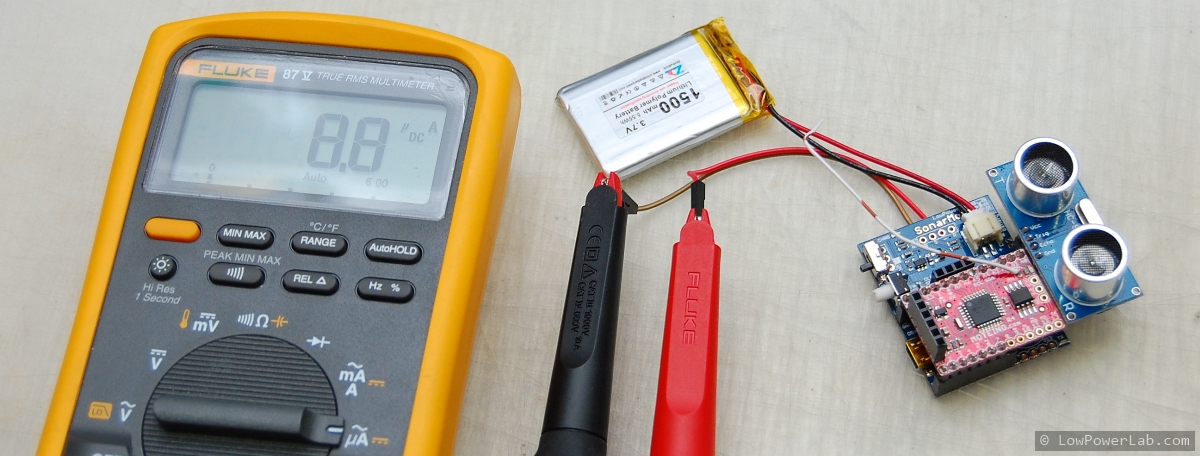
Next up is the SonarMote which finally has a new revision (R2) which addresses some bugs, has a simpler BOM and is even lower power – just 10uA average when the Moteino is properly slept – sample sketches here. A wide range of applications are possible, from parking sensor, inventory control, sump pump monitor, and others.

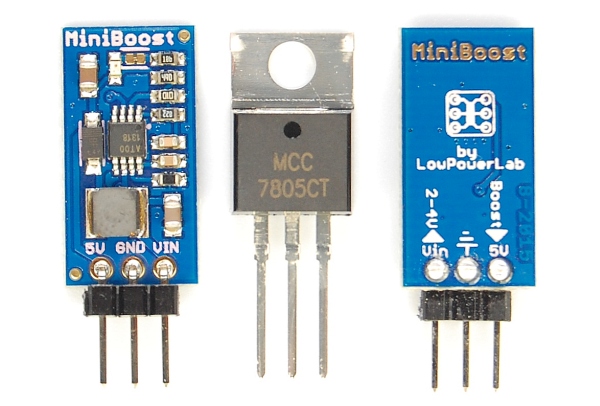
Finally we have the MiniBoost which is a small SIP form boost regulator that yields 5V from an input voltage of 2-4V. Up to about 1A is possible from a charged LiPo battery (4V) and will easily carry a moderate load like a RaspberryPi. It uses the same boost regulator as the MightyBoost but the SIP size makes it very versatile for breadboard projects. It’s perfect for projects where you have a main working voltage of 3.3V but you have some sensor that needs a hefty 5V source. Comes with onboard green power LED. It has is the same pinout and size as the legendary 7805 regulators:

It takes a long time to go through prototype stages and then manufacture electronics of high quality, all as a small operation like I have. I hope to get more time to put more documentation and assembly instructions together for these kits and boards. Some of them have already been introduced as prototypes and have a fair amount of information available. There are also other things I’d like to blog about, just not enough time, stay tuned for more!

Gateway software update (v6)

The Moteino Framework Gateway software stack was updated and new sources are available at their Github repo, and also a new image with the changes is released (for the image link see the Gateway image page). Let’s call this v6, since it’s the 6th gateway image I’m releasing. This release addresses some bugs and adds some new features:

  • Added ability to make HTTP requests from a node using the node request module. This means you could include controls that trigger a request to some IP in the LAN/WAN and does something. This is really cool because it means we can have non-Moteino based nodes that speak HTTP instead of RF, like commercial wifi thermostats. Which leads to …drum roll…
  • …the addition of a specific type of open API wifi thermostat (Radio Thermostat CT50) that allows full control of HVAC equipment. I will review it and blog about this addition whenever I get some time. Also added a new node type and icon for the water meter:
    Gateway_ThermostatWaterMeterIcons
  • adding (injecting) a non-moteino node (ex for the thermostat I mentioned above) to the gateway nodes collection can now be done as easily as this (in the terminal screen, type a new node ID and “NEW” in the msg box, click SEND):
    Gateway_NodeInject
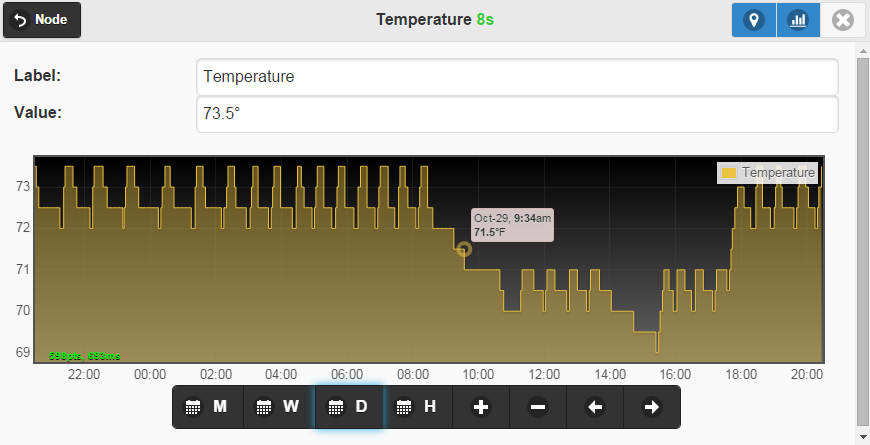
  • Graph auto scaling, requested and discussed in this forum topic. The yaxis scale will automatically scale depending on the data viewed, very useful for highly variable or granular metrics, see the thread for screenshots of before/after and specific code changes to allow this.
  • fixed a bug in the new log storage engine where negative data was stored as unsigned 32bit integers, thus being extracted as positive. Negative data should now be welcome.
  • don’t allow graph live incoming data values when the graph was panned/zommed into a specific region
  • migrated from sliders to top bar toggle buttons for node-visibility, metric-pinning, enable-graph. Sliders were a pain to work with.
    Gateway_pinnedGraphed
  • lots of other refactoring and optimizations especially in the metrics.js and UI areas

I hope you enjoy the new release.

Sprinkler Controller Automation

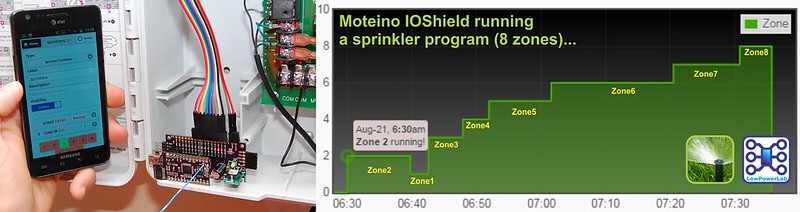
Another node type is now available on the Gateway automation interface: a sprinkler controller. This is achievable through a board I designed to be able to control many outputs. I call this board IOShield and it features two 74HC595 serial to parallel shift registers.The IOShields are daisy chainable and can take 24VAC through a buck regulator. Wireless control is done with a regular Moteino or MoteinoUSB and in a daisy chain only the first board would need the regulator and Moteino. These are now available in the web shop. See the overview video and details/code below.

I had an old sprinkler controller which worked just fine. But I had a few things I could be improved:

  • The programming interface was not really intuitive, definitely not user friendly
  • Every spring when it needs adjustment or sprinklers tested and fixes, it’s a pain to turn it on manually and then run in the far end of the yard to check/fix a sprinkler
  • Water is expensive and Michigan weather is unpredictable. I need a finer control of the sprinklers and the ease of turning programs or zones ON/OFF remotely, or when I’m away from home

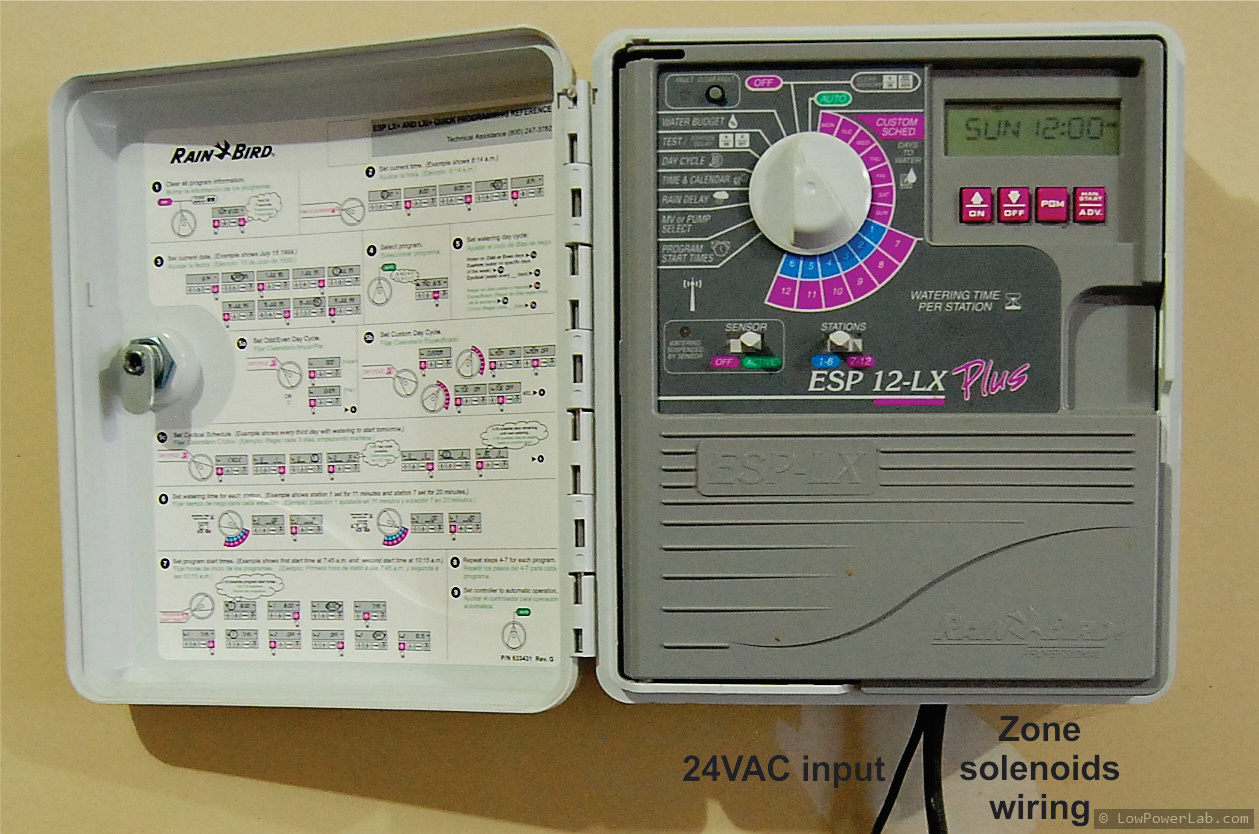
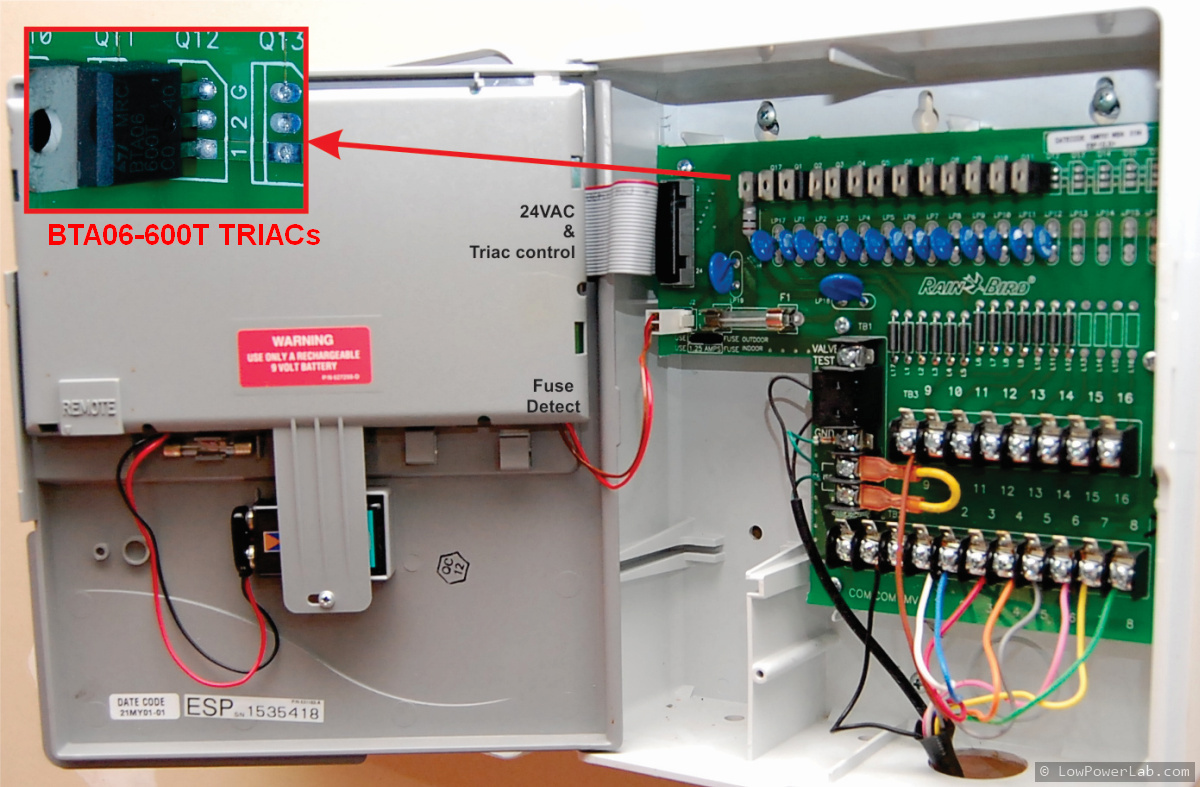
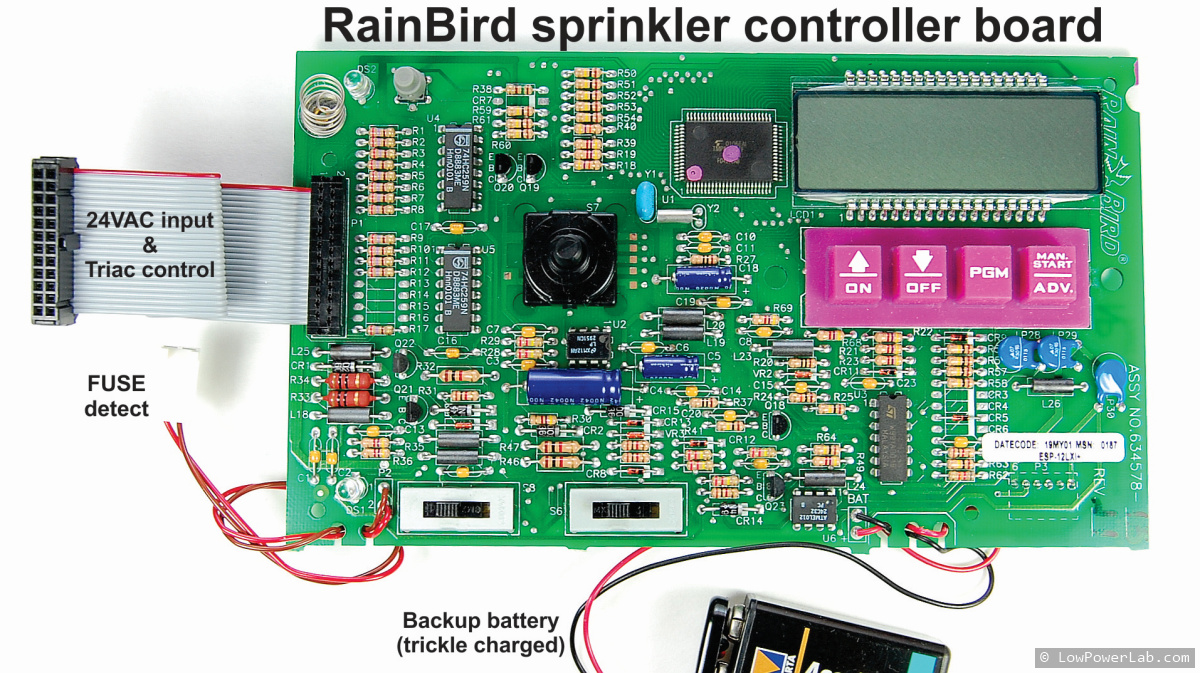
I took apart the sprinkler controller to figure out how it works. There are 2 boards, one hosts the 24VAC TRIACs and circuitry that powers the solenoids. The other was a controller board with user interface, LCD, buttons etc. This gets power from the first board and controls the TRIACs through a ribbon cable. A quick continuity test reveals the pins of the ribbon connector control the gates of the TRIACs, simple enough.

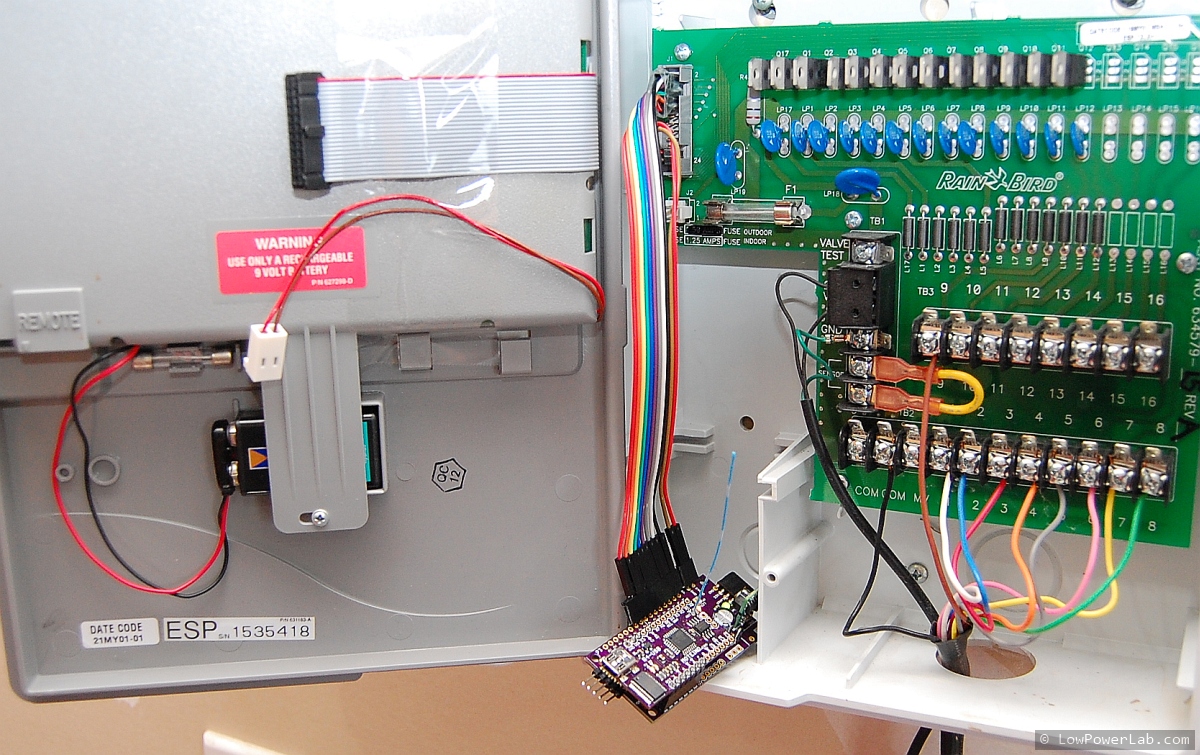
So I designed the IOShield to be able to take the same 24VAC input and power the Moteino and itself. I have 9 sprinkler zones, but one IOShield will support up to 16 outputs. I can use the TRIAC board and only tap into the 9 zones that are active. I can just use the first board with all the TRIACs and then replace the clunky standalone sprinkler controller board with the IOShield+Moteino combo for completely wireless control and integration to the Gateway. If you have a similar older controller you may be able to do a similar setup with otherwise minimal changes to your sprinkler system. Here’s the hacked controller and control from the Gateway UI:

The RFM69 IOShield example skech for sprinkler control has been posted at Github.

The latest Gateway metric definitions also contain the definition for the sprinkler node, just plug it in and it should pop right on the interface. Sample zones and events have been defined as well, you can easily define your own or make your own schedules in metrics.js. Graphing will show you which zone ran, for how long etc. Enjoy!

Gateway log engine upgrade

So far the Moteino Framework Gateway server application has been using neDB for storing node metadata/settings, and also to store historical metric data logs. Since neDB keeps all data in memory, it gets slower over time as data grows. Metrics with frequent updates could take 10sec to load 1 week worth of data (a few thousand data points). Visually it’s completely pointless to load 10K points on a graph that’s 1000px wide (you can’t see 10 points in 1 screen pixel). So a lot of wasted time and performance to search/move/display all that “invisible” data.

I researched a few options to improve storage/graph loading time. The list is below and if you want more details about each and about this effort see this page.

  • I tried implementing a binary search for neDB to get the graph data, but it wasn’t much better, the core engine of neDB is too slow for this purpose
  • I searched online other databases to store timestamped sensor data. There are expensive enterprise engines and also open source toolchains like Apache Hadoop – this looks very nice but it’s complex and a steep learning curve (Pi support?).
  • There’s mongoDB which is wonderfully capable and similar to neDB (or neDB similar to mongo rather) but still not officially supported on the Pi so it’s a no-go for now.
  • There’s Timestore – a C++ app by Mike Stirling. This is a great standalone engine but I have a requirement: I cannot assume when a data point comes in to be stored, it can be highly variable and I can have a thousand points in 1 hour, then nothing for a week. So I need to store the timestamp.
  • The guys over at OpenEnergyMonitor have done a lot of work based on Timestore. They had the same problems to solve as I did. Their EmonCMS app used MySQL to log sensor data, which was increasingly slow as tables got very deep. So they created PHP storage variations based off Timestore to allow logging variable interval data. Thanks guys for sharing your work and research results!

After considering all these options, I decided to build my own node.js storage engine based on bits and pieces from Timestore and the variable interval engine from OEM. The main reason is that it needed to be all in node.js. Doing it in PHP and then hitting a PHP script from a node.js socket app to query/post data felt very wrong (not sure how performant either).

The result is a much faster binary storage engine that can query and search and aggregate a month of data in about 500ms (on a Pi B Rev1 256RAM!). That’s more than a magnitude faster than neDB. However neDB will still be used to store node metadata, it’s perfect for this purpose and will be very fast and use very little memory.

The Gateway guide has been refactored to include this new engine details along with a few other changes and features (mostly UI):NodeView2

  • vastly improve graph loading times regardless of zoom and span viewed
  • add nice customizable tooltips to data points (customize in metrics.js)
  • add customizable legends on the graps (customize in metrics.js)
  • using upstart for starting/stopping/restarting the gateway.js script. This replaces the init.d way to start it and also ensures the gateway script will be respawned in case it crashes
  • add Font-awesome icon pack (over 580 awesome icons to use with jQuery-mobile) and use some of these new icons for some buttons
  • toggling node/metric visibility and metric graphing is now done via buttons instead of sliders which were not working very well on mobile devices. This also removes clutter on the node and metric pages

Upgrading from old neDB gatewayLog.db data

If you’ve used my Gateway interface before, you probably have log data stored as JSON in gatewayLog.js. No problem. Just save your existing gatewayLog.db, upgrade your Pi to the latest image, copy the gatewayLog.db into /home/pi/moteino, then run this upgrade script in the same directory – it parses your gatewayLog.db data and puts it into binary files in a db subdirectory, ready for the new gateway.js script to use. Otherwise gateway.js will just create logs from scratch as data comes in.

UpgradeGateway

It was a lot of work to get this right, I’ve been tweaking all this for the past few weeks. It’s free to use non-commercially, I hope you like it, I think it’s a major improvement overall, both back-end server and front-end UI. If I missed something in the guide or there’s any bug let me know. There’s more good stuff coming, just not enough time to document and blog it all. Cheers!

SonarMote kits available

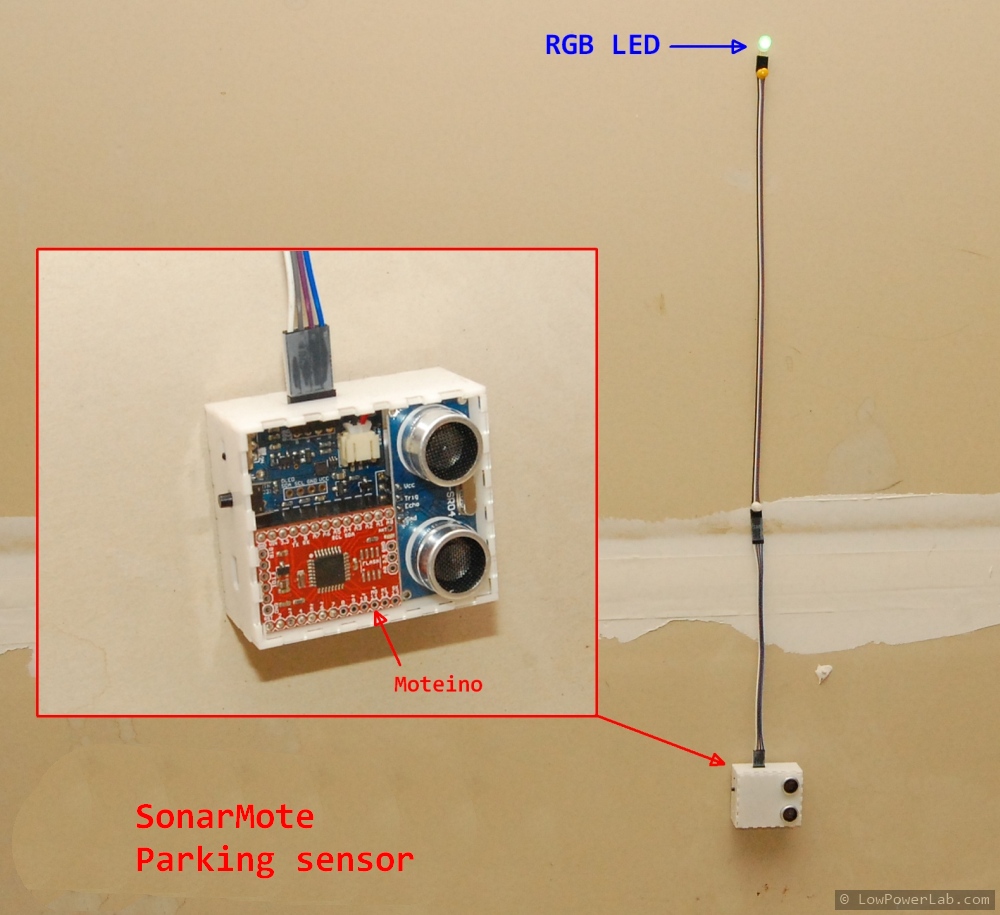
I have a limited offering of SonarMote kits. These are great for sump pump monitoring or parking aid (have a long car and a short garage?). Lots of people asked me to put these up, now the’re finally there. See the SonarMote page for more details/code and other project ideas, I will continue to add documentation there. The 1/16″ lasercut acrylic case plans and sample sketches are posted here. They work with 3.7v LiPo batteries which will recharge via the USB connector and they are also programmable via USB serial (FTDI onboard the PCB). They require a Moteino (no radio for projects like parking air or visual/audio feedback distance trackers, or with radio for things like the sump pump). It plugs right into the Gateway Framework and will start monitoring and logging distance as soon as you turn it on:

Gateway_SonarMoteSUMP_Graph2

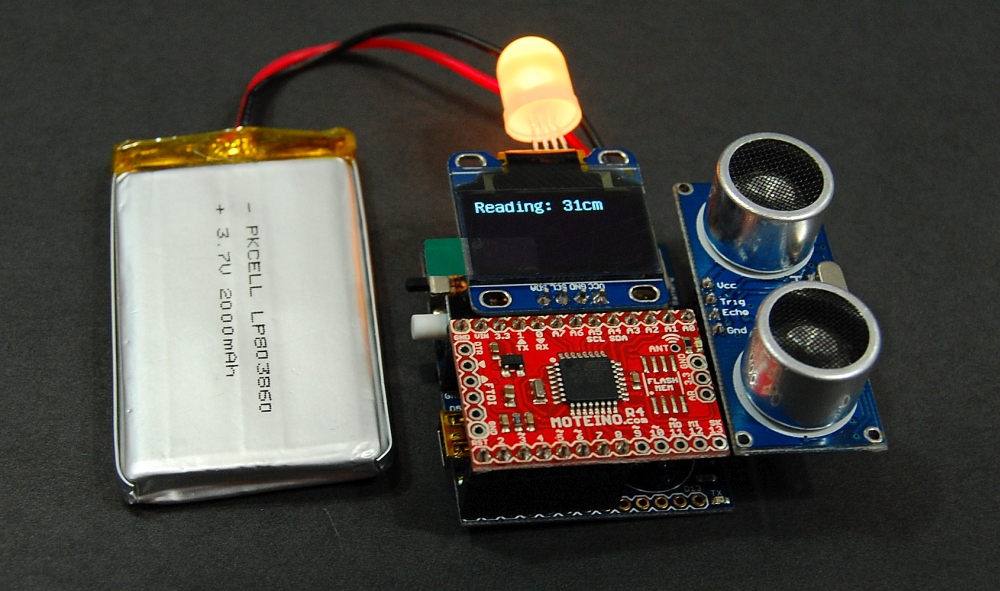
I love my standalone parking aid sensor based on SonarMote, it will light up the RGB LED green – yellow – then blink red faster and faster as you approach a set limit. When battery is low it blinks blue (every couple months or so on a small LiPo, recharge it via USB). Here are some action photos, also shown with an optional OLED display which plugs right into the SonarMote.

Unfortunately I cannot include LiPo batteries at this time because of the over complicated logistics and restrictions of shipping batteries. Most places online probably are breaking the rules when they ship you more than 2 batteries of certain capacities (by air) … but let them do it, sorry about that.

From china, with love: bad PCBs

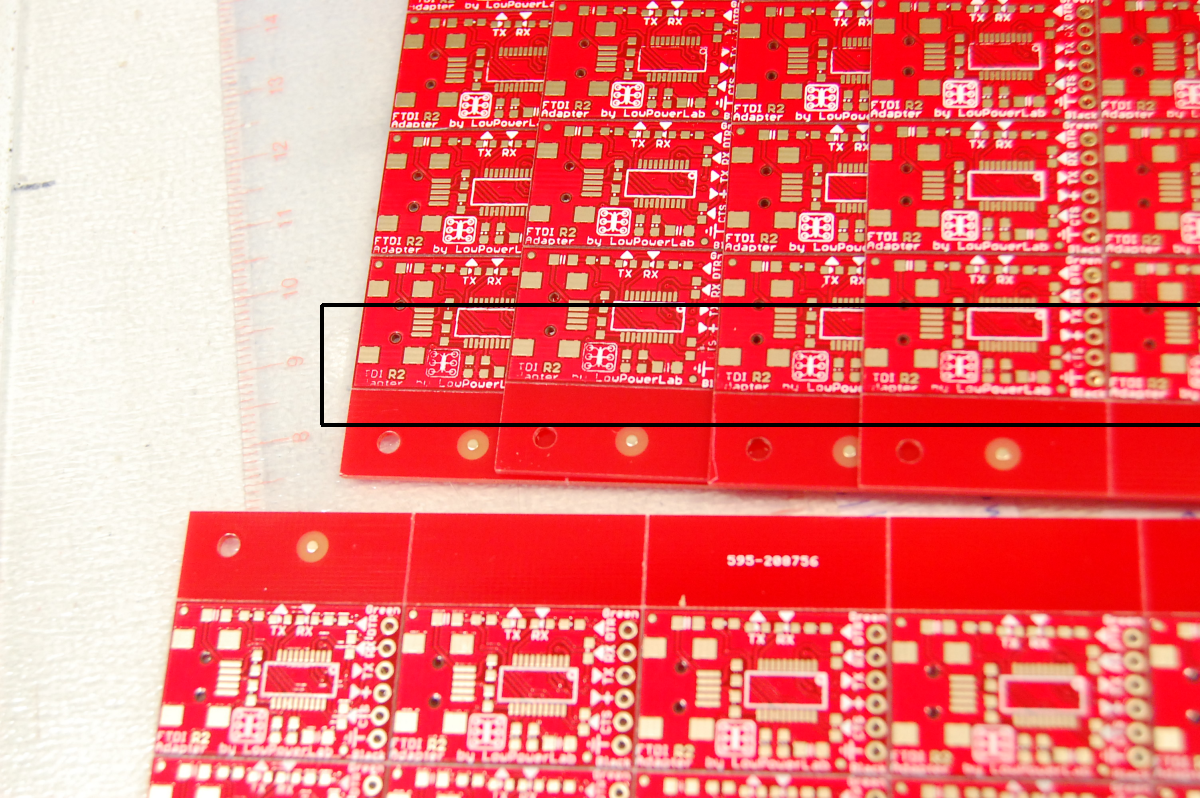
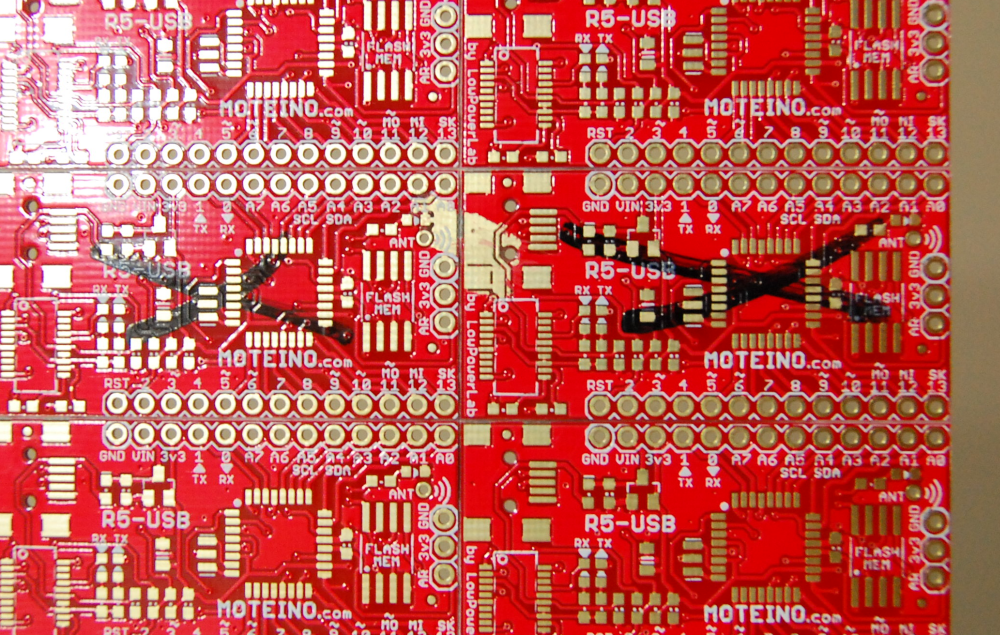
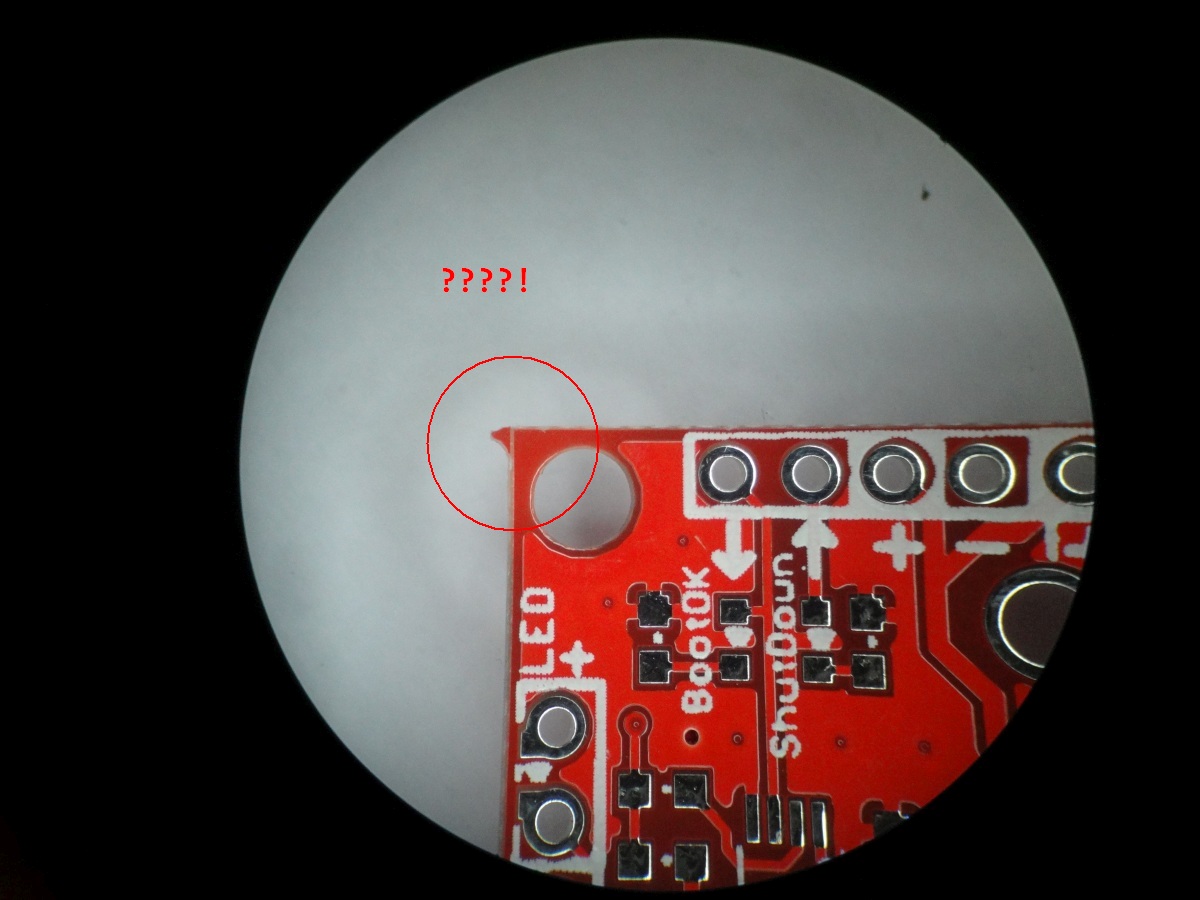
Over the time I’ve collected some of the more obvious PCB defects that I could detect and have time to take snapshots of. When you’re in the rush assembly and dealing with solder paste,  managing the pick and place, and keeping track of the reflow oven, stopping the flow for taking photos is the last thing you remember. But I do have a few and I included some here for your delight, a complete set and future photos are posted here.

Now before I scare you into thinking my products are sloppy and based on a poor quality chain, let me say 2 things:

  • I switched PCB suppliers this year, all of these photos are from my old supplier, more about that story below.
  • PCB defects can lead to some very elusive errors. Which is why I do a fair amount of testing on all my products to ensure they work. This has always been and always will be the norm. All electronic boards that have integrated circuits are tested for functionality. For instance all Moteinos get loaded with a sample sketch to ensure they can send/receive (that also ensures uploads work), etc.

The defects I saw vary a lot but the most consistent ones were the following, from most to least prevalent:

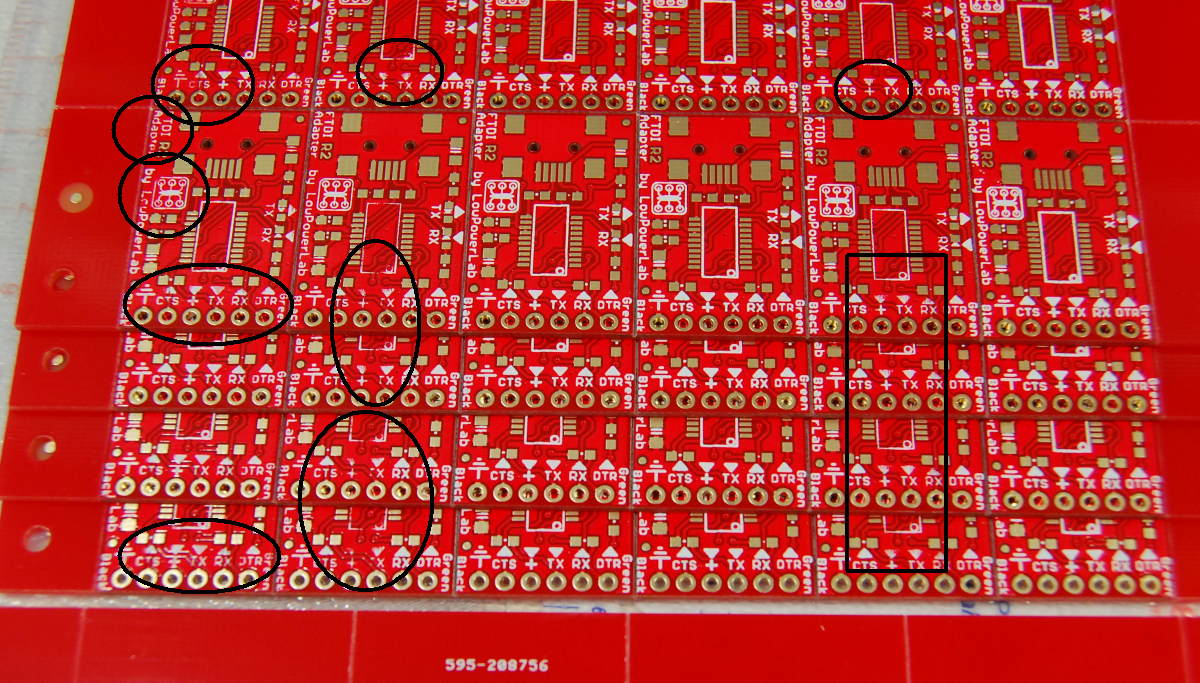
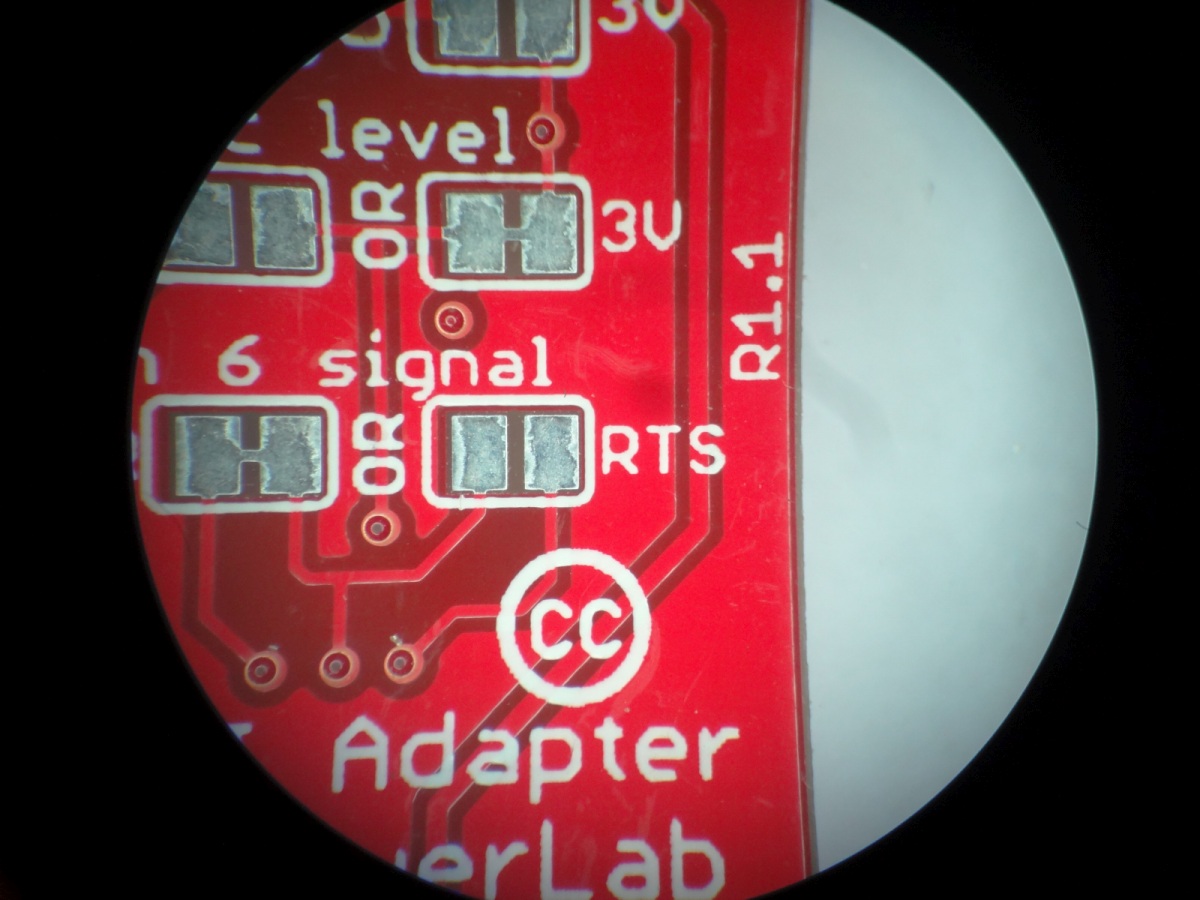
  • Bad silkscreen or soldermask: blurry, wiped/smeared, fingerprinted, embossed, thinned out, missing. Especially bad when it’s soldermask since the copper is exposed, it looks like someone just spit all over the silk/mask films. When the films used to produce the silkscreen markings and soldermask overlay are dirty like that the effect is reproduced on all panels in the batch, not a happy day:
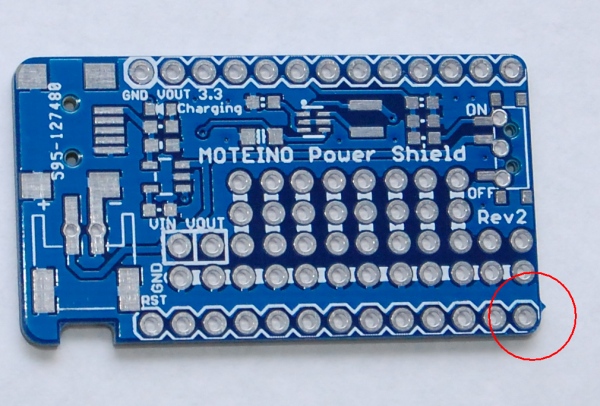
  • Individual PCBs (not panelized) almost always had incomplete routing, sometimes erroneous routing. I could give hundreds of examples here but I only took a few photos:
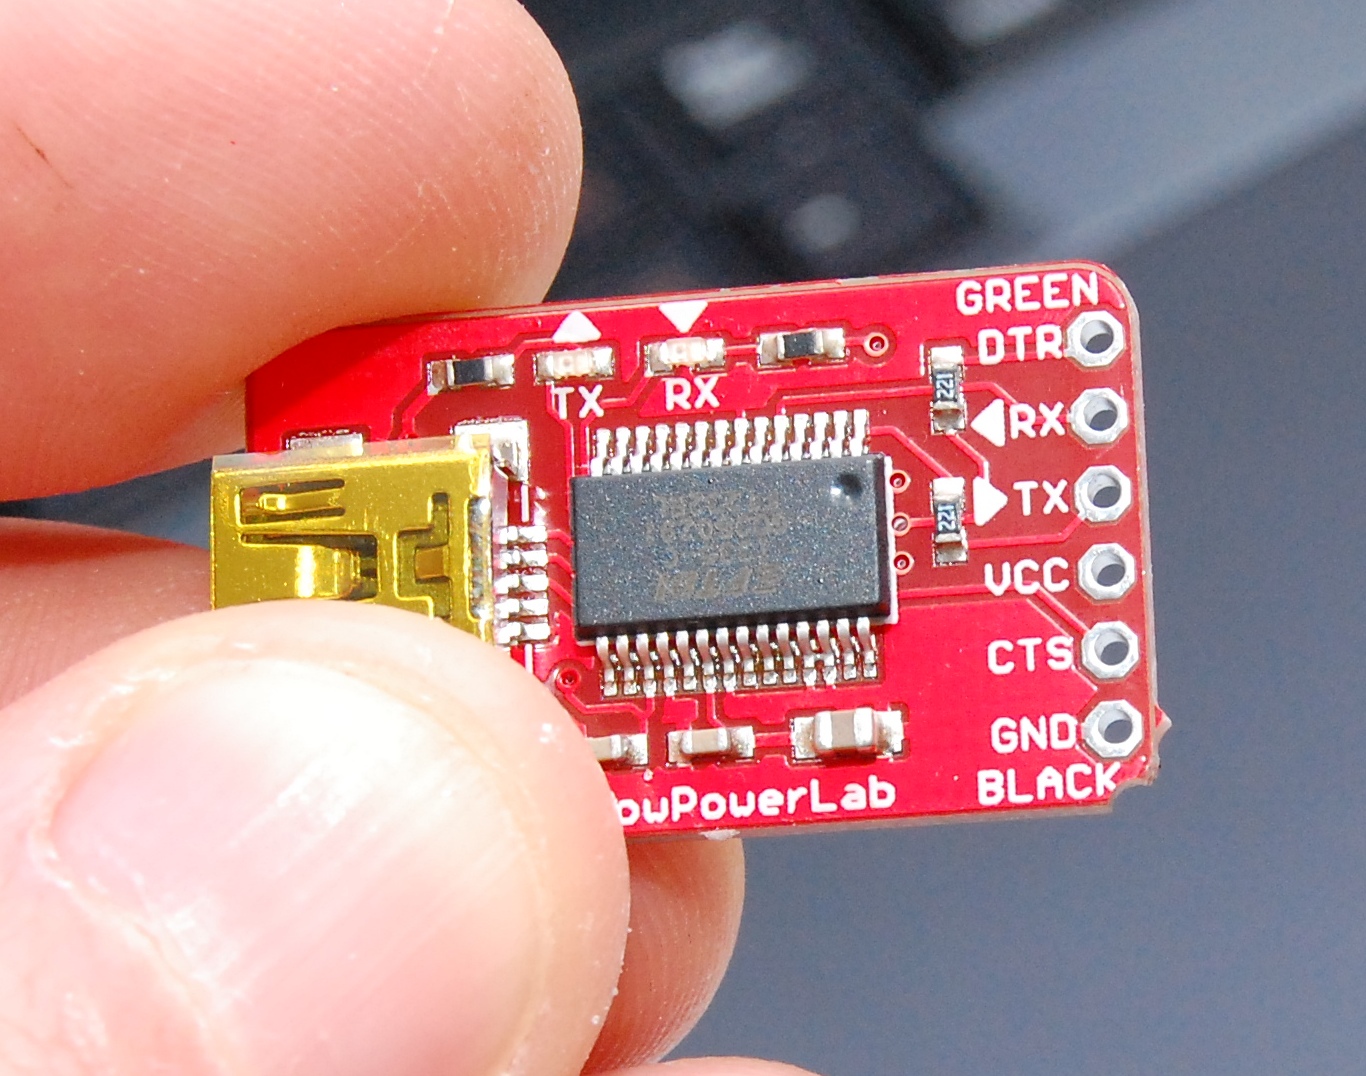
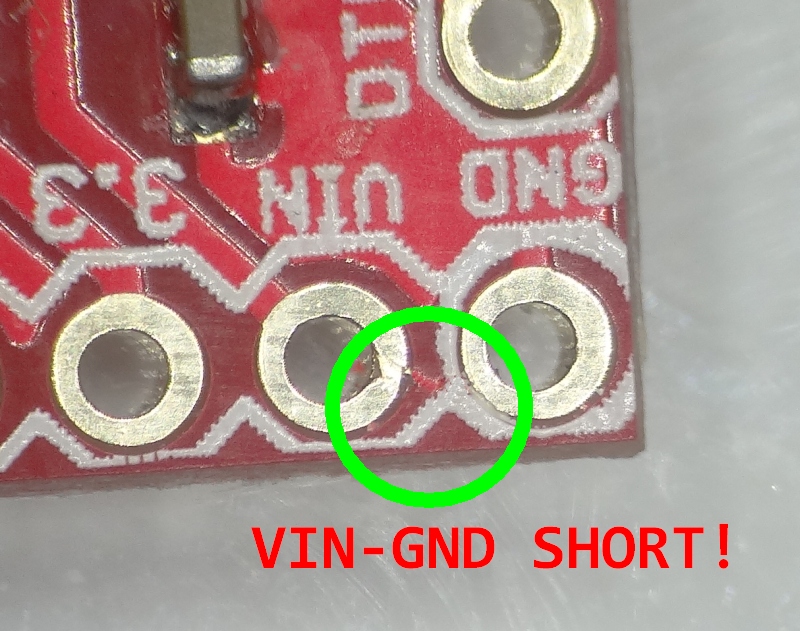
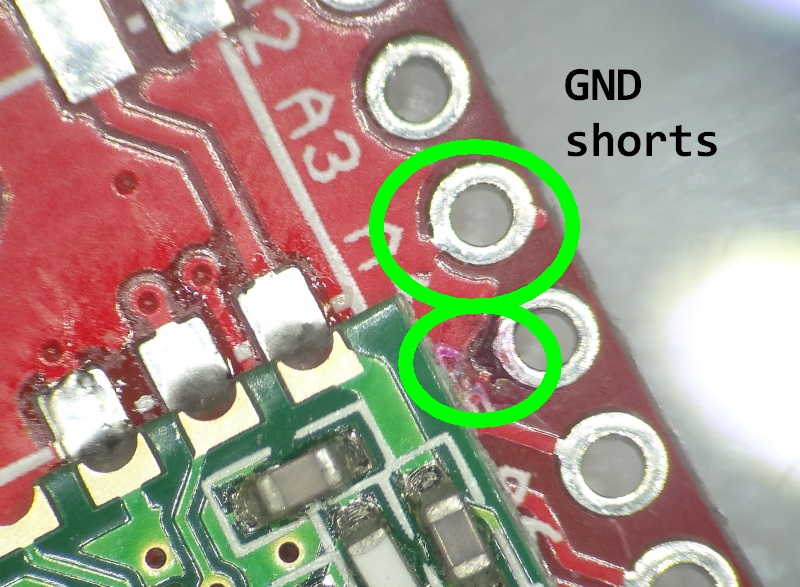
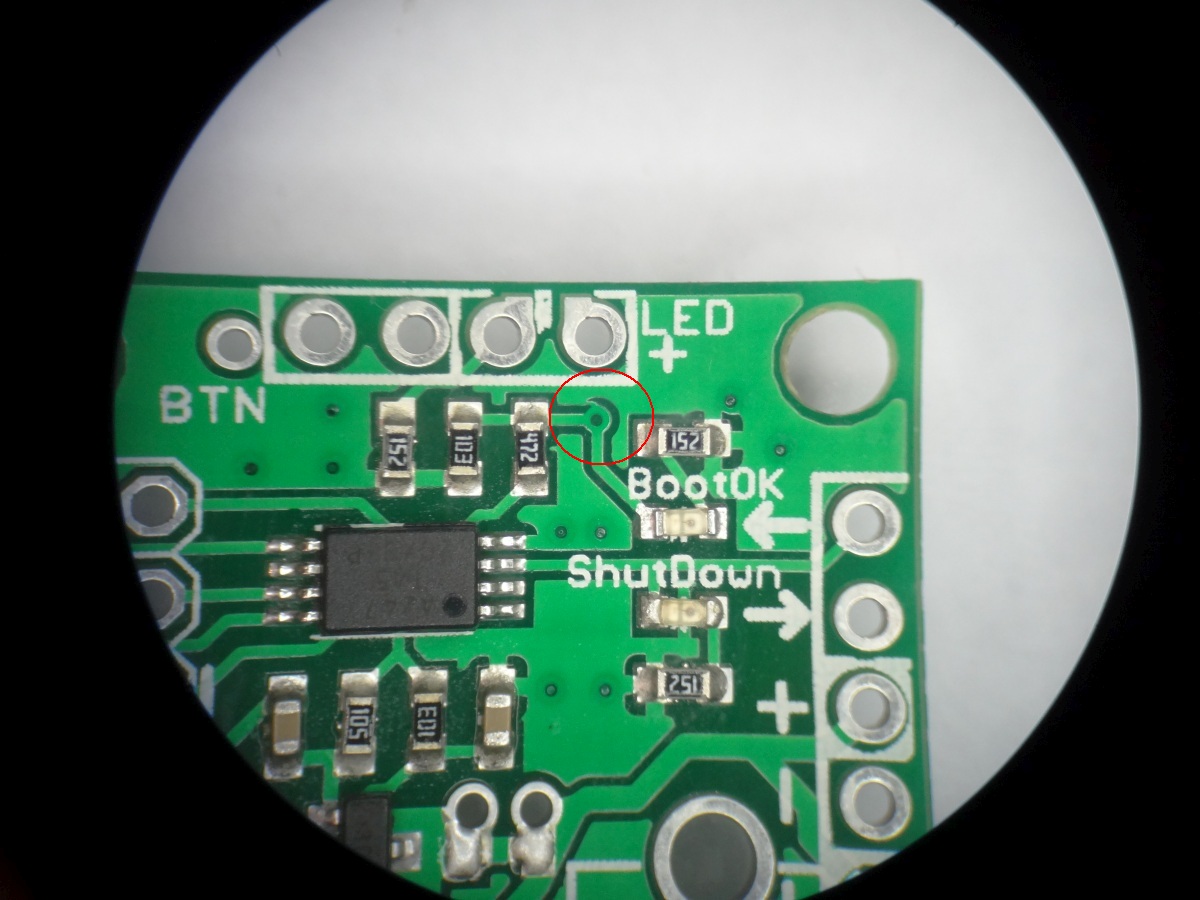
  • Shorts, you hate them most but when you find them it’s like Christmas again because you never knew they were there. I’ll throw in a free FTDIAdapter in a future order from the first person who can spot the short in the 4th photo (and leaves a comment below or contacts me to claim it CLAIMED):
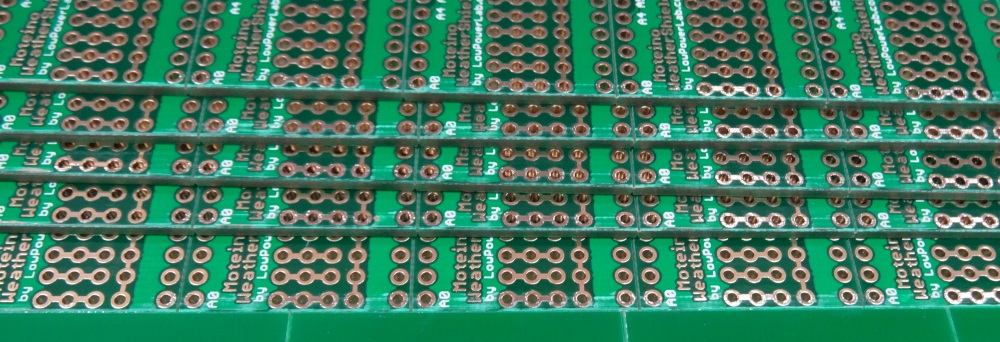
  • Scratched or damaged panels (post-manufature). These photos are from a single order, all panels had edges damaged and I had to throw edge rows away:
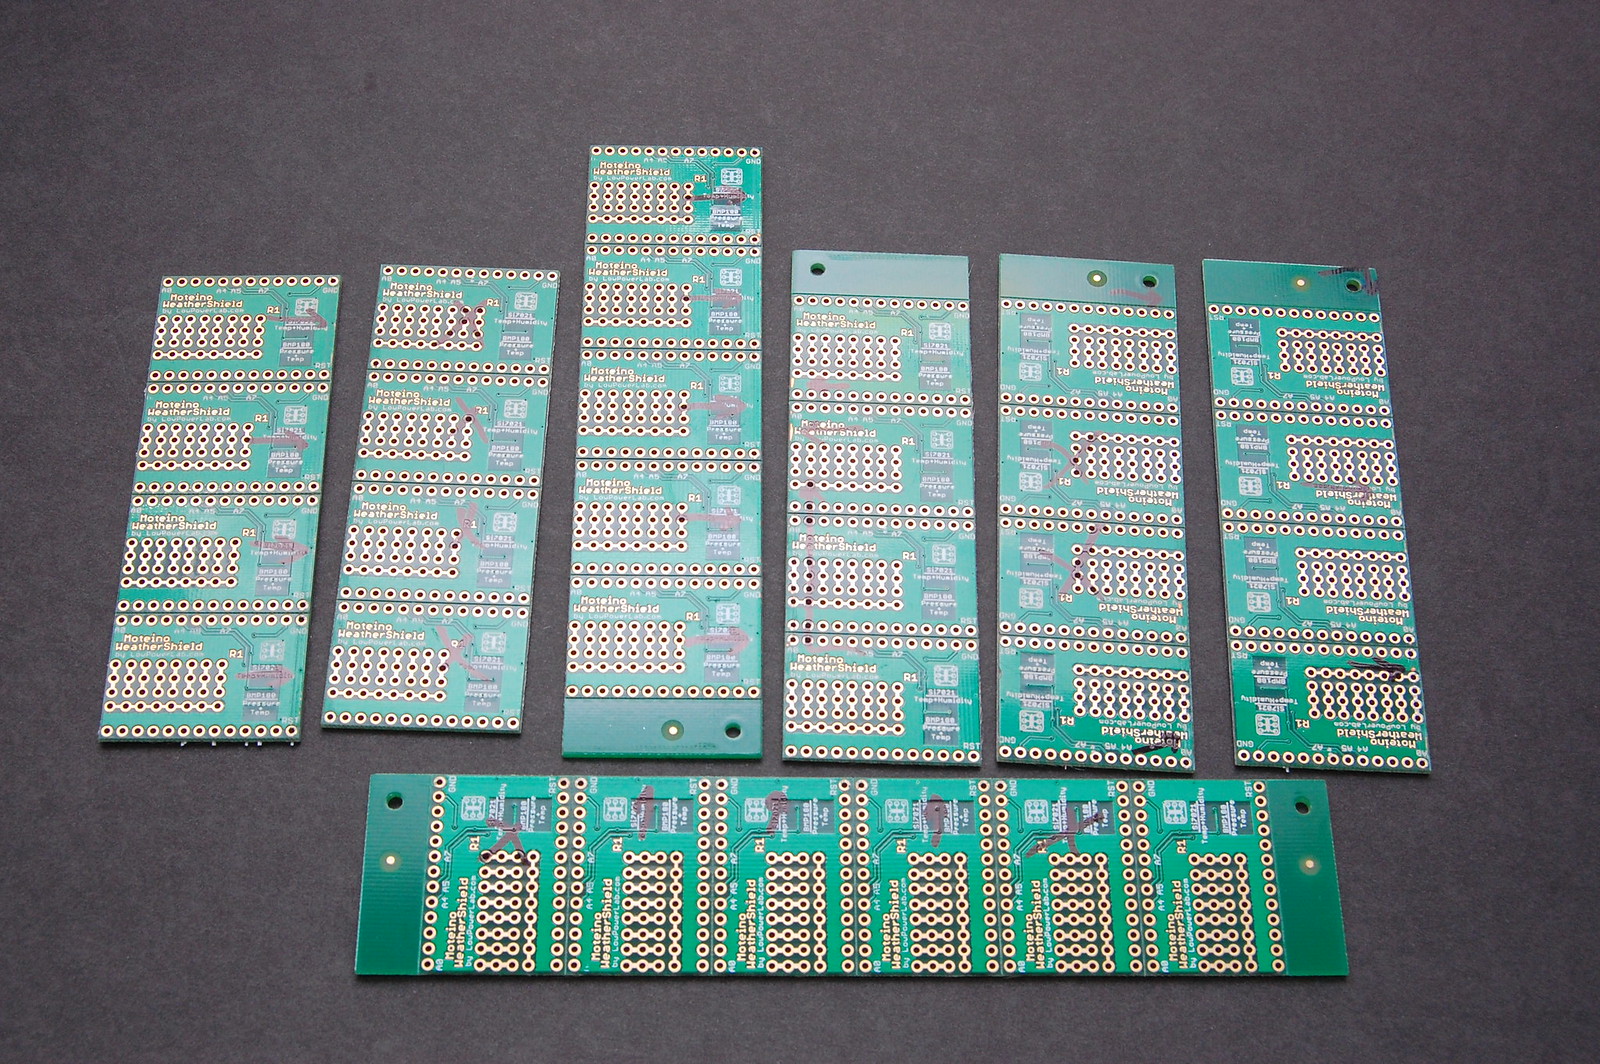
  • Inconsistent vscoring. When the vscoring on panels is shallow, it’s hard to snap the panel apart, and it leaves FR4 burrs all around, requiring manual sanding of affected boards, what a pain and time burner. This photo shows the completely missing Vscoring of an order (that I badly needed to fulfill a backlog) lead me to fire my old provider. The panel has to go in the pick and place and having no vscoring after assembly means I can’t snap the tabs away, cutting FR4 is messy and time consuming to fix nicely, doing that for 42 times on a panel gives you a long break from otherwise more useful things to do, to reflect about a lot of time wasters like fixing the mess of your careless provider. Anyway here are the 100% useless panels:

With me using panelized designs for the vast majority of everything I put in the pick and place, when there’s a problem with a panel, all panels in the order usually have the same problem (because the same film exposes all panels). The work around is to make the pick and place skip the bad boards, but it’s not fun to lemon pick and then throw quarter panels away.

Poor quality is part of the reason I switched sourcing PCBs from hackvana PCBs this year. You may notice a significant improvement in silkscreen quality and a nicer darker crispier soldermask on my PCB products since then. Such a provider that keeps you on edge with a consistently inconsistent service, poor quality, personal drama, broken promises, failure to address any issues, insulting or accusatory attitude when confronted with a problem, doesn’t deserve your blood-sweat-and-tears and especially hard earned dollars. Move on to someone else who wants your business and is willing to appreciate it.

From china, with love: bad headers?!

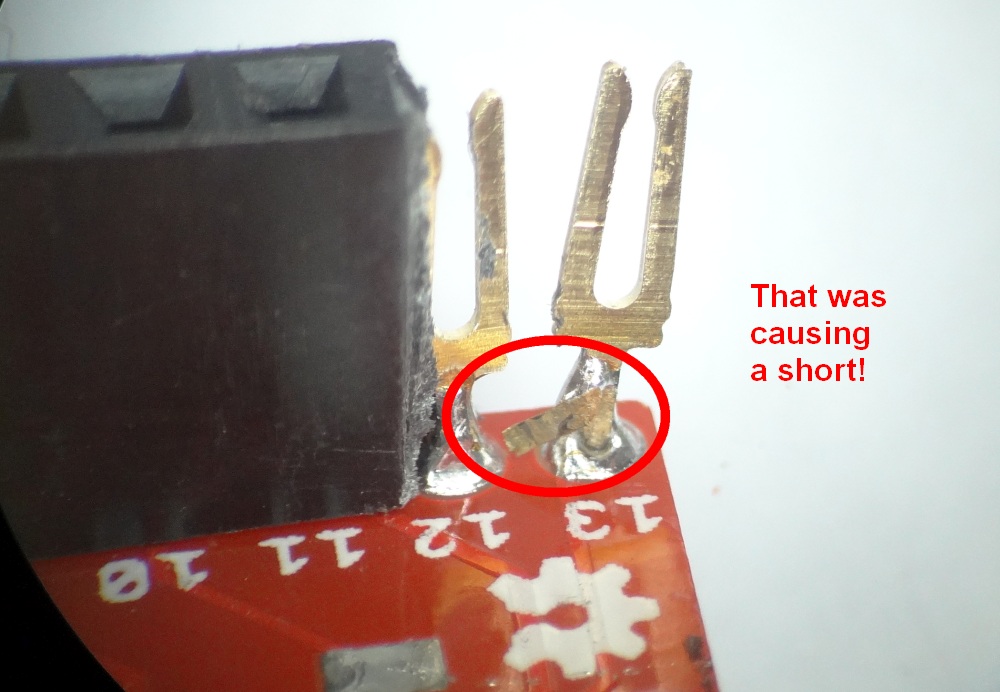
Headers are one of those things that every one of you uses in massive quantities, for everything. And they are made of 2 elements: metal and plastic. What can possibly be or go wrong with a plain simple header? This:

Yeah, a short. What?! Inside the header?! I found this a while ago on a returned Moteino that did not work after the header was soldered. The SPI bus was acting weird, I only discovered that after hooking up the scope. Continuity testing revealed a possible short between D12-13, but where? The traces on the PCB were good, maybe a soldering connection hidden under the header base?

Ok so this only happened to me once, that I could detect and prove. But enough to cause a confusing frustration on the part of the user, time and money spent to return it, and the time spent to guess-debug what could possibly be wrong in an unthinkable place. I still need headers and will continue to carry them. But if something like this happens to you, check the headers!

Good lesson china, we thank you.

From china, with love: bad USB-mini cables

More this time from our love affair with china, the best place we love to hate to have to buy products from. Normally I limit any chinese sourcing unless it’s headers or things that can’t possibly have a problem, or I have a long standing reliable source, I test and really cherry pick suppliers.

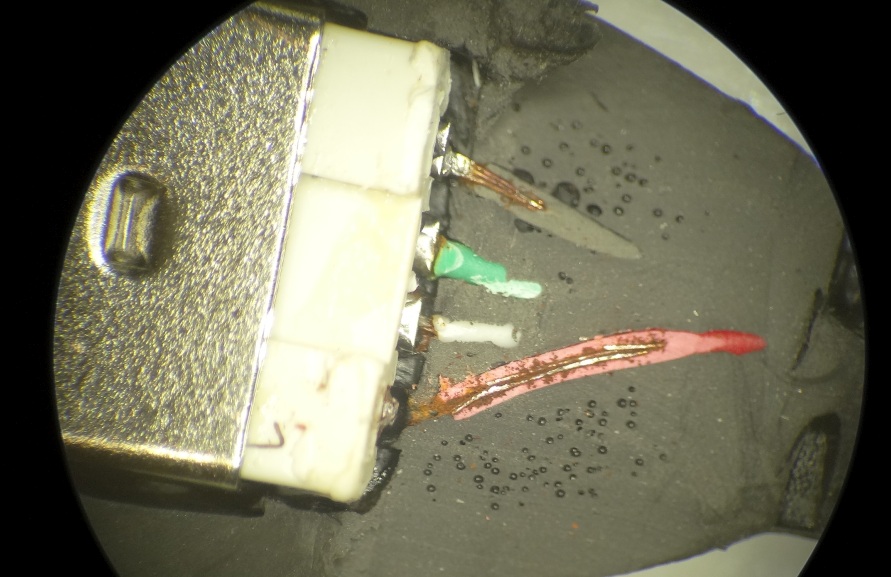
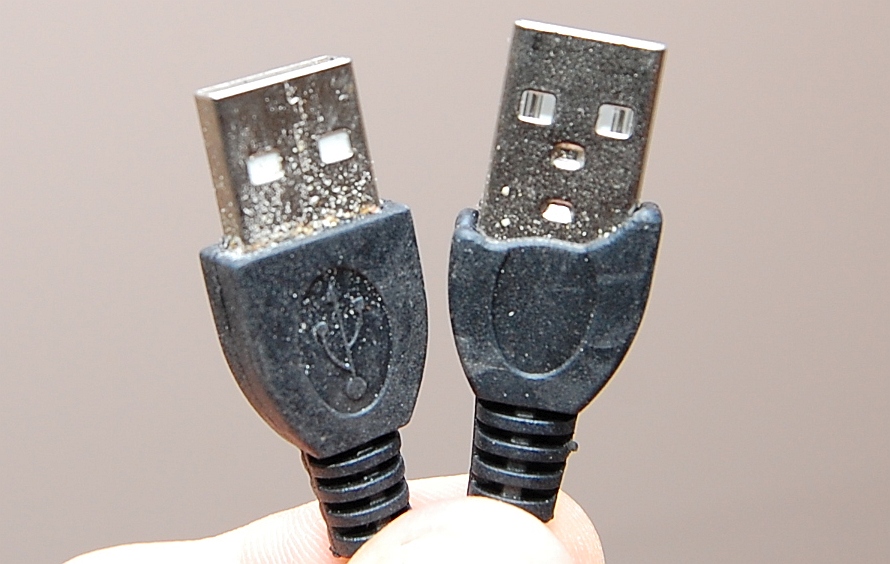
This time it’s bad mini USB cables (not micro, I also carry those), and more – see below. I used to source short mini USB cables for my shop from china, as a convenience to the users who want to bundle them for USB products – nice short cables keep clutter to a minimum, these are pretty hard to find in 6″ and thought would be nice to carry them. Usually I don’t test them individually but I always grab a random one from the stock for things around the lab. This week I was doing some testing where I needed a lot of these and found 1, then 2 then a dozen of these were faulty, giving either “USB not recognized” errors, or yielding no power or power but no USB enumeration at all. Turns out about half my supply of these uUSB cables could not properly enumerate MoteinoUSBs/FTDIAdapters etc. So what could it be that such high percentage are fails? Internal shorts? Or poorly soldered wires? Visually they look ok but I did notice some have traces of rust on the end metal connectors. So I opened one up and here’s what I found:

Can you spot the extremely corroded/rusted wires? Where were these kept, in water? Lemon juice? These came from two suppliers and both batches are equally as bad and they are really hard to find in this short length of 6-7″ mini USB cables for some reason, or I’m not good at finding them. Which leads me to speculate they might be made by the same factory, or goes through a single distribution point somewhere, where they get exposed to water or something. Needless to say, I’ve thrown away all the bad ones. The good ones may also have some rust in them, but … at the price offering I think they’re still a bargan and once I run out I may discontinue them.

Thanks china, your quality sucks, as usual. Everybody knows that, but we keep going back because of the price and we deal with chinglish and weeks and weeks of delivery delays. When will this end?

PS: If I sold you a bad USB-mini cable – please let me know and I will make it up to you in a future order via credit or something else. It’s just $2.5 a piece but I care more than that about my customers.

Attic fan tests: 1 week of data

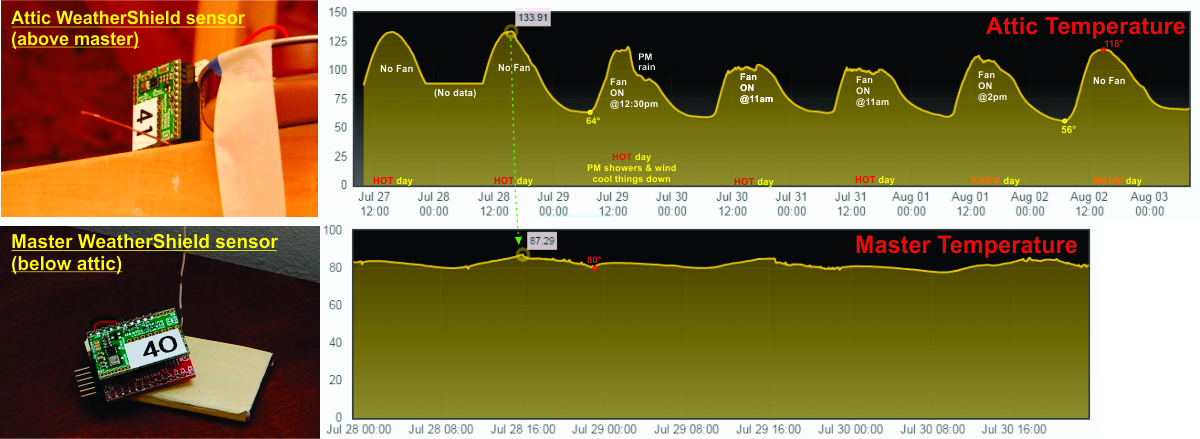
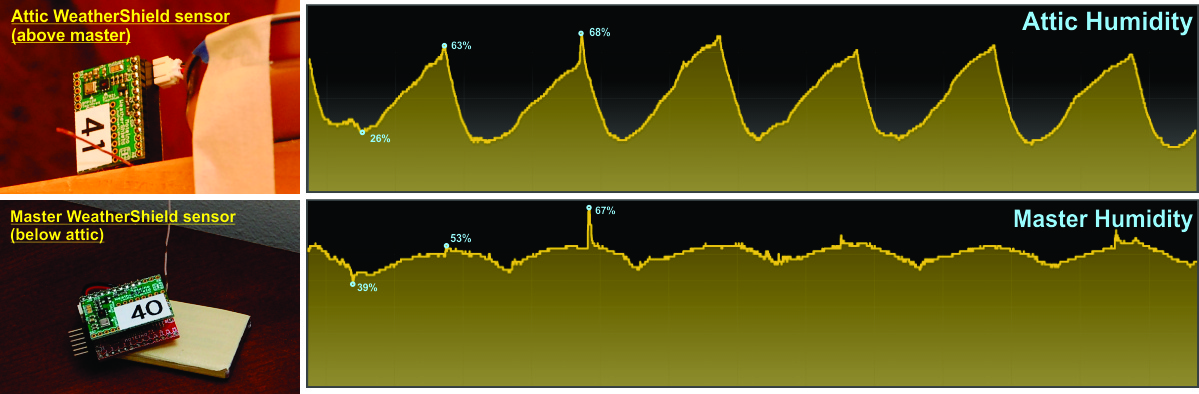
A quick update to the attic fan cooling experiment (check the previous post to read about the setup). I ran the fan for a few days in a row, from around noon to 5PM, at which point the HVAC kicked in until late into the evening. There were some HOT days and some WARM days, with a hot day with PM showers which produced some interesting data. from the WeatherShield sensor motes in the attic and the master bedroom below it. Here’s conceptually how an attic fan is supposed to work, in theory:Benefits of an attic fan

My cheap fan I installed in the attic hatch draws 85W on the high speed and uses ~0.45kWh for a 5h run time), not bad. Here’s the temperature graph after several days with different weather conditions, read on for explanations.Notice the huge temp swings of the attic, and the relatively small changes in the master below it.  July 29th was the HOT day with PM showers and moderate wind which cooled down the attic. I also had the fan going but the rain/wind cooled the attic quickly through the built in soffits and vents. On the rest of the days the fan did a good job of chopping the “hotbergs” tips off, they look like mouse bites :). To be more effective it has to be started soon after the sun starts to blast the roof around 10am. The master temps were zoomed in for more detail. Here are the humidity measurements: Continue reading →