UPDATE: please see this page for the latest revision details.
I’ve posted details about one of my last projects that I’ve been working on.
ATXRaspiis a smart power controller for RaspberryPi or similar embedded systems running form a 5V input. It allows you to have an external shutdown button to turn off your target system without a need to login or to issue manual shutdown/sudo halt commands. I needed this so I could power off my Pi without having to log in all the time. I wanted a physical button to shutdown/turn off my RaspberryPi.
Also now available in the shop, pre-assembled or as a DIY kit.
There’s a new WirelessHEX file in the SPIFlash library. There are new WirelessHEX classes for RFM12B and RFM69W/HW transceivers. These files contain helper code that handles the new sketch over-the-air transmission for both the transmitting and receiving ends. It will increase your sketch size by a few KB, that is just an unavoidable tradeoff.
The target node that is to be wirelessly reprogrammed will need to have code to listen for a potential new sketch. I uploaded the example sketch along with everything else to the RFM12B library examples.
The gateway node sketch, target node sketch, python script that passes the HEX file to gateway node are all located here:
The custom DualOptiboot bootloader allowing the reflashing with the sketch stored on the external SPI FLASH memory chip is here: https://github.com/LowPowerLab/DualOptiboot
I managed to keep the size just under 1k. So in the future Moteinos will probably ship All Moteinos (R2 and R3) are now shipping with this bootloader to allow for potential wireless reprogramming if you also have the FLASH chip onboard the target mote.
I would call this an alpha release even though it works pretty well. Sometimes it’s a hit or miss because of the delays I’ve set in python. Those could be refactored and code improved to be smarter about initial requests for a sketch transmission. But it seems in most cases it works the first try.
Further improvements are:
increase speed of transmission
test with larger sketches
refactor python script, WirelessHEX library and gateway/target node sketches
I’ll try to keep up with changes and updates. Right now I have no idea if anyone will find this useful or not.
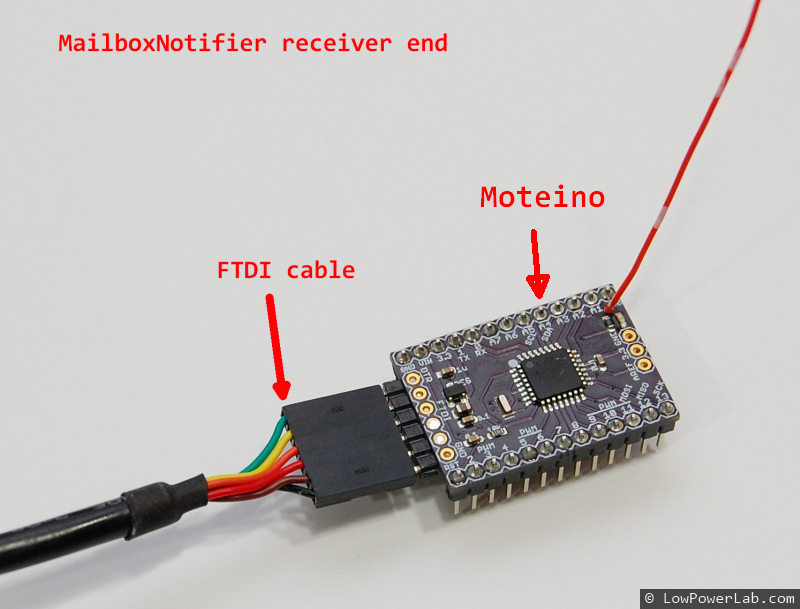
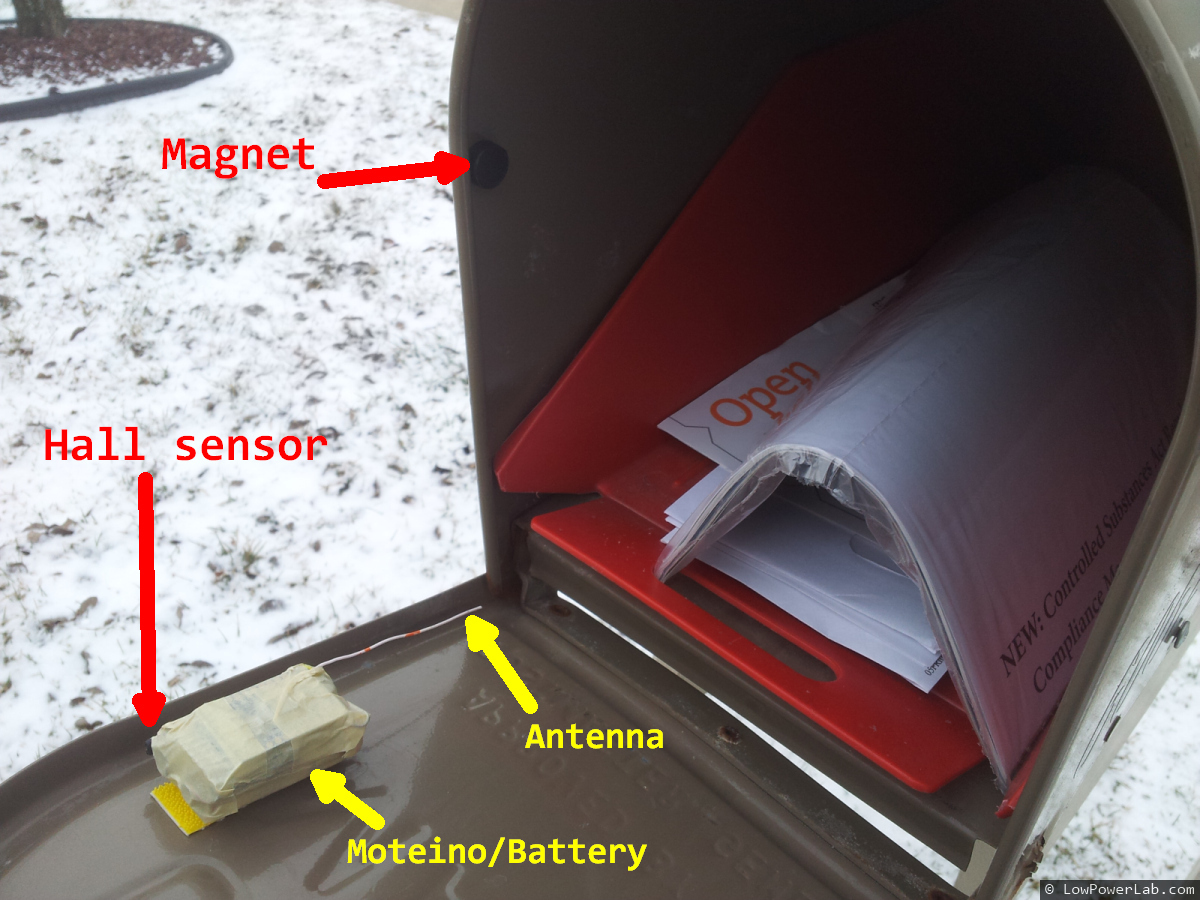
For a few weeks I kept tweaking and playing around with my new mailbox event notifier, based on Moteino. It all started as a joke, then when I saw it actually works, I decided to beef it up and do a writeup and a video:
UPDATED hardware for this project: I modified the circuit and added an enclosure and battery voltage readings. Also a standalone LCD receiver. More details here. The rest of this post is for reference only, you should follow the details in the new post.
UPDATED Schematic: For stability you should add a 10K pull-up resistor between the OUTPUT and POWER pins of the hall effect sensor. I omitted that in the video and added that later. Also a battery POWER switch is very helpful. You should always disconnect POWER from the battery when you try to load the program to Moteino using your FTDI adapter!
The details are simple. A hall effect sensor detects a magnetic field from an earth magnet. The earth magnet is placed inside the mailbox, while the Moteino/sensor/battery pack sits on the door. When the door is opened, the magnetic field is interrupted, the sensor flips state and the Moteino sends a “DOOR OPEN” message, or “DOOR CLOSED” when it’s closed.
The hall sensor uses ~2.5mA of power which is a lot for low power battery operation. So I added a 2N3904 NPN transistor (driven from a digital pin through a 2K resistor) to switch the sensor off when it’s not being used. When I need to read the hall sensor, I just turn on the transistor, read the sensor value, then turn it back off. That brings the total power consumption down to to an average of about 60uA, so the 9V battery should last a long time. To save power overall, the Moteino “sleeps” most of the time and only checks for events every 250ms using an interrupt timer. Every ~5s it reports when the mailbox door was last opened and last closed. This way I can distinguish between these 2 events and tell if the door was left open , or if someone else is messing with my mailbox.
The receiver simply runs my RFM12B receiver sketch. It passes incomming messages through to the serial output. I can capture that on a PC or a RaspberryPi, running a python script which sends me an email or SMS message when a DOOR-OPEN message is received. This works great. To send an SMS, I simply send an email to my cell carrier sms mailbox, in my case that is [email protected]
The python code to send an email/sms from python, and the arduino sketches that run on the sensor side and receiver are in my GitHub repository.
Some time ago I posted a youtube video describing how I read my water meter. This is a write-up about it and an introduction to WaterMote – a combination of Moteino and EE-SY310 photo reflective sensor breakout board. The PCBs for the SY310 sensor arrived and the product is available in the store.
I started to look into websockets for RaspberryPi. My Pi is overclocked at 900Mhz and it’s stable but even so it became apparent that loading it with too many HTTP requests for various things (streaming data into EmonCMS works over HTTP) can get slow. So here’s a simple working Hello-World websockets example in Python, using the popular Tornado websocket library. It’s a very simple echo program, but I think proves the point that websockets are much faster than HTTP requests since they are a direct link between the server and the browser.