
I mentioned before that there’s added support for HTTP requests in the gateway interface. That allows using things like wi-fi thermostats, and this story is a review of how I did just that.
I wanted to integrate the home thermostat into the Moteino IOT Framework Gateway and be able to control the thermostat remotely without hacking into it, building my own thermostat which would not look as good as a commercial one. I also want to avoid using the default cloud interface that comes with these thermostats. I don’t want the company to know my habits and datamine and profit from that, and also I want the thermostat to be integrated with my existing automation interface without having yet another app on my phone just for the thermostat.
I researched for an open API WiFi thermostat and I found very few and they are typically expensive, except the RadioThermostat CT50 which was around $100 including shipping. Here’s another example of a Venstar alleged open API thermostat but price is prohibitive and I could not find API documentation. If you know of a good one post your comment below!
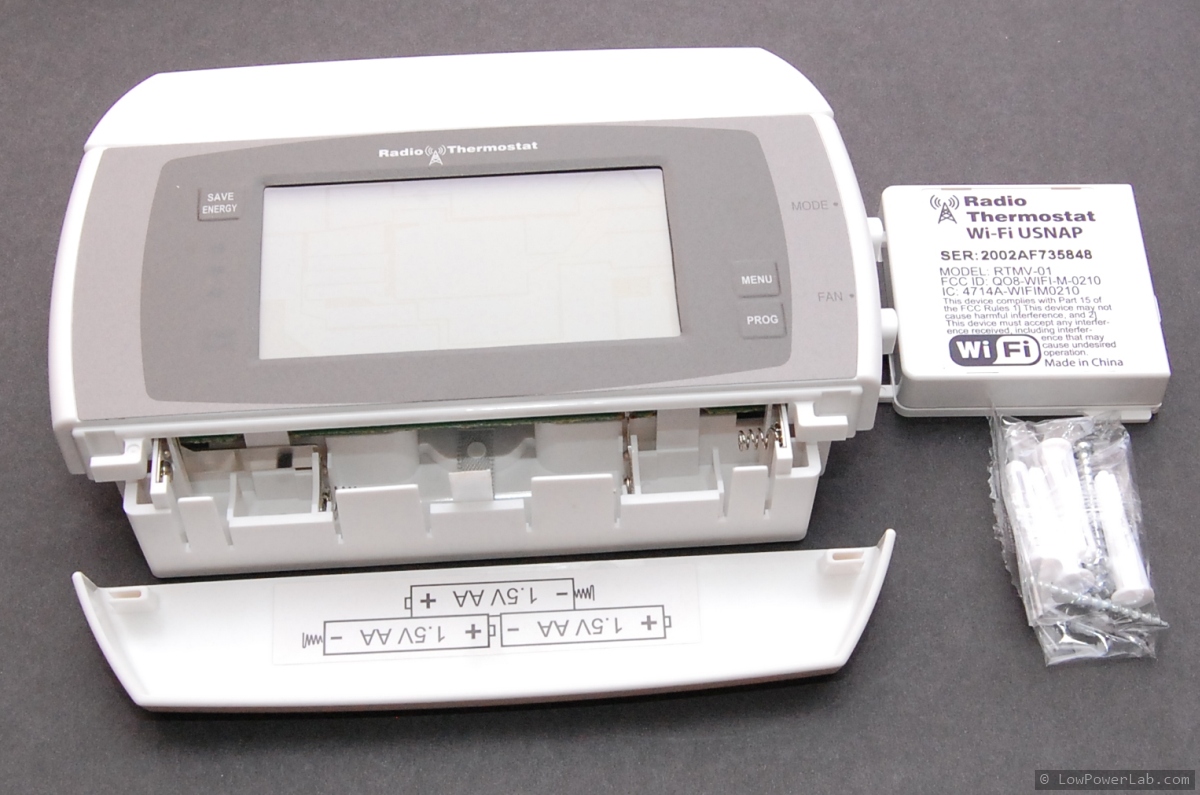
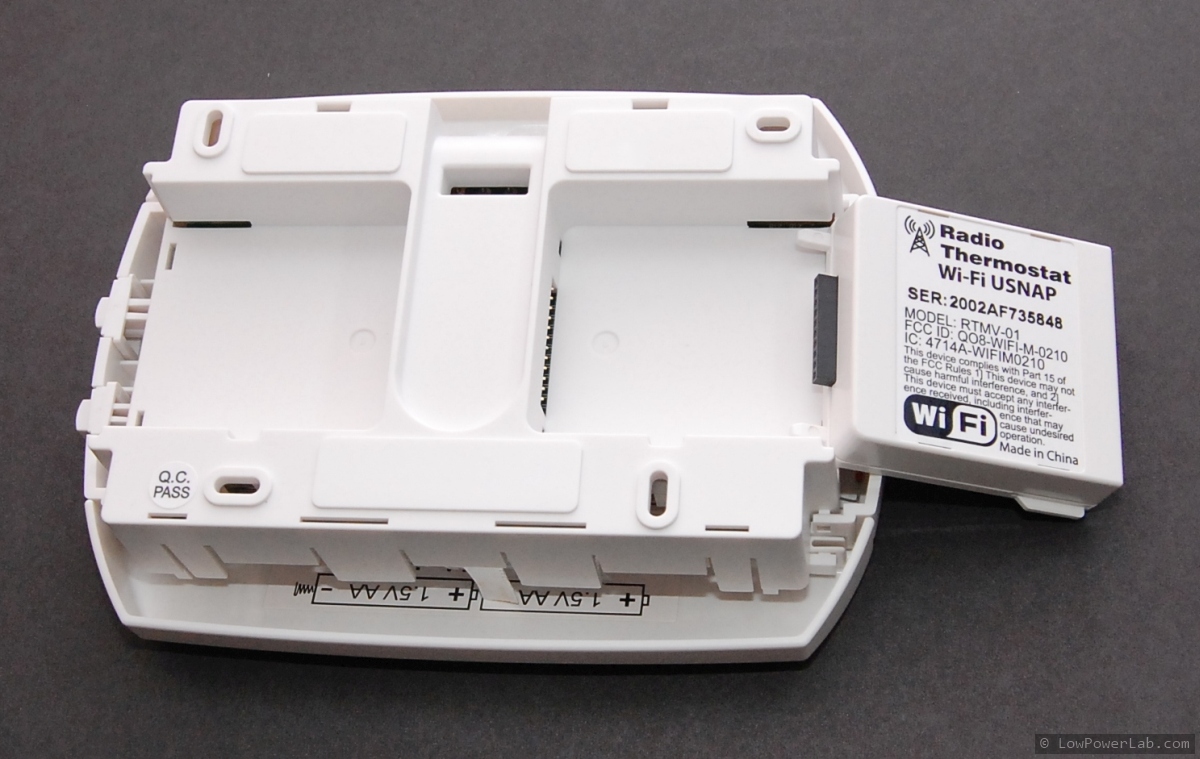
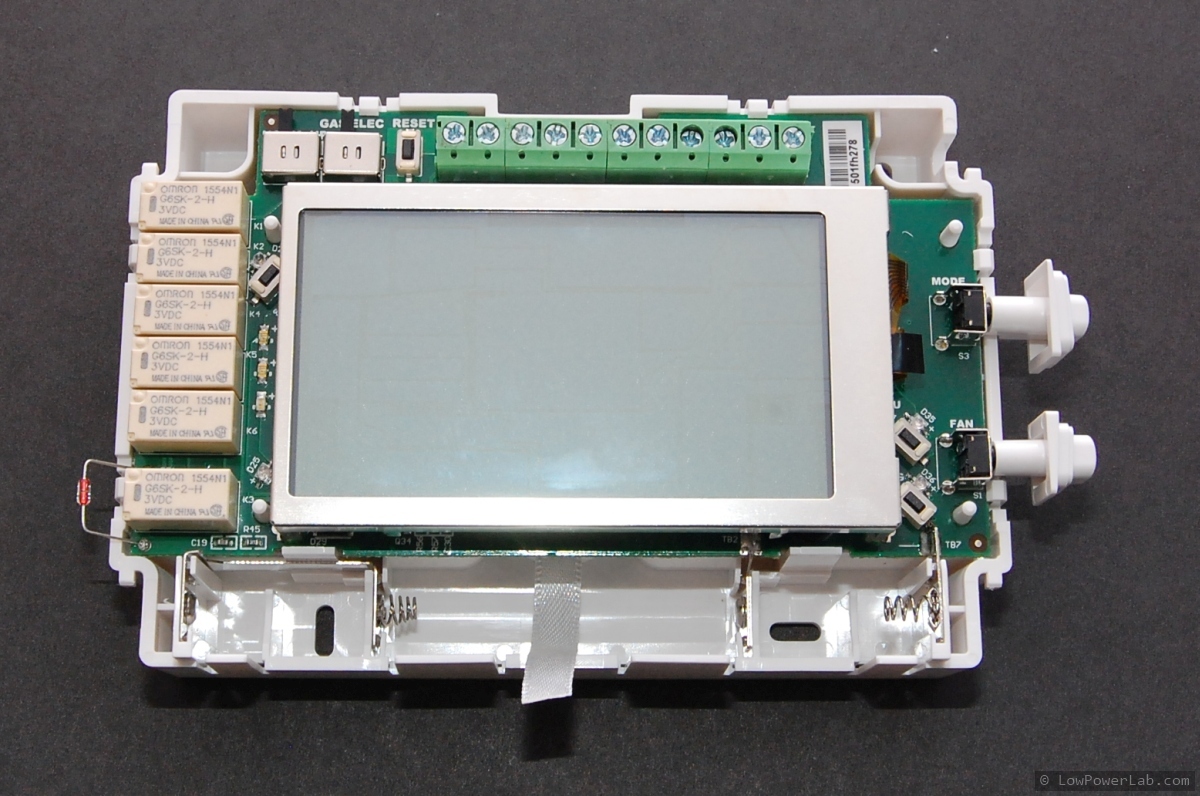
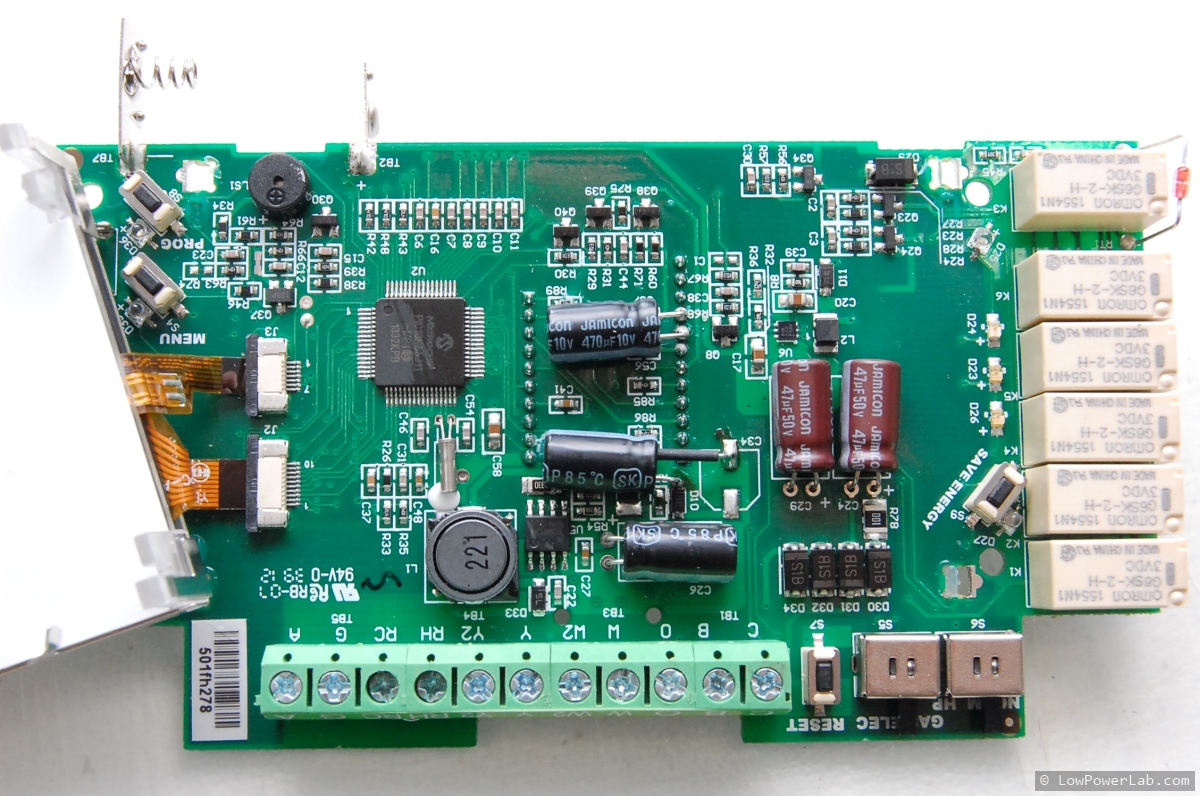
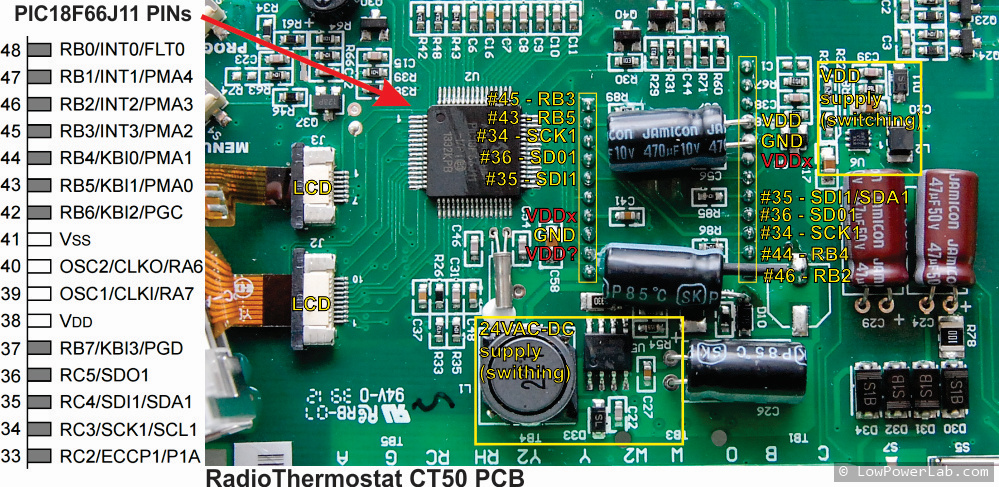
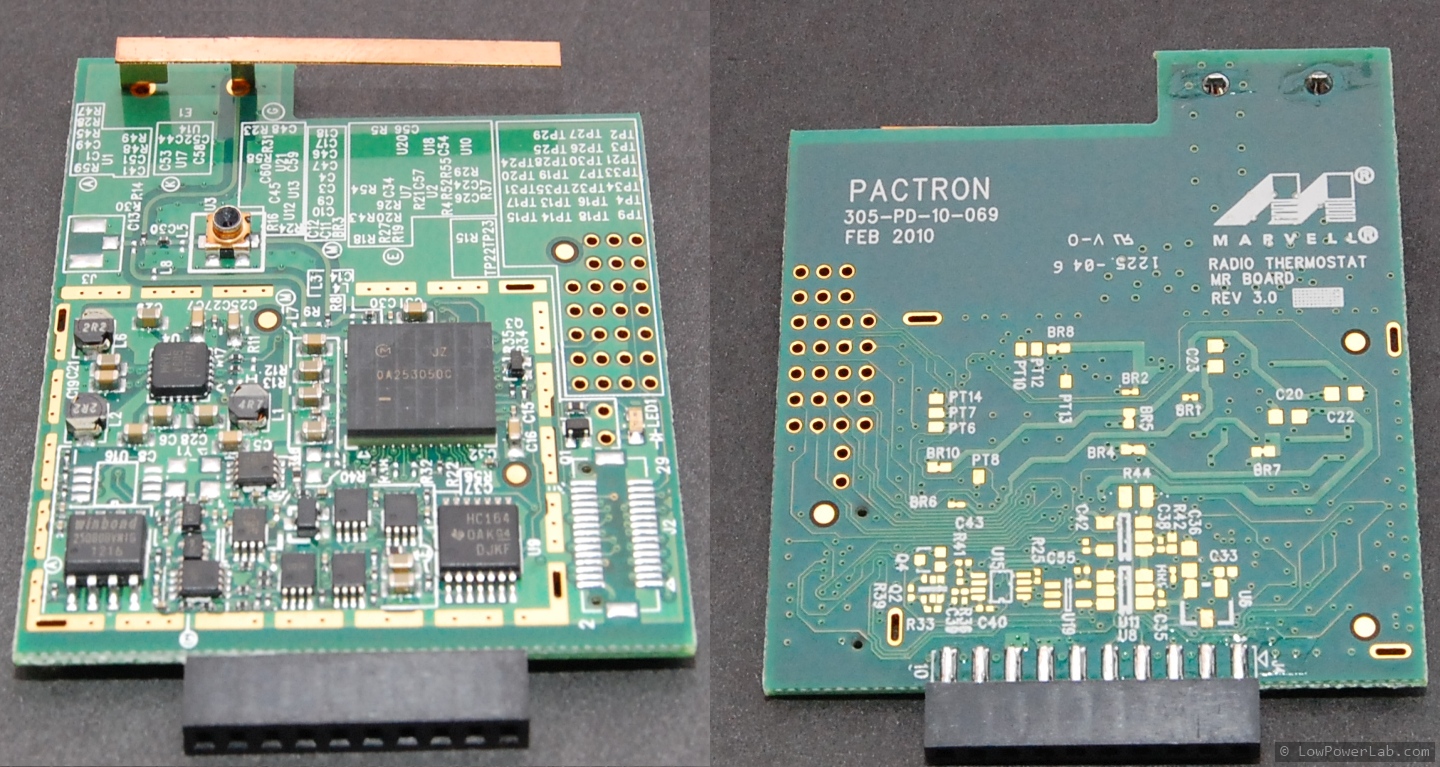
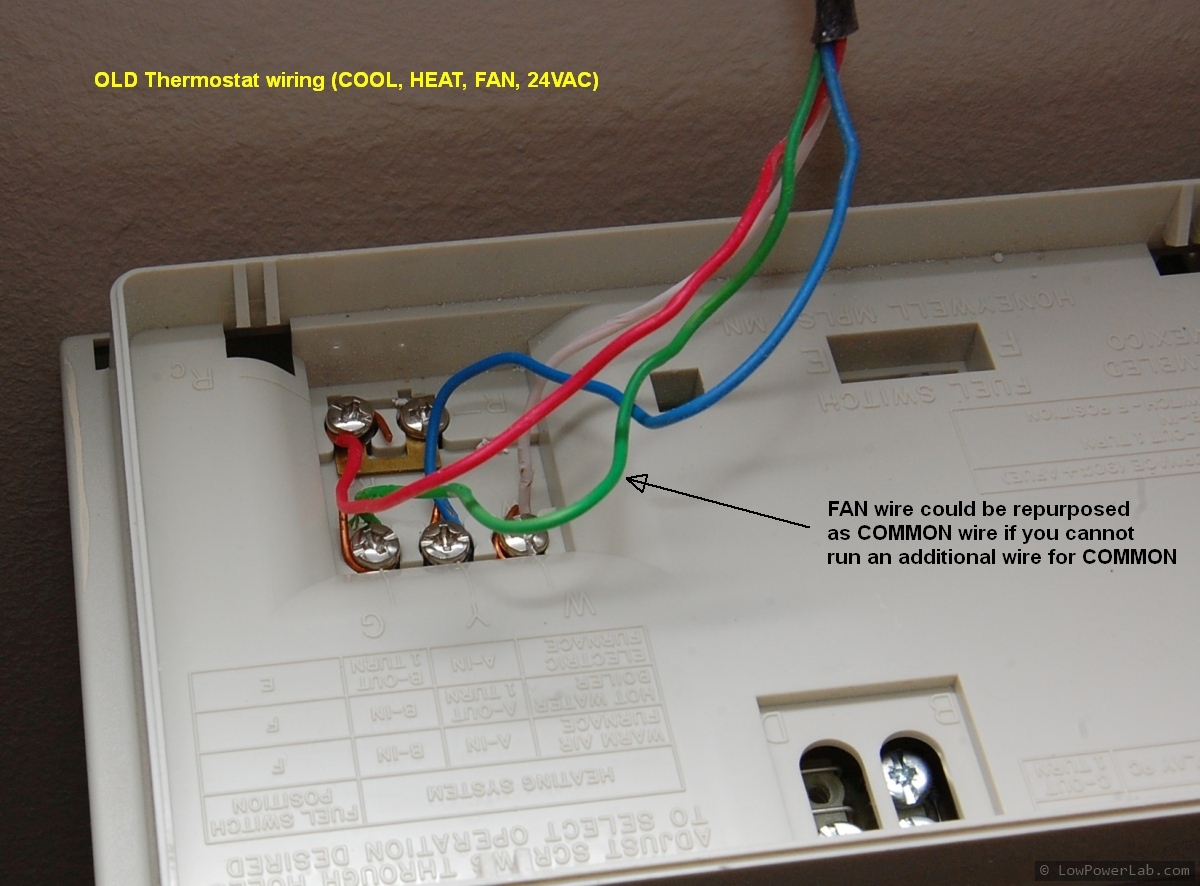
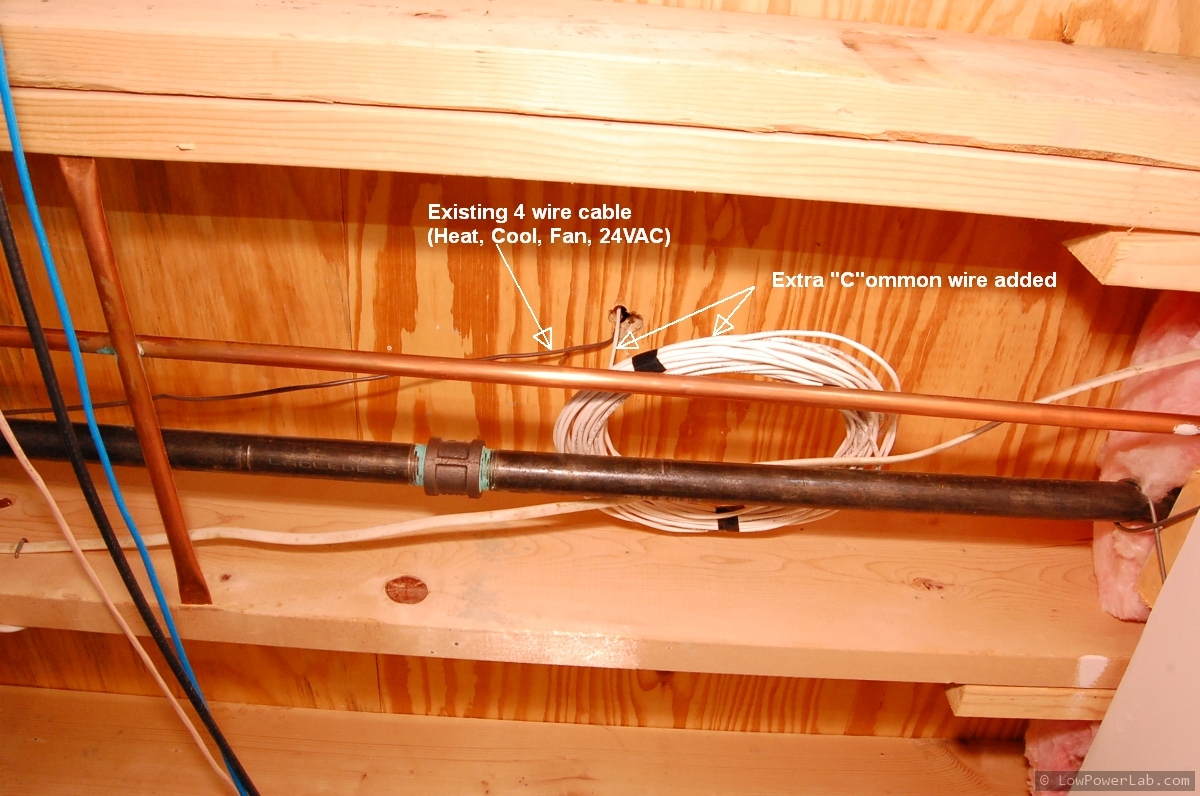
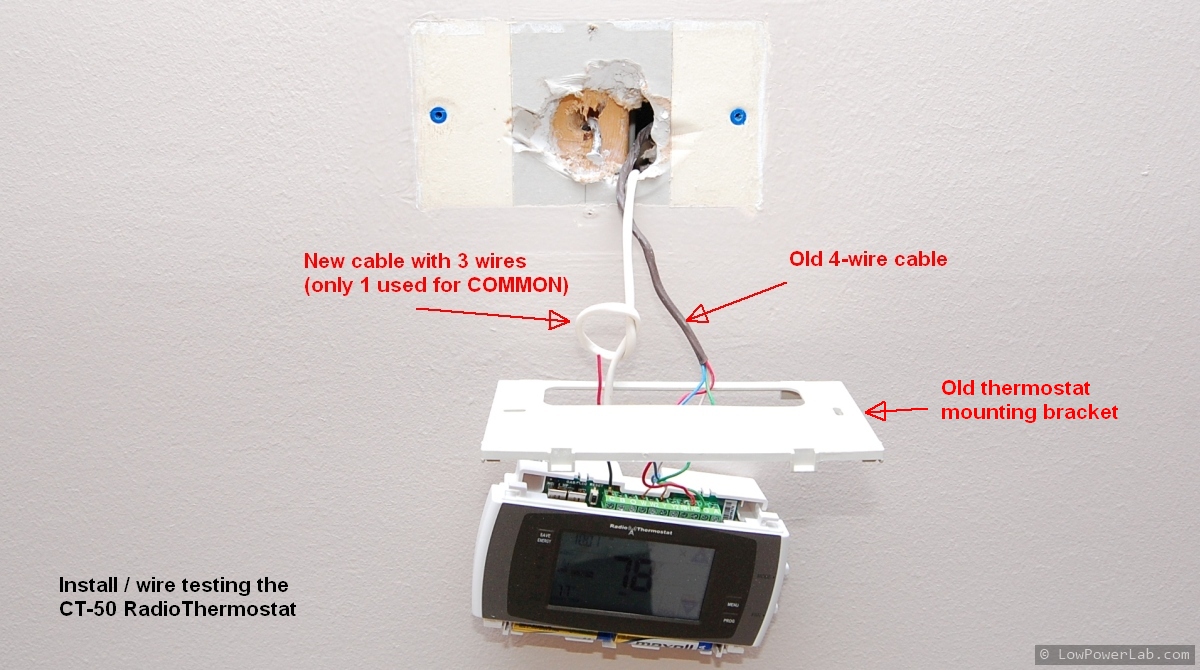
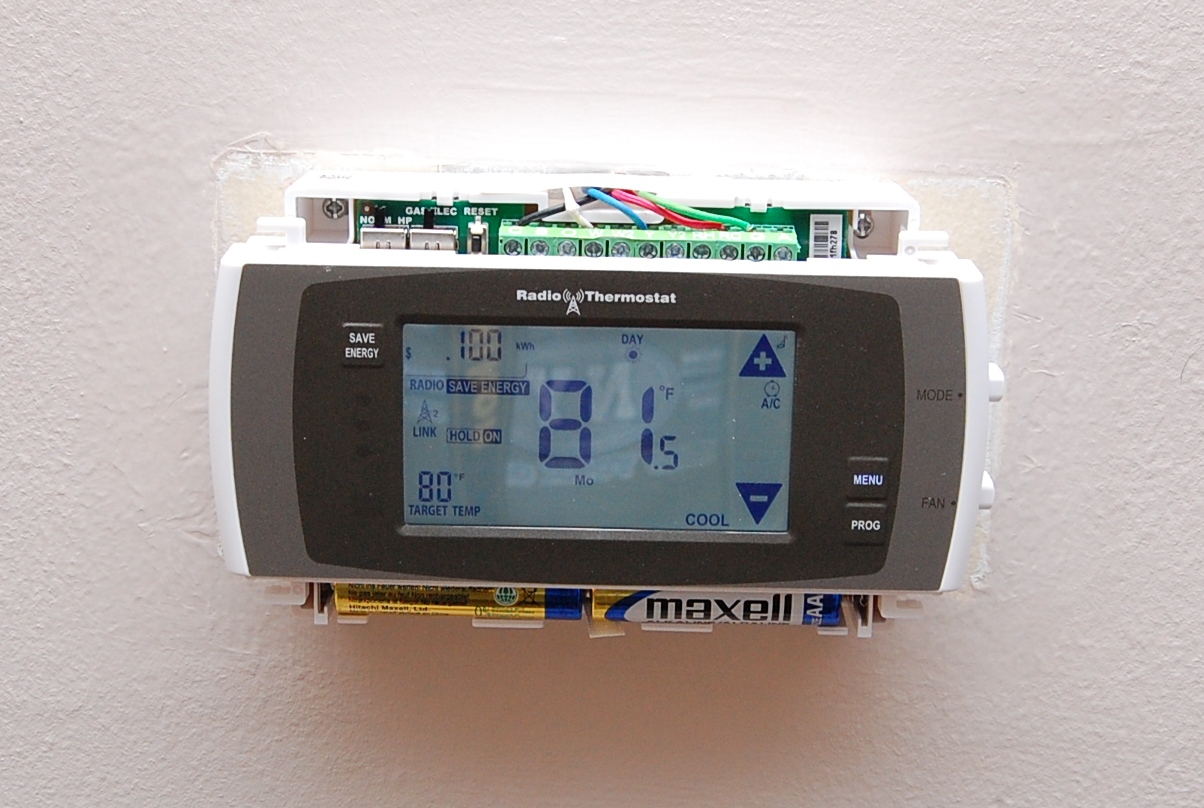
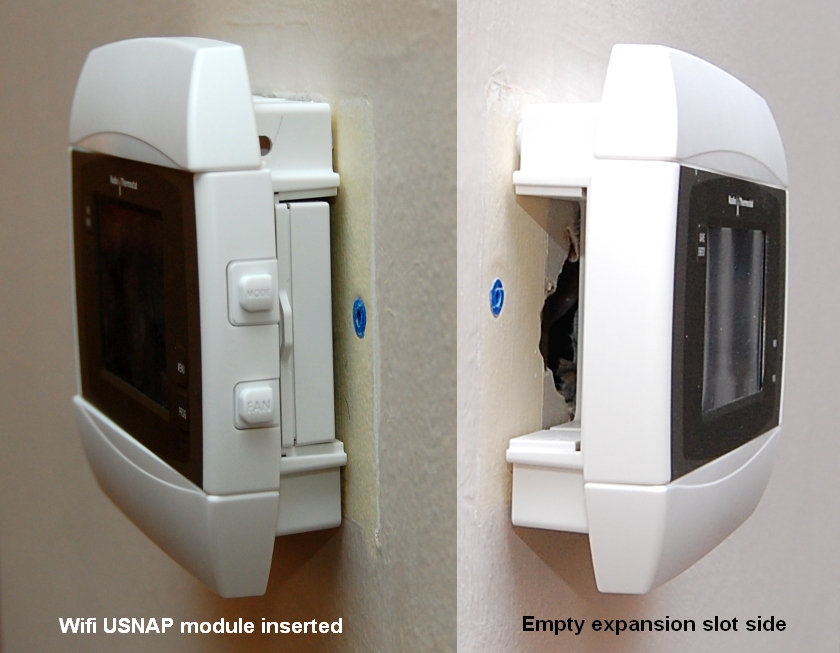
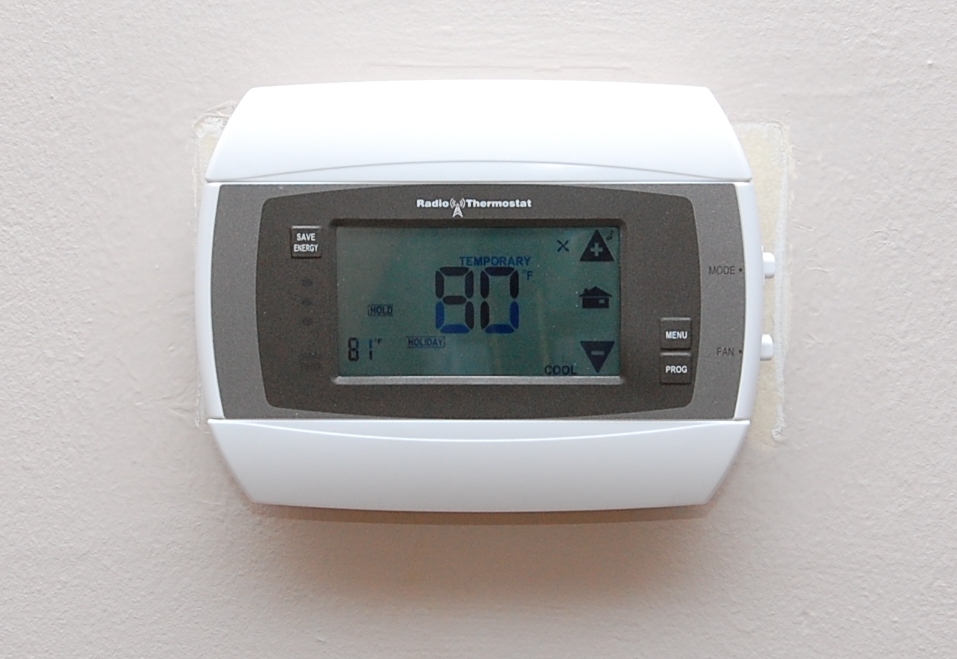
For a review of the features and install explanation please see the video above. I will only include the teardown and install photos in the video for reference and I think the overlay comments are self explanatory. The one challenge I had was to add an extra C “Common” wire for the new thermostat which requires a lot more power than my old basic thermostat, the photos below should tell the story, also explained in the video. Here’s a link to the latest API documentation I found, I saved a copy for my readers in case it goes away.
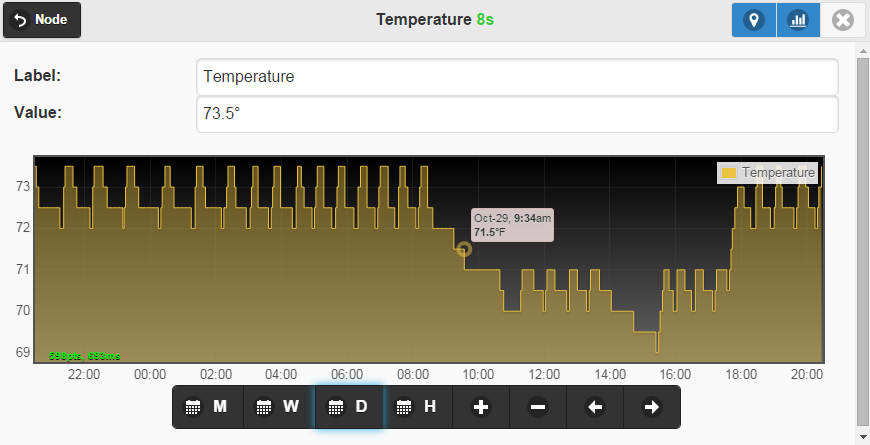
To integrate such a wi-fi device in the gateway interface, you will need to add a dummy node that will become your thermostat node. Adding (injecting) a non-moteino node to the gateway nodes collection can now be done as easily as this (in the terminal screen, type a new node ID and “NEW” in the msg box, click SEND):

Then you choose the “Wifi Thermostat” as type, and once you pair it with your home wifi, specify the local IP address of the thermostat in settings.js.
I hope this inspires others to do something similar. Happy automating!
 |  |  |  |
 |  |  |  |
 |  |  |  |
 |  |  |  |
Nice information. Been wanting to do something like this. Didn’t know thermostats with an Open API even existed.
Venstar API docs: http://developer.venstar.com/
Hi Felix
Really your way of work is inspiring
thanks a lot and good luck
waiting for another brilliant products
Best regard
For everyone living in SE Michigan, Consumers Energy has a $50 rebate on wifi enabled thermostats but the catch is you must apply for the rebate within 30 days of purchase. Visit their web site to apply for the rebate. Unfortunately I didn’t realize this until several months down the road. Would love to have $50 back on the CT50 but it’s still worth every penny and works great with the home automation system. Good iPhone app too!