
 The other day I found my TI-83 Plus calculator which I used in college and I hadn’t powered up for years, so I put some batteries in and turned it on. Did I see black smoke? No…instead the screen was all garbled up with all kinds of junk, sometimes it would only have a horizontal line, or take a lot of button pressing to get it to even show anything on the screen. Turns out it was a perfectly good calculator, brought back to life with a simple 10 minute soldering job.
Initially I thought, maybe that’s what $100 worth of calculator should last, a couple years, you’re not in college forever right? But before throwing it out I had to try to at least crack it open and see what’s inside and who knows maybe there’s a simple fix to bring it back to life, it was actually a really nice calculator.
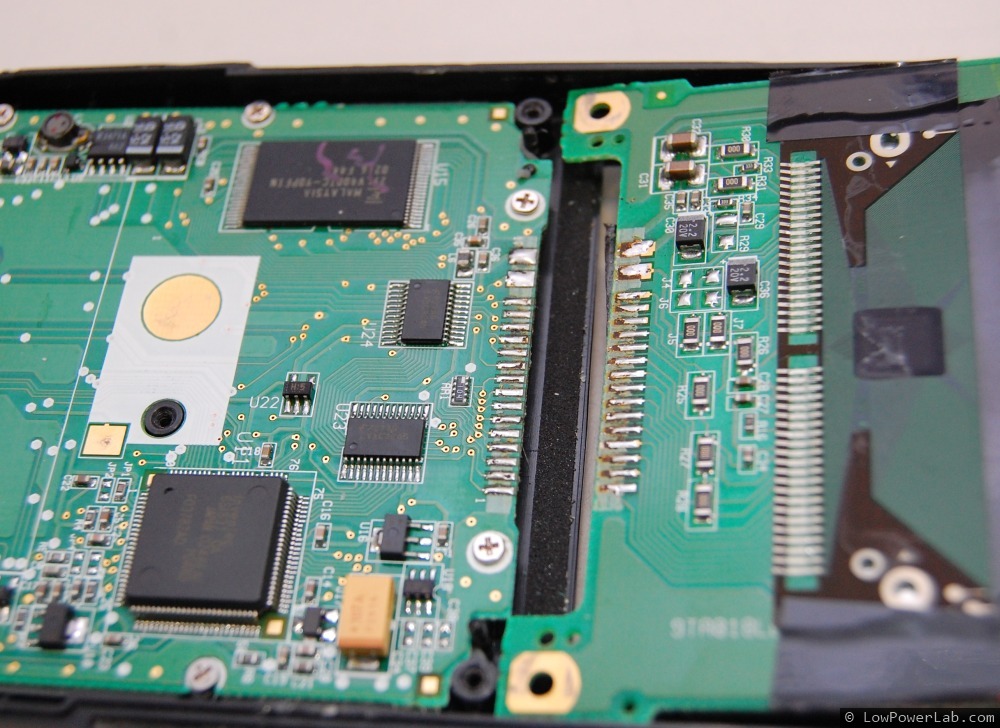
The PCB and all SMD parts looked like brand new. Since it would clearly turn on and off using the designated keyboard buttons and was slightly responsive I though maybe the screen controller went bad but a closer look at the flex ribbon cable between the main board and the LCD screen caught my attention. So I did some continuity testing and it was a dead giveaway, most of the connections were in the megaohm range.
So I removed the ribbon cable – which was a very thin plastic with just leftovers of what once were traces (you could almost see through). There was some residue left on the pads from the flex cable – I applied some flux and pre-tinned the pads with the soldering iron. Then I soldered some thin stranded wires to replace the flex ribbon cable.


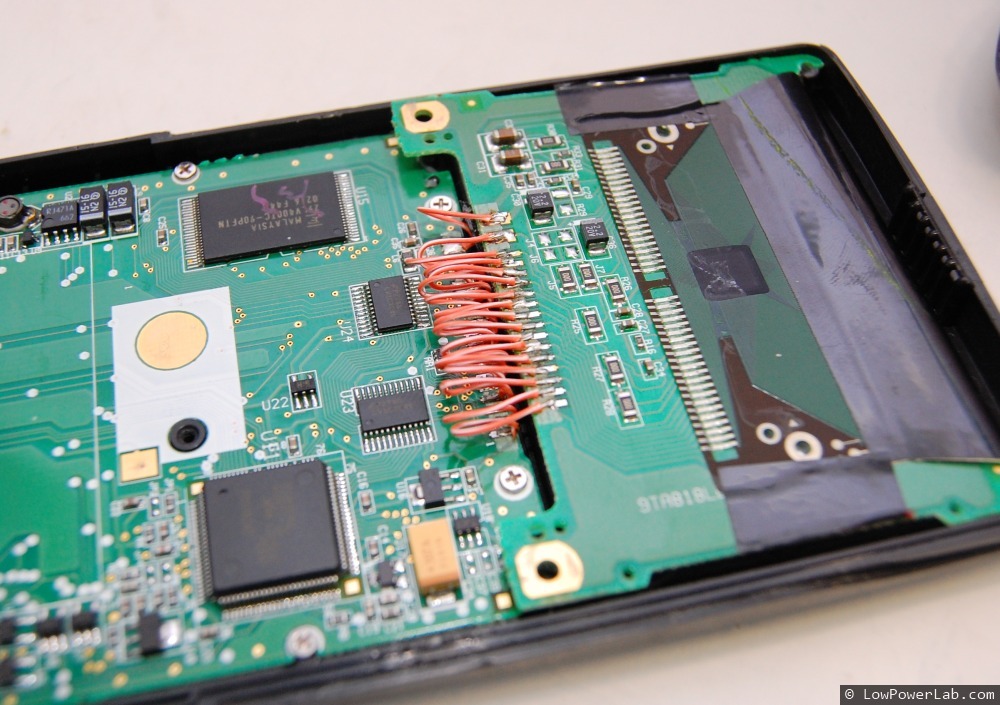


Turn it back on and … it lives!!!
I’m greeted by a RAM cleared message – probably because the CR1620 battery was disconnected in this process. A little testing reveals it’s in perfectly good working order. Things like these make my day sometimes…